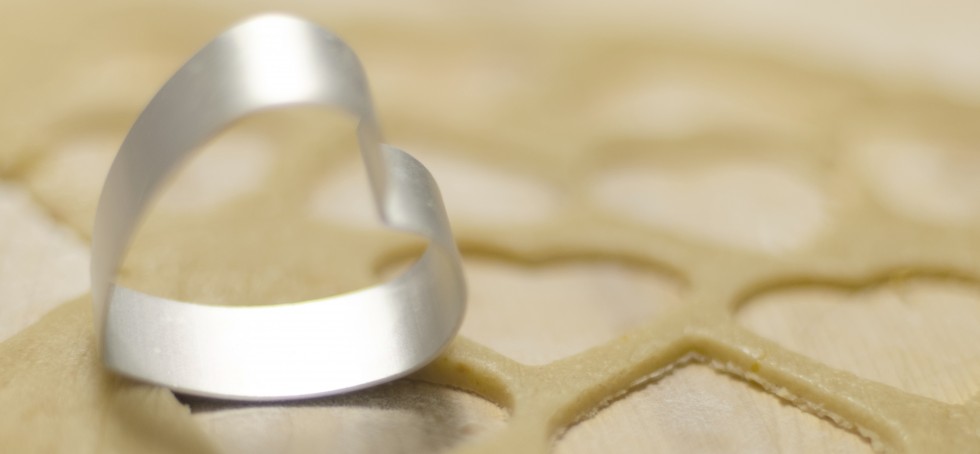
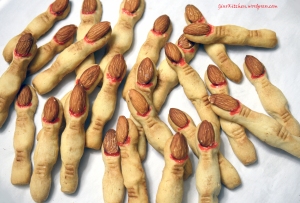
It’s Halloween! Want to gross everyone out with these creepy finger cookies? They surely taste a thousand times better than they look. These fingers are a spooky addition to a Halloween party and kids absolutely love them. I just shaped the fingers with my hands instead of using a finger cookie mold (each one only had 8 witch fingers cavities, not practical at all). To prevent your cookies from flattening after baking, the trick is to freeze the shaped fingers for 30 minutes before putting them into the oven.
Recipe adapted from Pattie T. http://pattietierney.blogspot.com/2011/10/witch-finger-cookies.html
Ingredients:
| 225g (2 sticks) | Unsalted butter (softened) |
| 120g (1 Cup) | Confectioner’s sugar |
| 1 | Egg |
| 1 tsp | Almond extract |
| 1 tsp | Vanilla extract |
| 340g | All purpose flour |
| 1 tsp | Baking powder |
| 1 tsp | Salt |
| 40-60 | Whole almonds |
| 1 tube | Red decorator gel |
| 1 Tbsp (Optional) | Cocoa powder (For decorating only) |
Directions:
- In a mixing bowl, beat together butter, sugar, egg, almond and vanilla extract until light and fluffy.
- Gradually add flour, baking powder and salt, mix until combined.
- Split dough into two parts and wrap in plastic wrap, refrigerate for 1 hour or overnight.
- Working with one dough at a time, roll about a tablespoonful of dough into finger shape for each cookie.
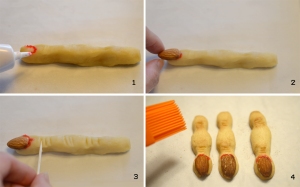
- Squeeze red decorator gel onto nail bed (only the edge) (see picture 1), press one almond firmly into the nail bed to give the appearance of a long fingernail (picture 2).
- Use your fingers to squeeze cookie near the tip and again near the center of each to give the impression of knuckles. Make an indentation with a toothpick or a knife where the knuckles are to help give a more finger-like appearance (picture 3).
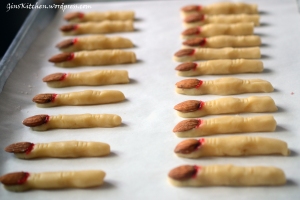
- Line baking sheet with parchment paper, arrange the shaped cookies on the baking sheet and place the whole pan into freezer for 30 minutes.
- Preheat oven to 325F degree, bake finger cookies for 20-25 minutes or until pale golden.
- Let cool and lightly dust the knuckles with cocoa powder (picture 4).
Notes:
Make sure to freeze the shaped fingers for at least 30 minutes before baking.
Related articles
- 12 Days to Halloween – Cookies (letstalkirmah.wordpress.com)
- Spooky Witch Fingers! (inspirationsfinecatering.wordpress.com)
