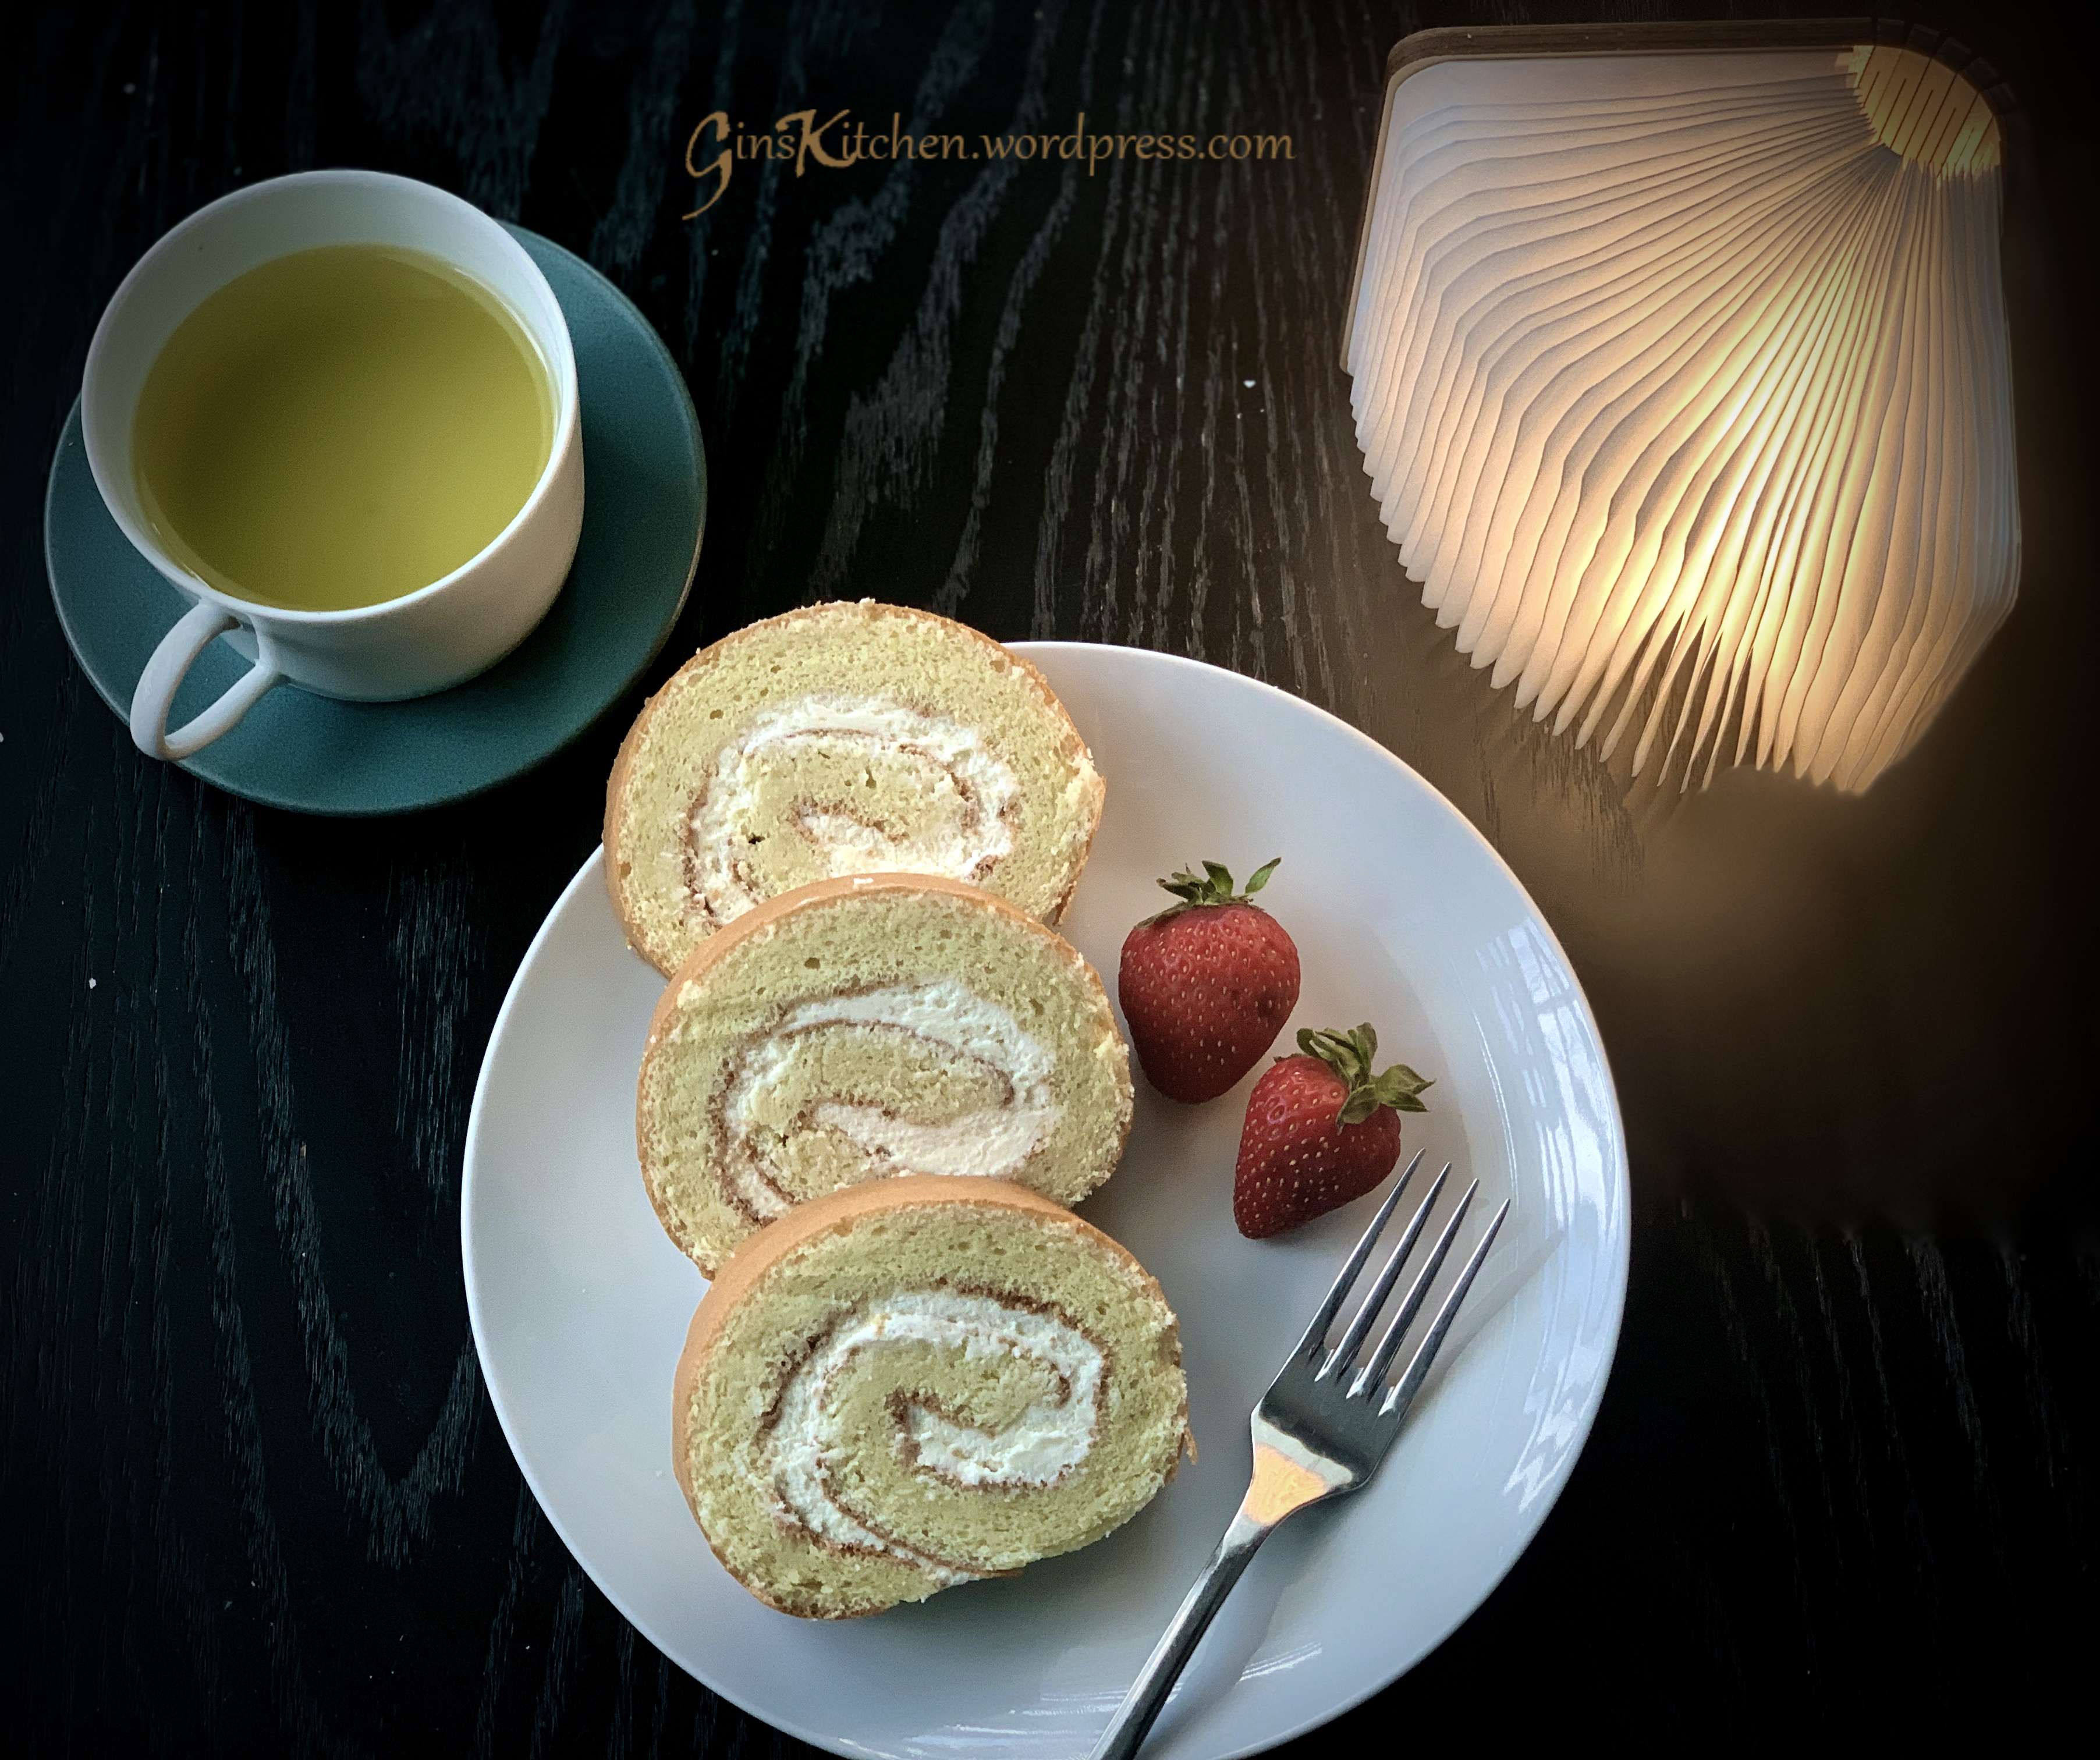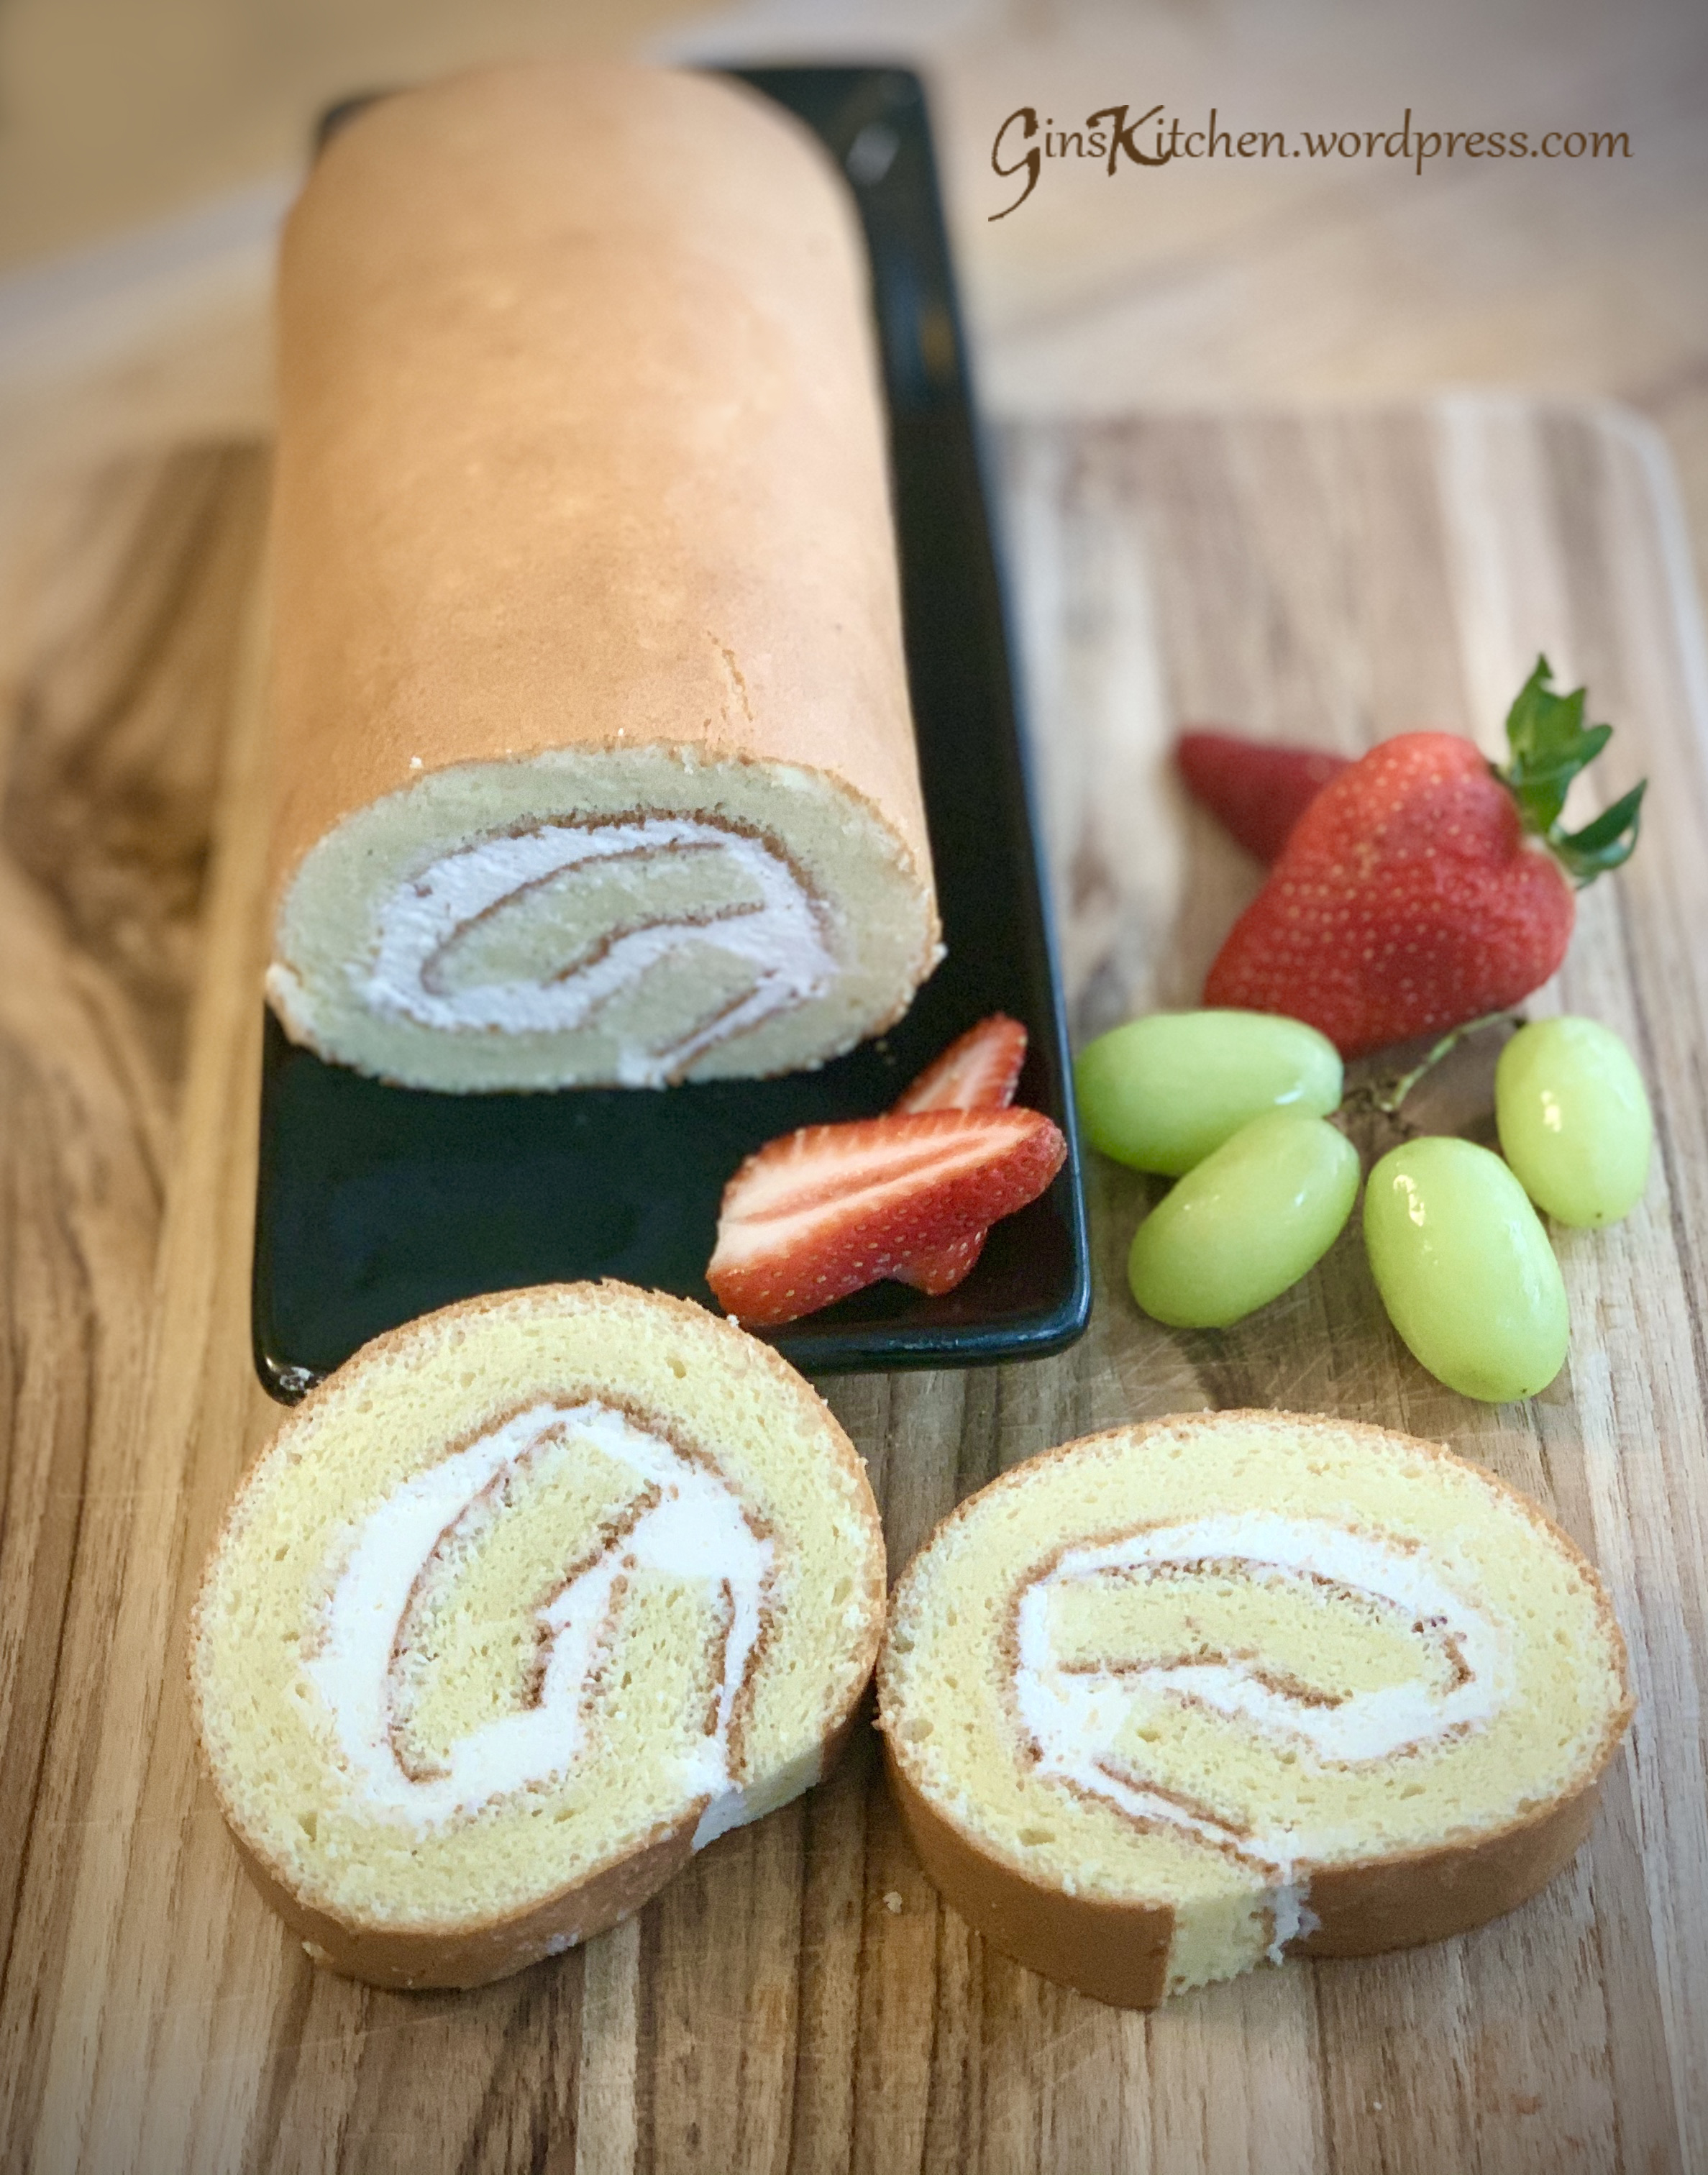
Matcha Swiss Roll


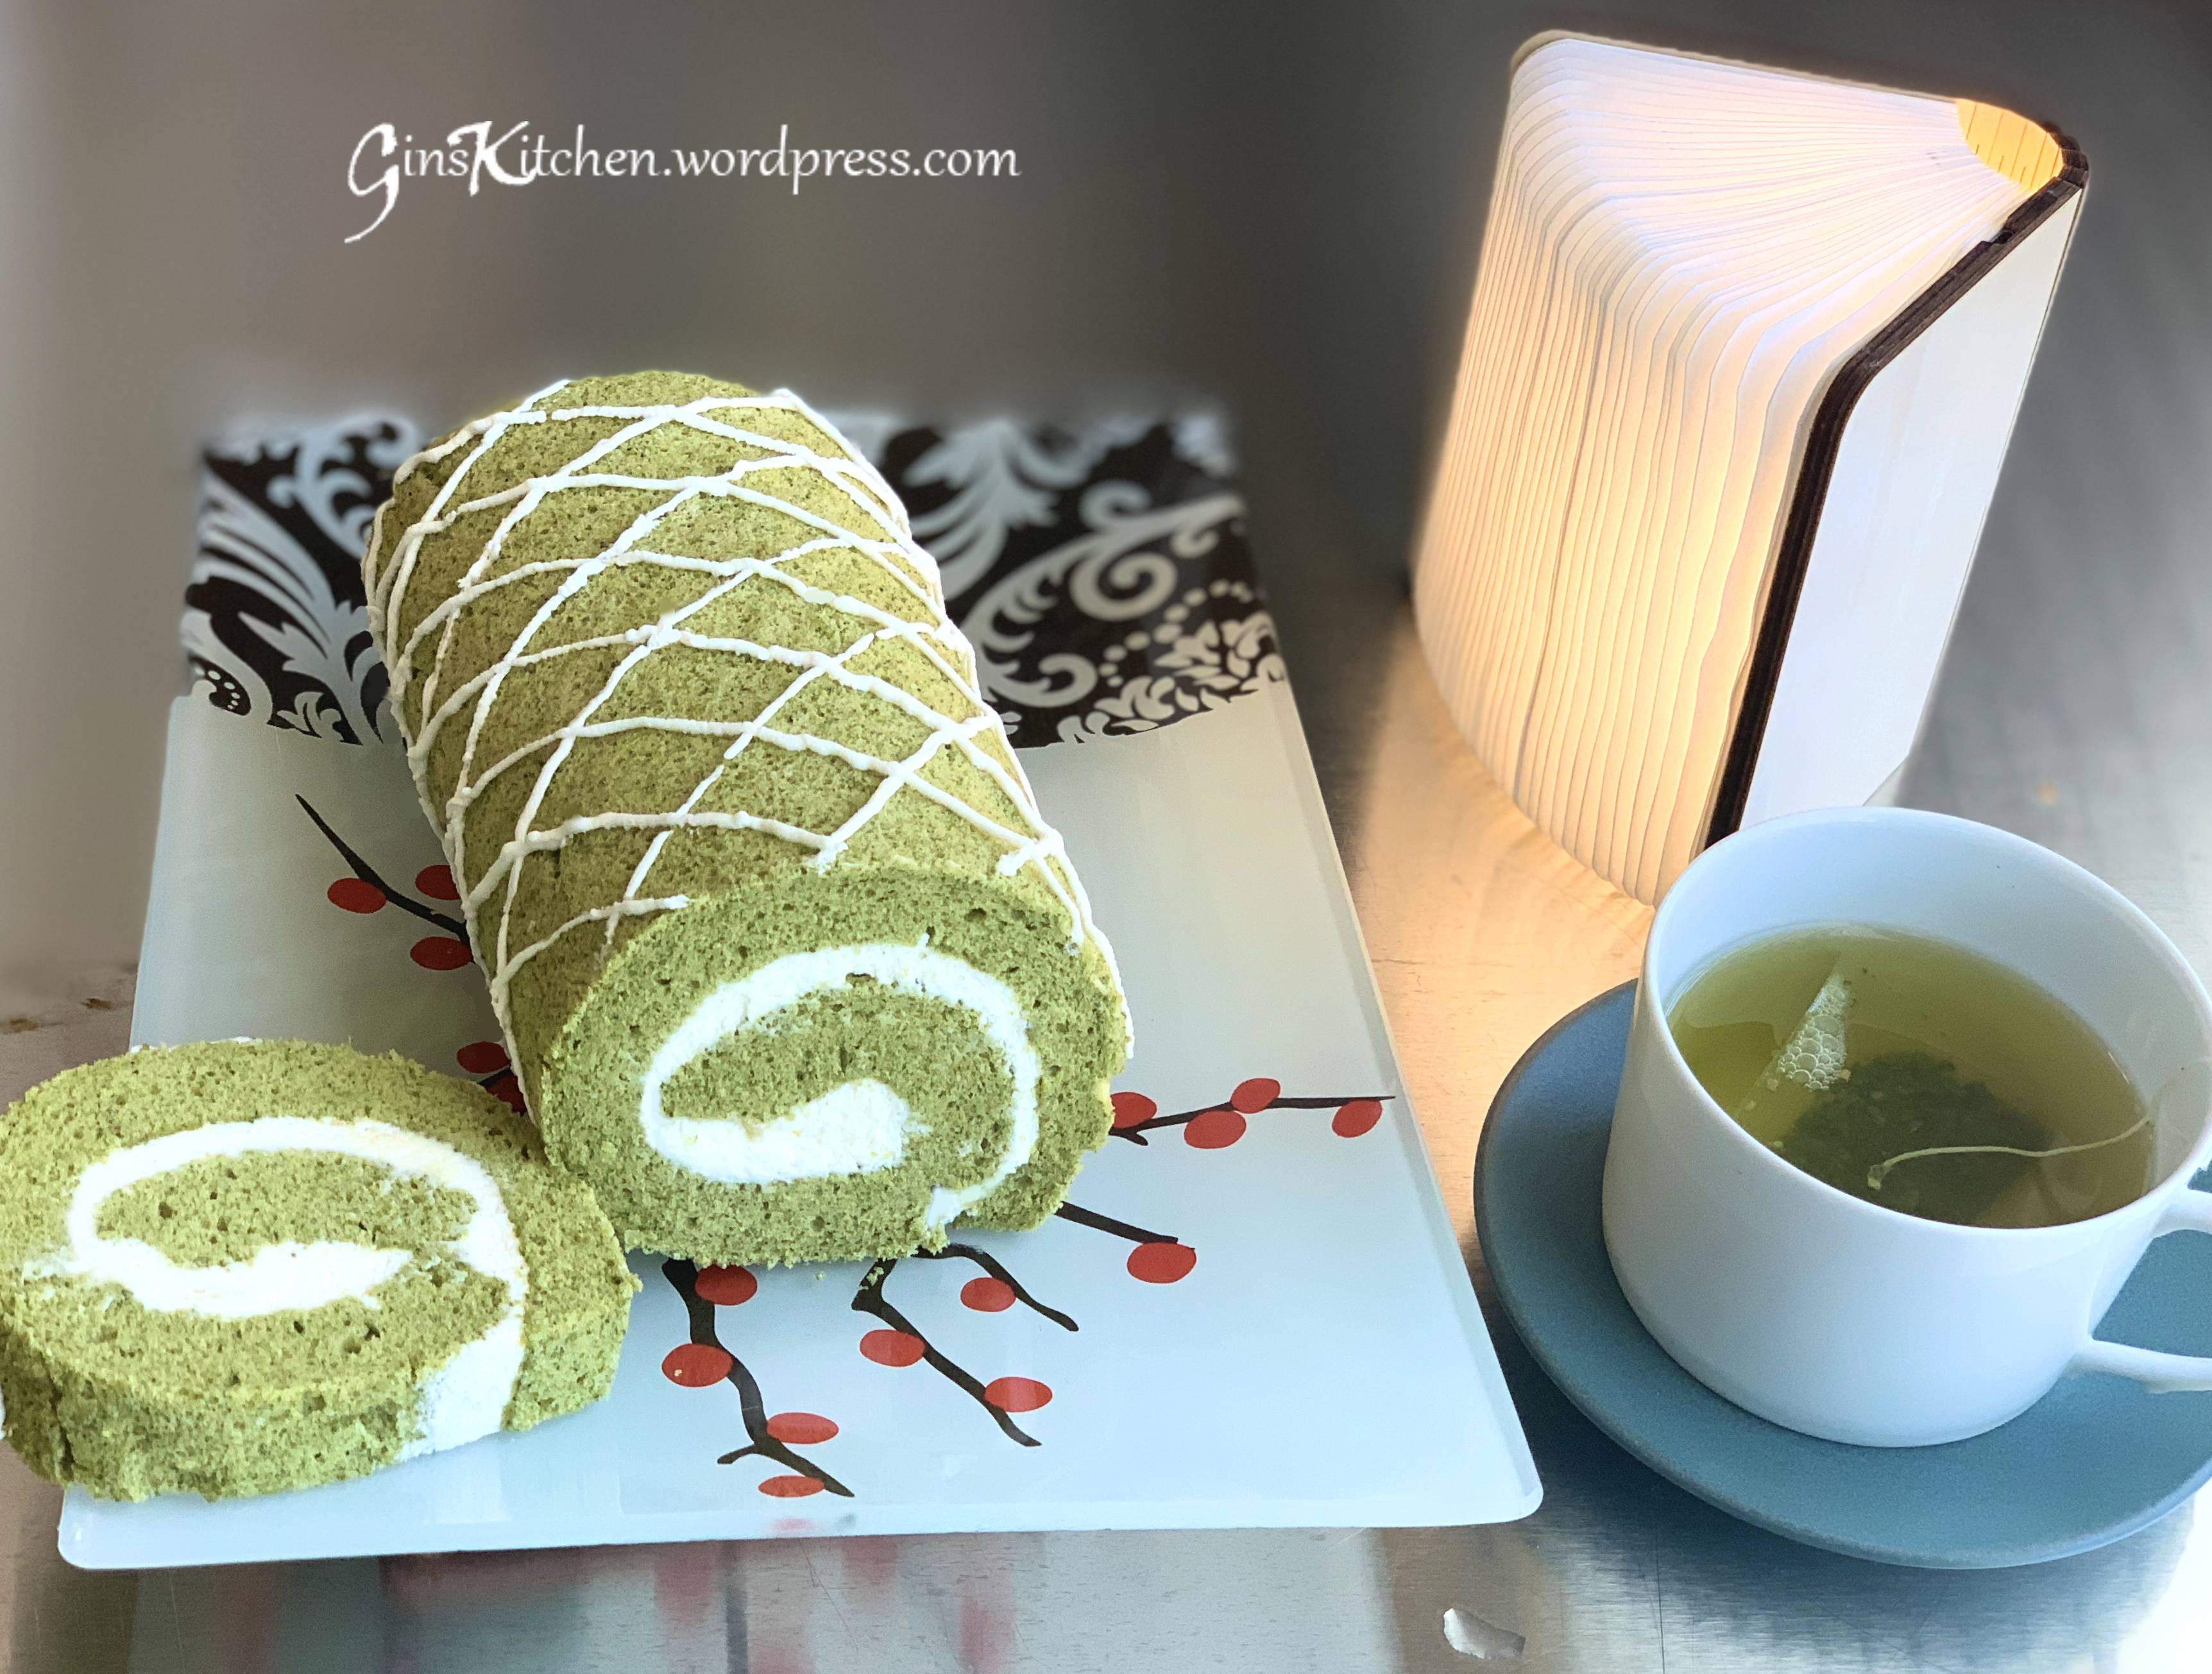
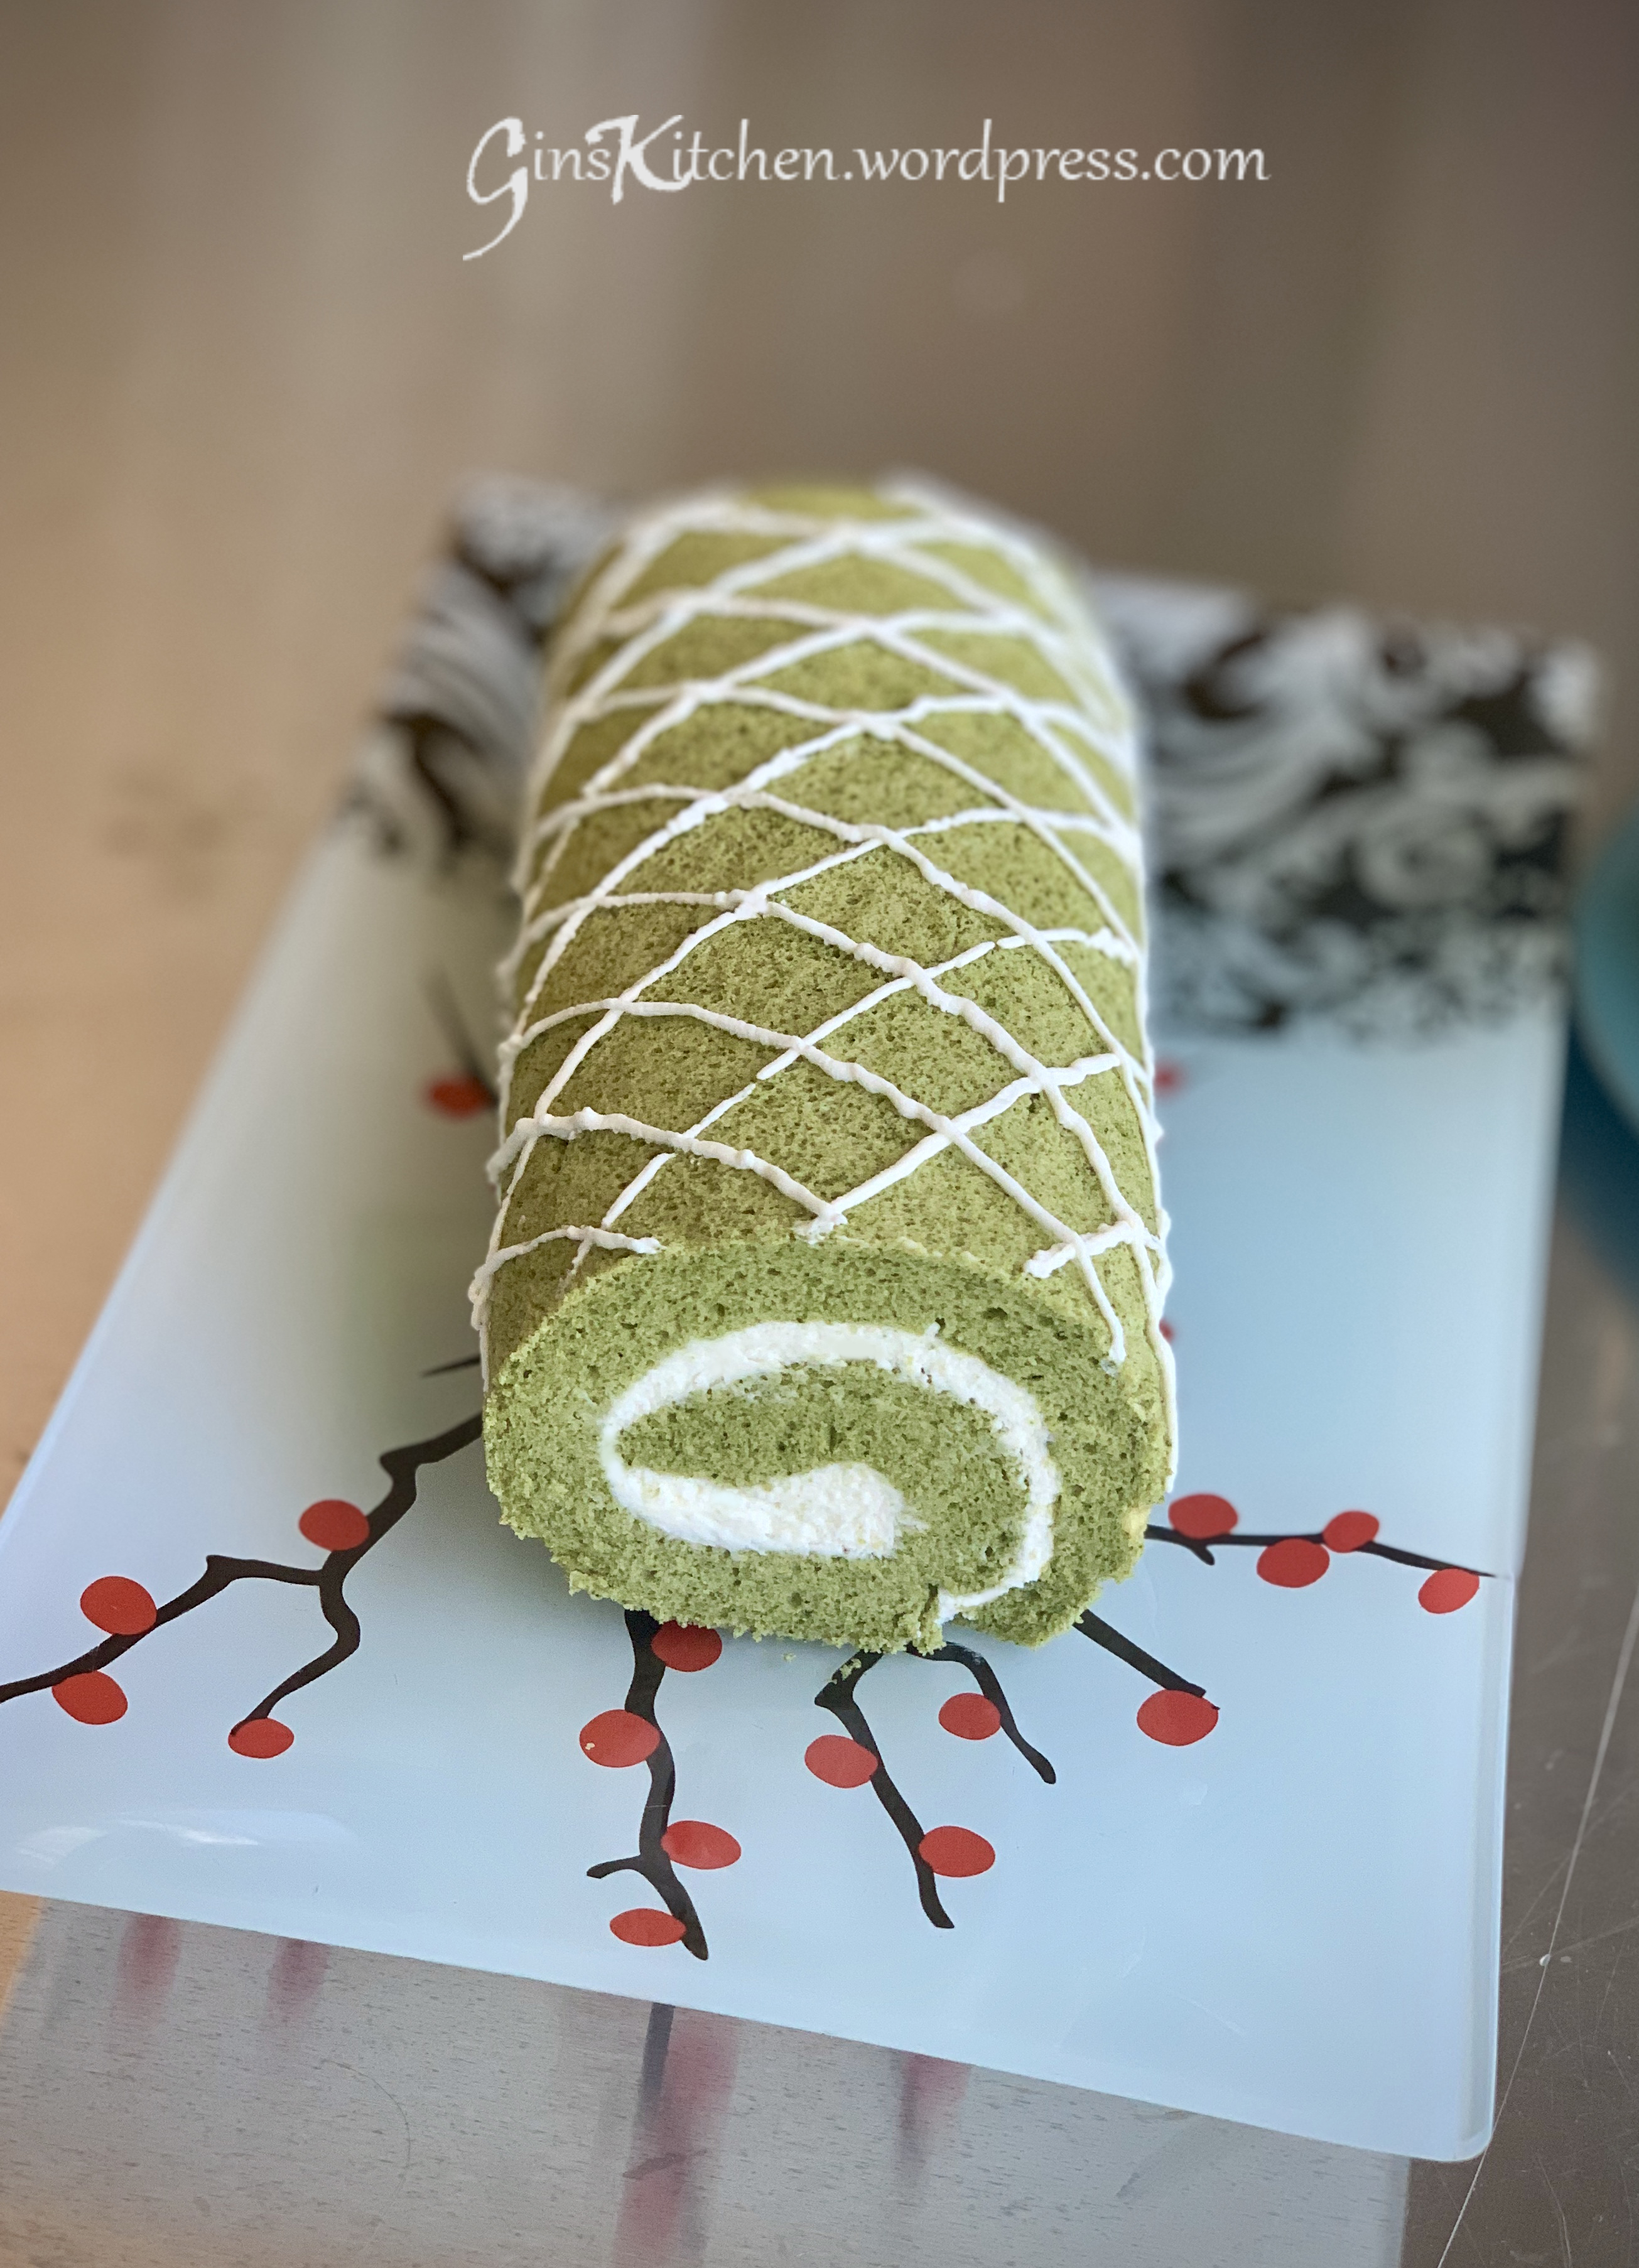
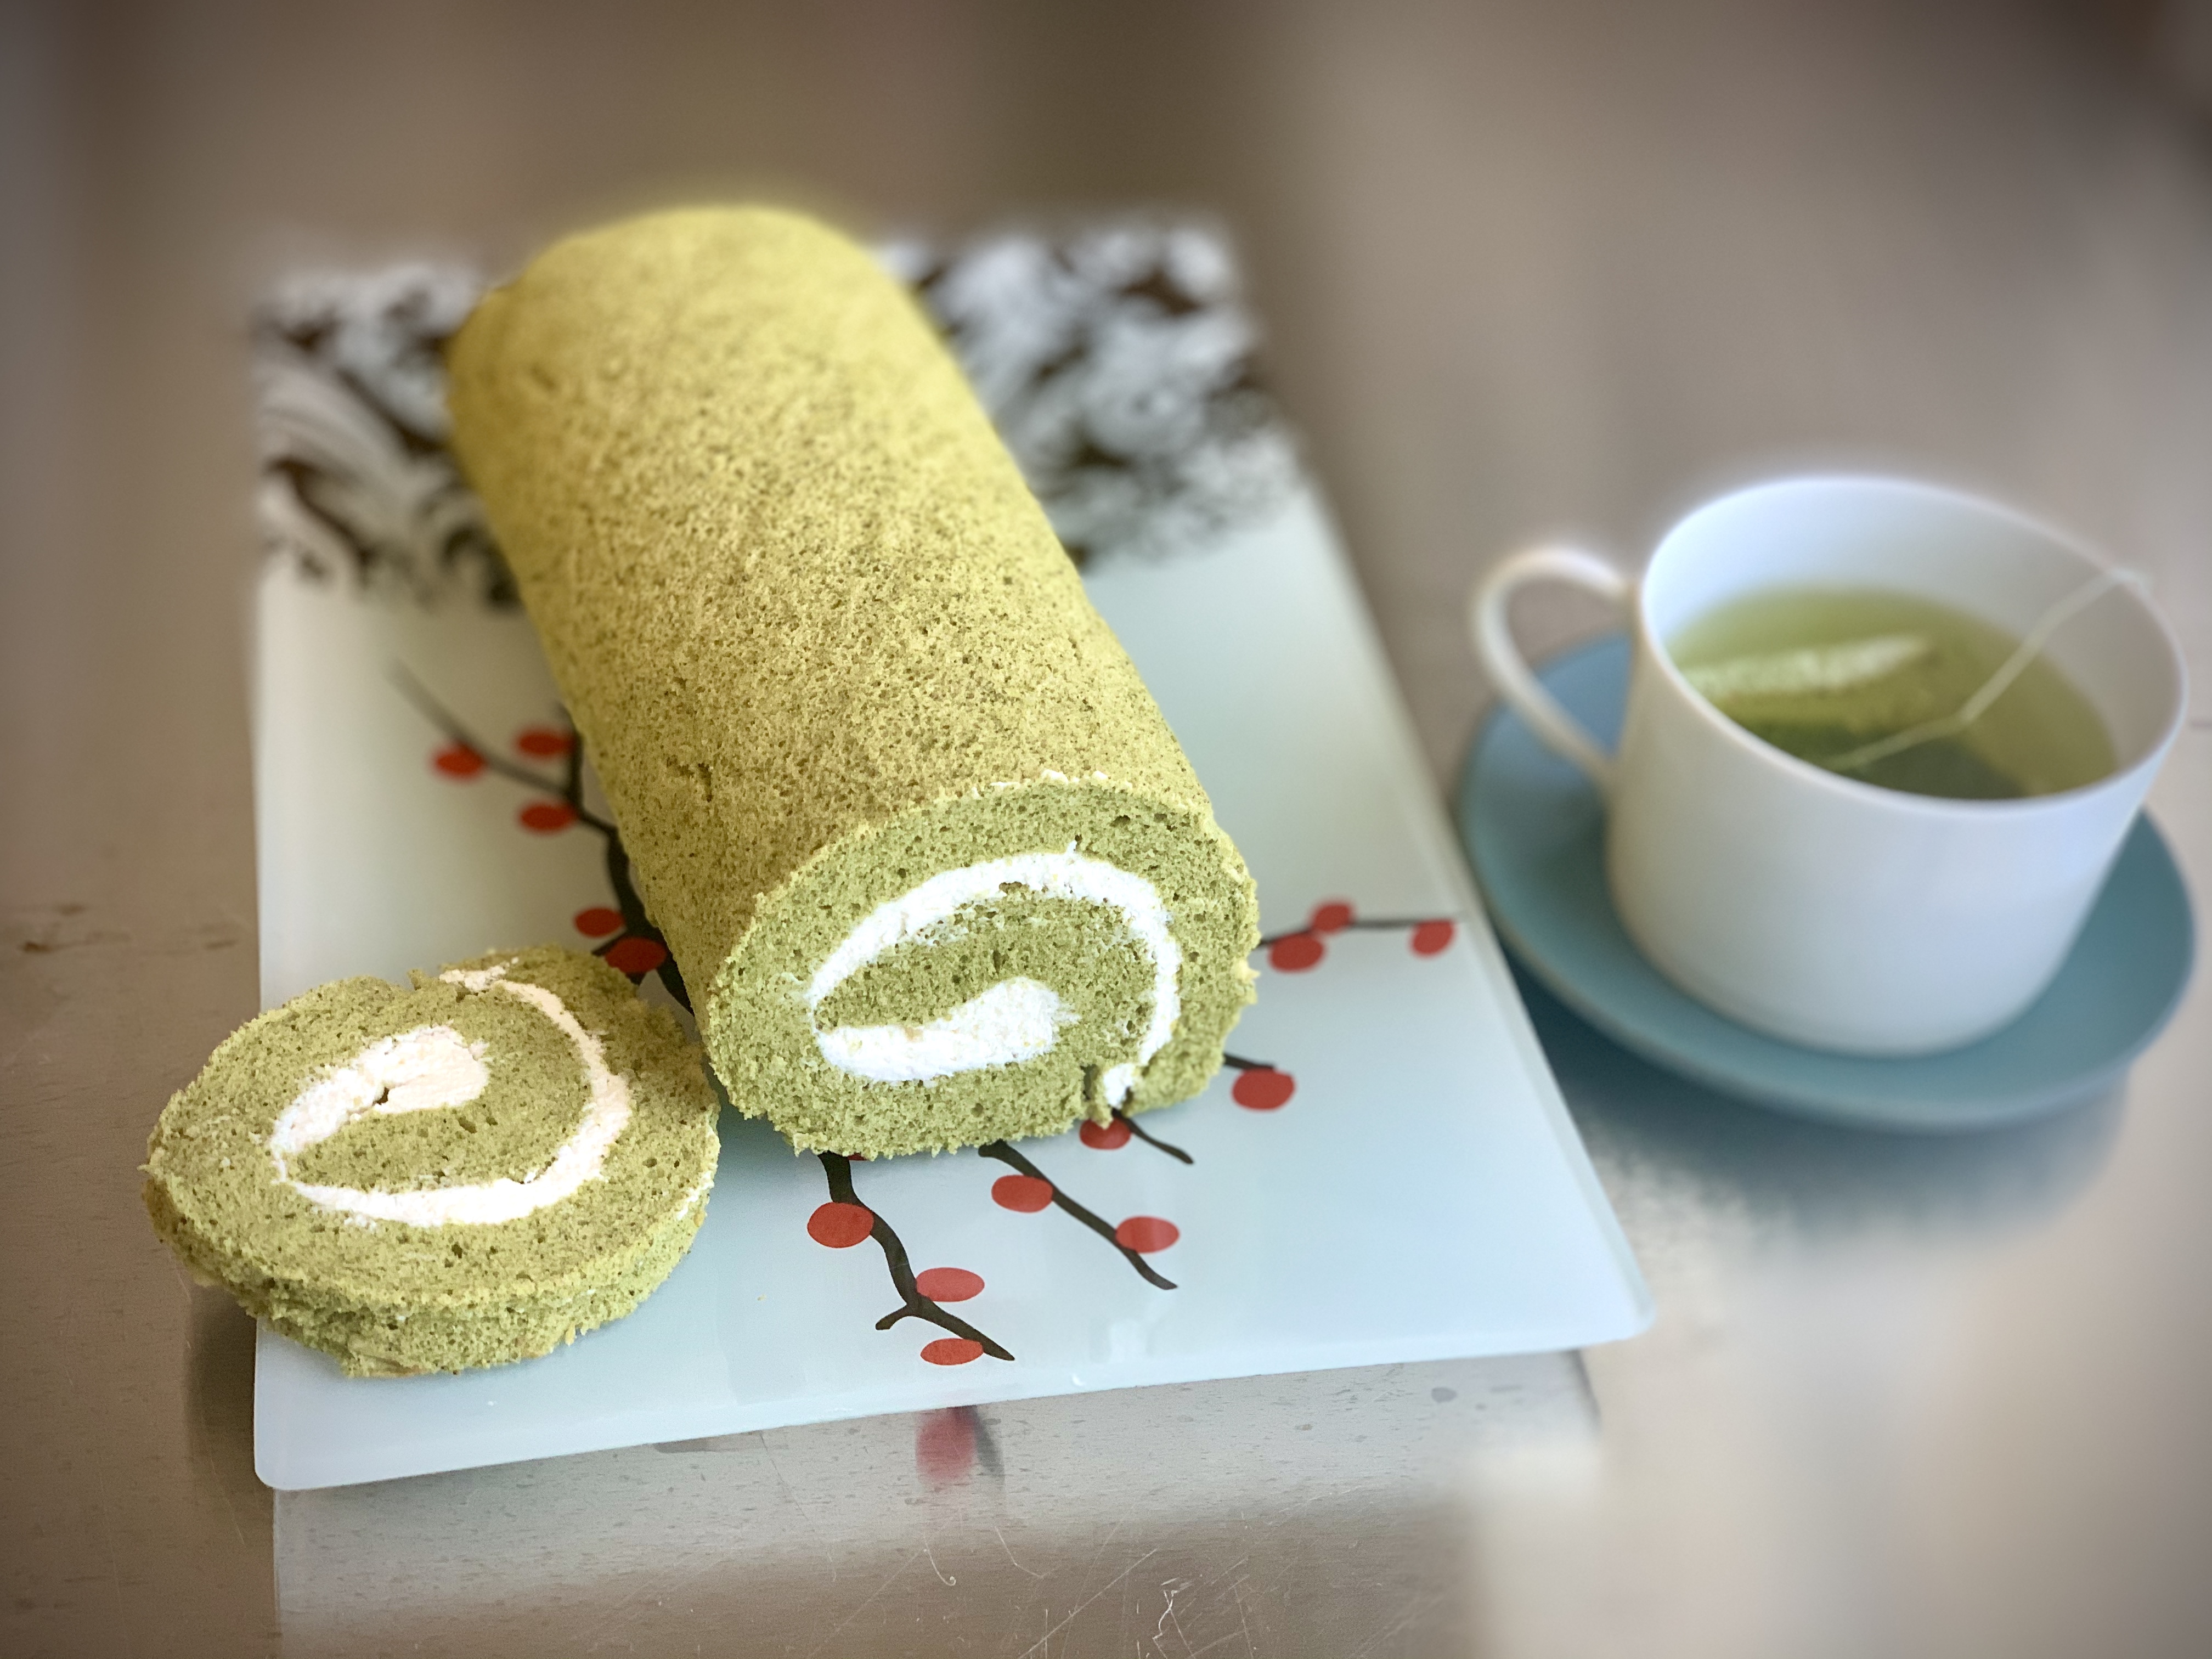
Matcha swiss roll

Besides adding the Matcha powder, all ingredients for this Matcha Swiss Roll and the regular Swiss Roll are the same (recipe for Swiss Roll, click here).  A couple of differences when making the Matcha cake:  (1) the bottom of the cake will be the exterior of the cake roll while the regular Swiss Roll is the opposite; (2) adding oil and milk in the beginning instead of combining them at a later step.

I believe you will be enjoying this recipe as my family is obsessed with both the Swiss Roll and the Matcha Swiss Roll.  In my next post, I will share how to add patterns (such as heart shapes, polka dots, flowers, etc. to the cake roll).

Ingredients A: 
80gEgg yolk
1gSalt
35gSugar
45gOil
40gMilk
Ingredients B: 
72gCake flour
2 Tbsp (or 10g)Matcha powder
Ingredients C: 
120gEgg white
55gSugar

Cream filling:

1 CupHeavy whipping cream
1 TbspPowdered sugar
1 TbspVanilla instant pudding

Directions:

  1. Preheat oven to 338°F (170°C). Line bottom of a 9×13-inch pan with parchment paper.
  2. Separate the egg yolks and egg whites into two bowls.
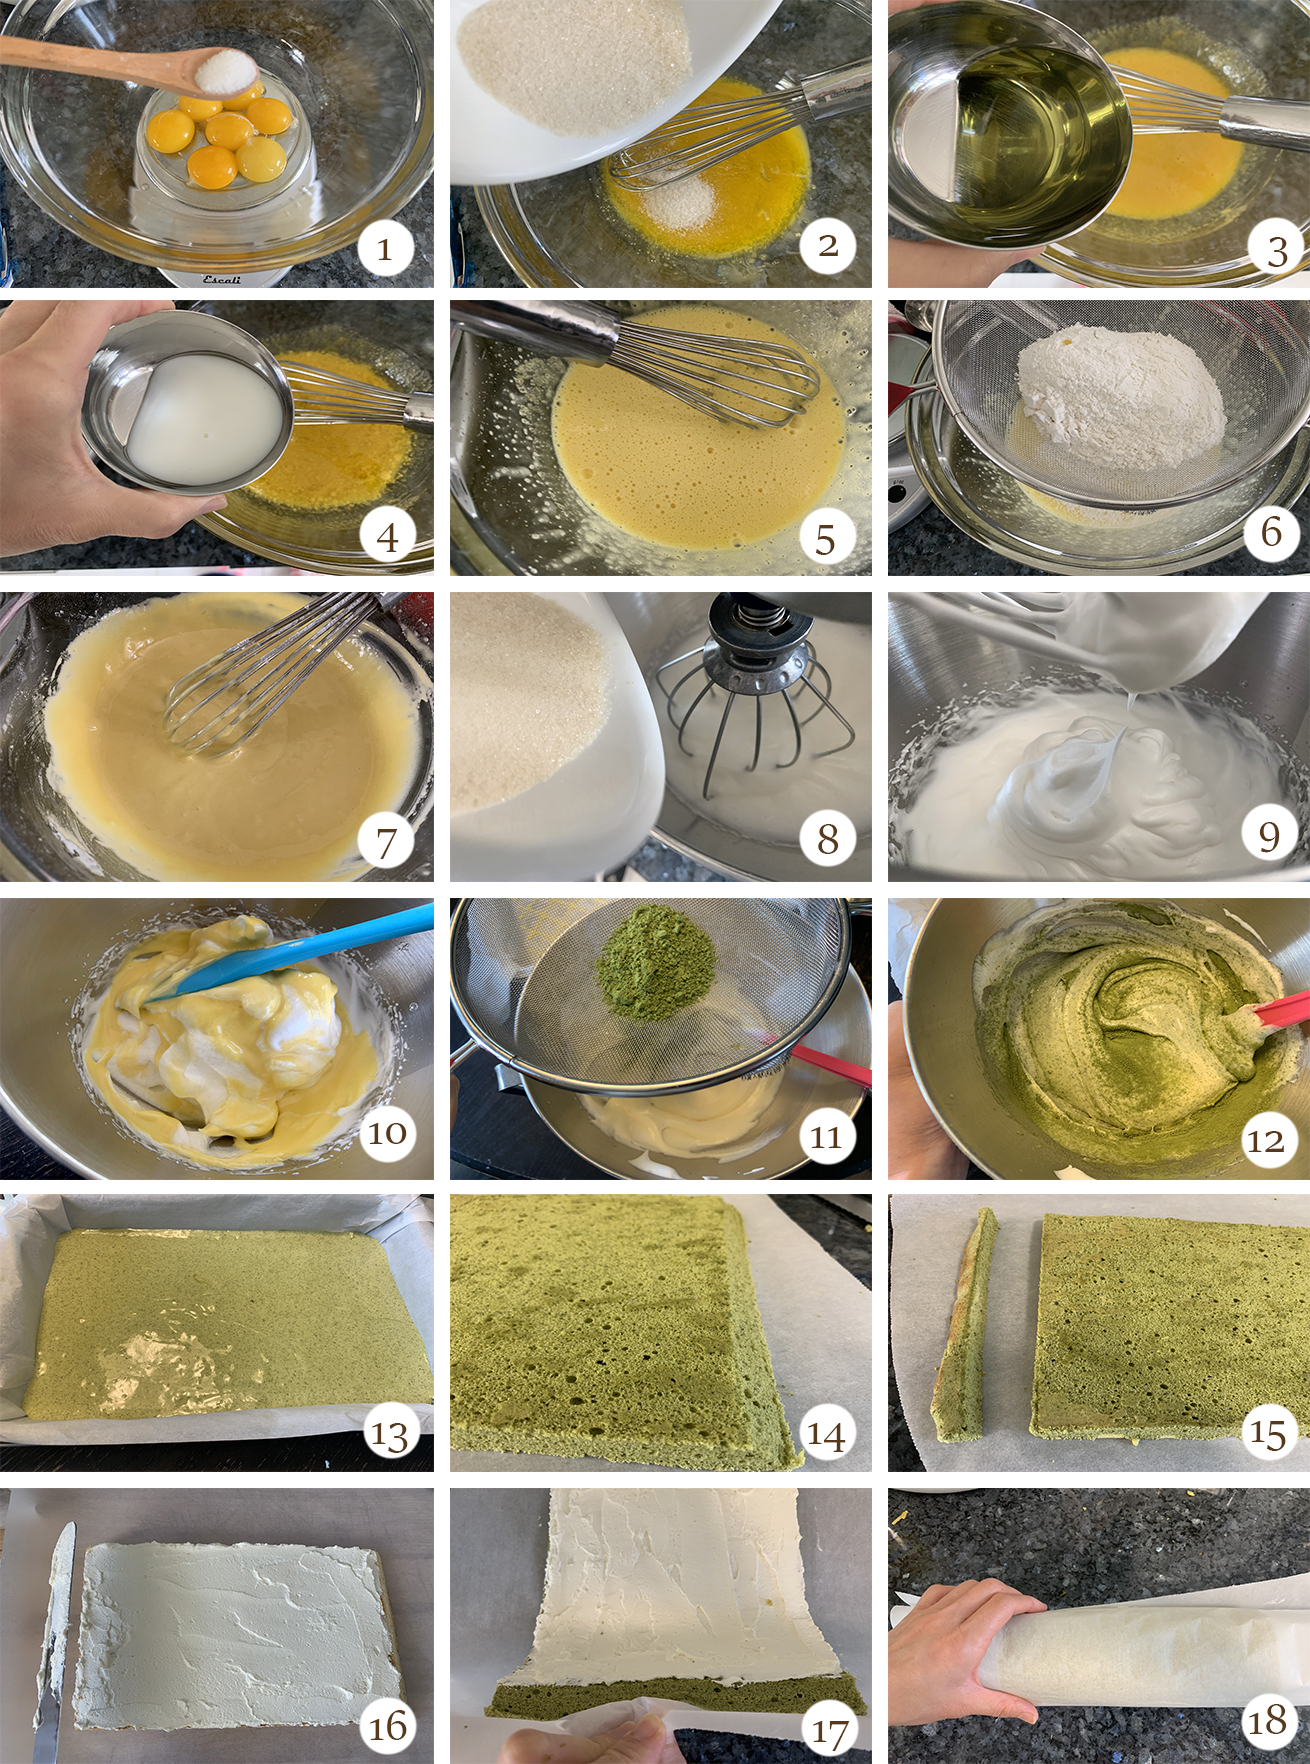
  3. In a large bowl, add salt to egg yolks and mix well.  Add in 35g of sugar, beat until well combined.  (Pictures 1 and 2)
  4. Add oil and milk to the egg yolks and beat until the mixture is pale.  (Pictures 3-5)
  5. Sift the flour into the egg mixture and gently fold to combine.  (Pictures 6 and 7)
  6. In a mixing bowl, beat egg whites until foamy, gradually add sugar and beat until soft peaks form.  (Pictures 8 and 9)
  7. Pour the egg yolk mixture into the egg whites and gently fold to combine with a spatula.  (Picture 10)
  8. Sift Matcha powder into the batter and gently fold to combine.  (Pictures 11 and 12)
  9. Pour the batter into the prepared pan.  Spread the batter evenly and tap the pan several times.  This will remove air bubbles inside the batter.  (Picture 13)
  10. Bake for about 13 minutes, remove the cake from the pan as soon as it is ready.  Allow it to cool for about 10 mins.  Put a piece of parchment paper on top of the cake (you may want to lightly spray the parchment paper with oil to prevent the outer layer from sticking), and flip the pan over (now the bottom is on top).  Peel away the original parchment paper from the bottom of the cake. Trim the top and bottom edges.  Also hold the knife at a 30 degree angle and trim the right and left edges. (Pictures 14 and 15)
  11. Using a knife to score 2 vertical lines along the cake from the right edge, careful not to cut all the way into the cake (pictures can be viewed from my Swiss Roll recipe here).  Note:  optional – you can pre-roll the cake on the parchment paper now and let it cool completely, about 20 mins.
  12. Spread an even layer of whipped cream over the cake.  (Picture 16)
  13. Tightly roll the cake from the right side toward the left side.  (Picture 17)
  14. Secure the roll by putting a tape on or twisting the parchment paper at both ends.  Refrigerate for 1 hour before serving.  (Picture 18)
collages1

How to make the filling:

  1. Prepare the filling by whisking the cold whipping cream, add in 1 Tbsp of powdered sugar and whip until the cream starts to get thicker.  (Picture A)
  2. Add 1 Tbsp of vanilla instant pudding.  (Picture B)
  3. Whip until stiff peaks form.  (Picture C)
cream collage

The outside of the cake can be decorated with a layer of ganache or sprinkled powdered sugar on top.  The Chinese version is usually light and less sweet, as it tastes good without any toppings.   Perhaps if there are cracks all over the cake, a layer of ganache can hide them.
Matcha Swiss Roll 2
IMG_E0212

Swiss Roll


swiss roll 3

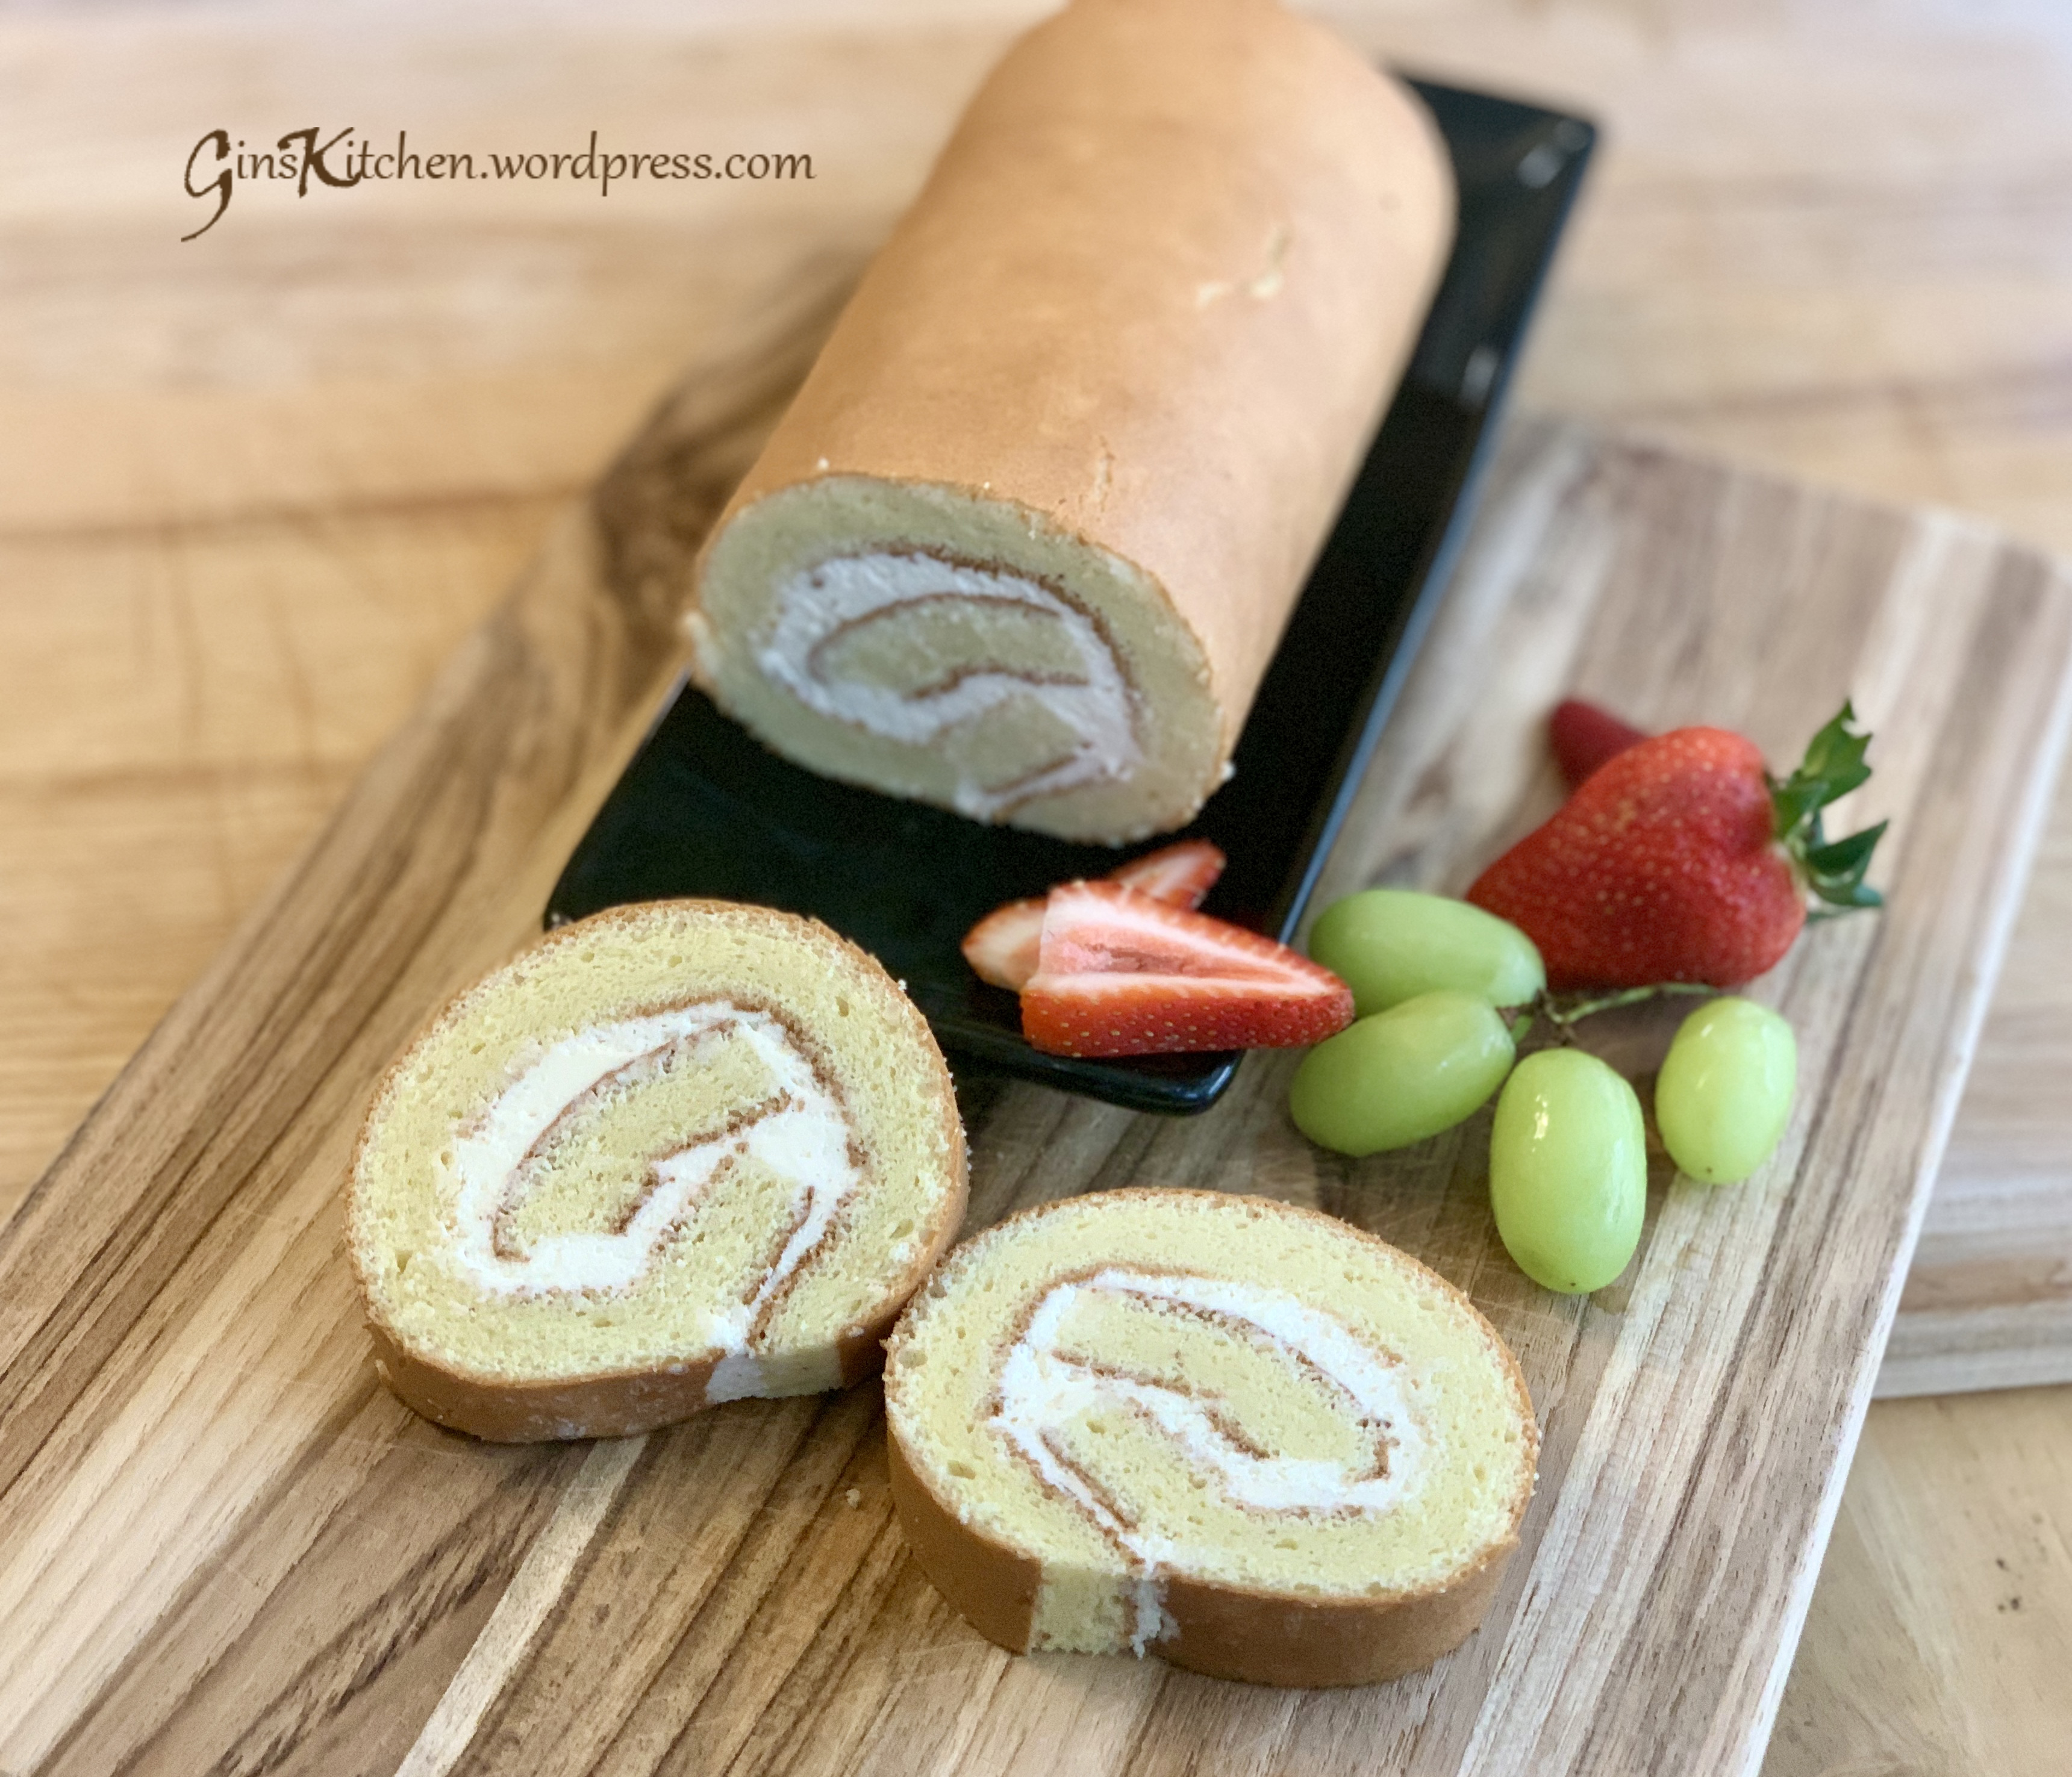
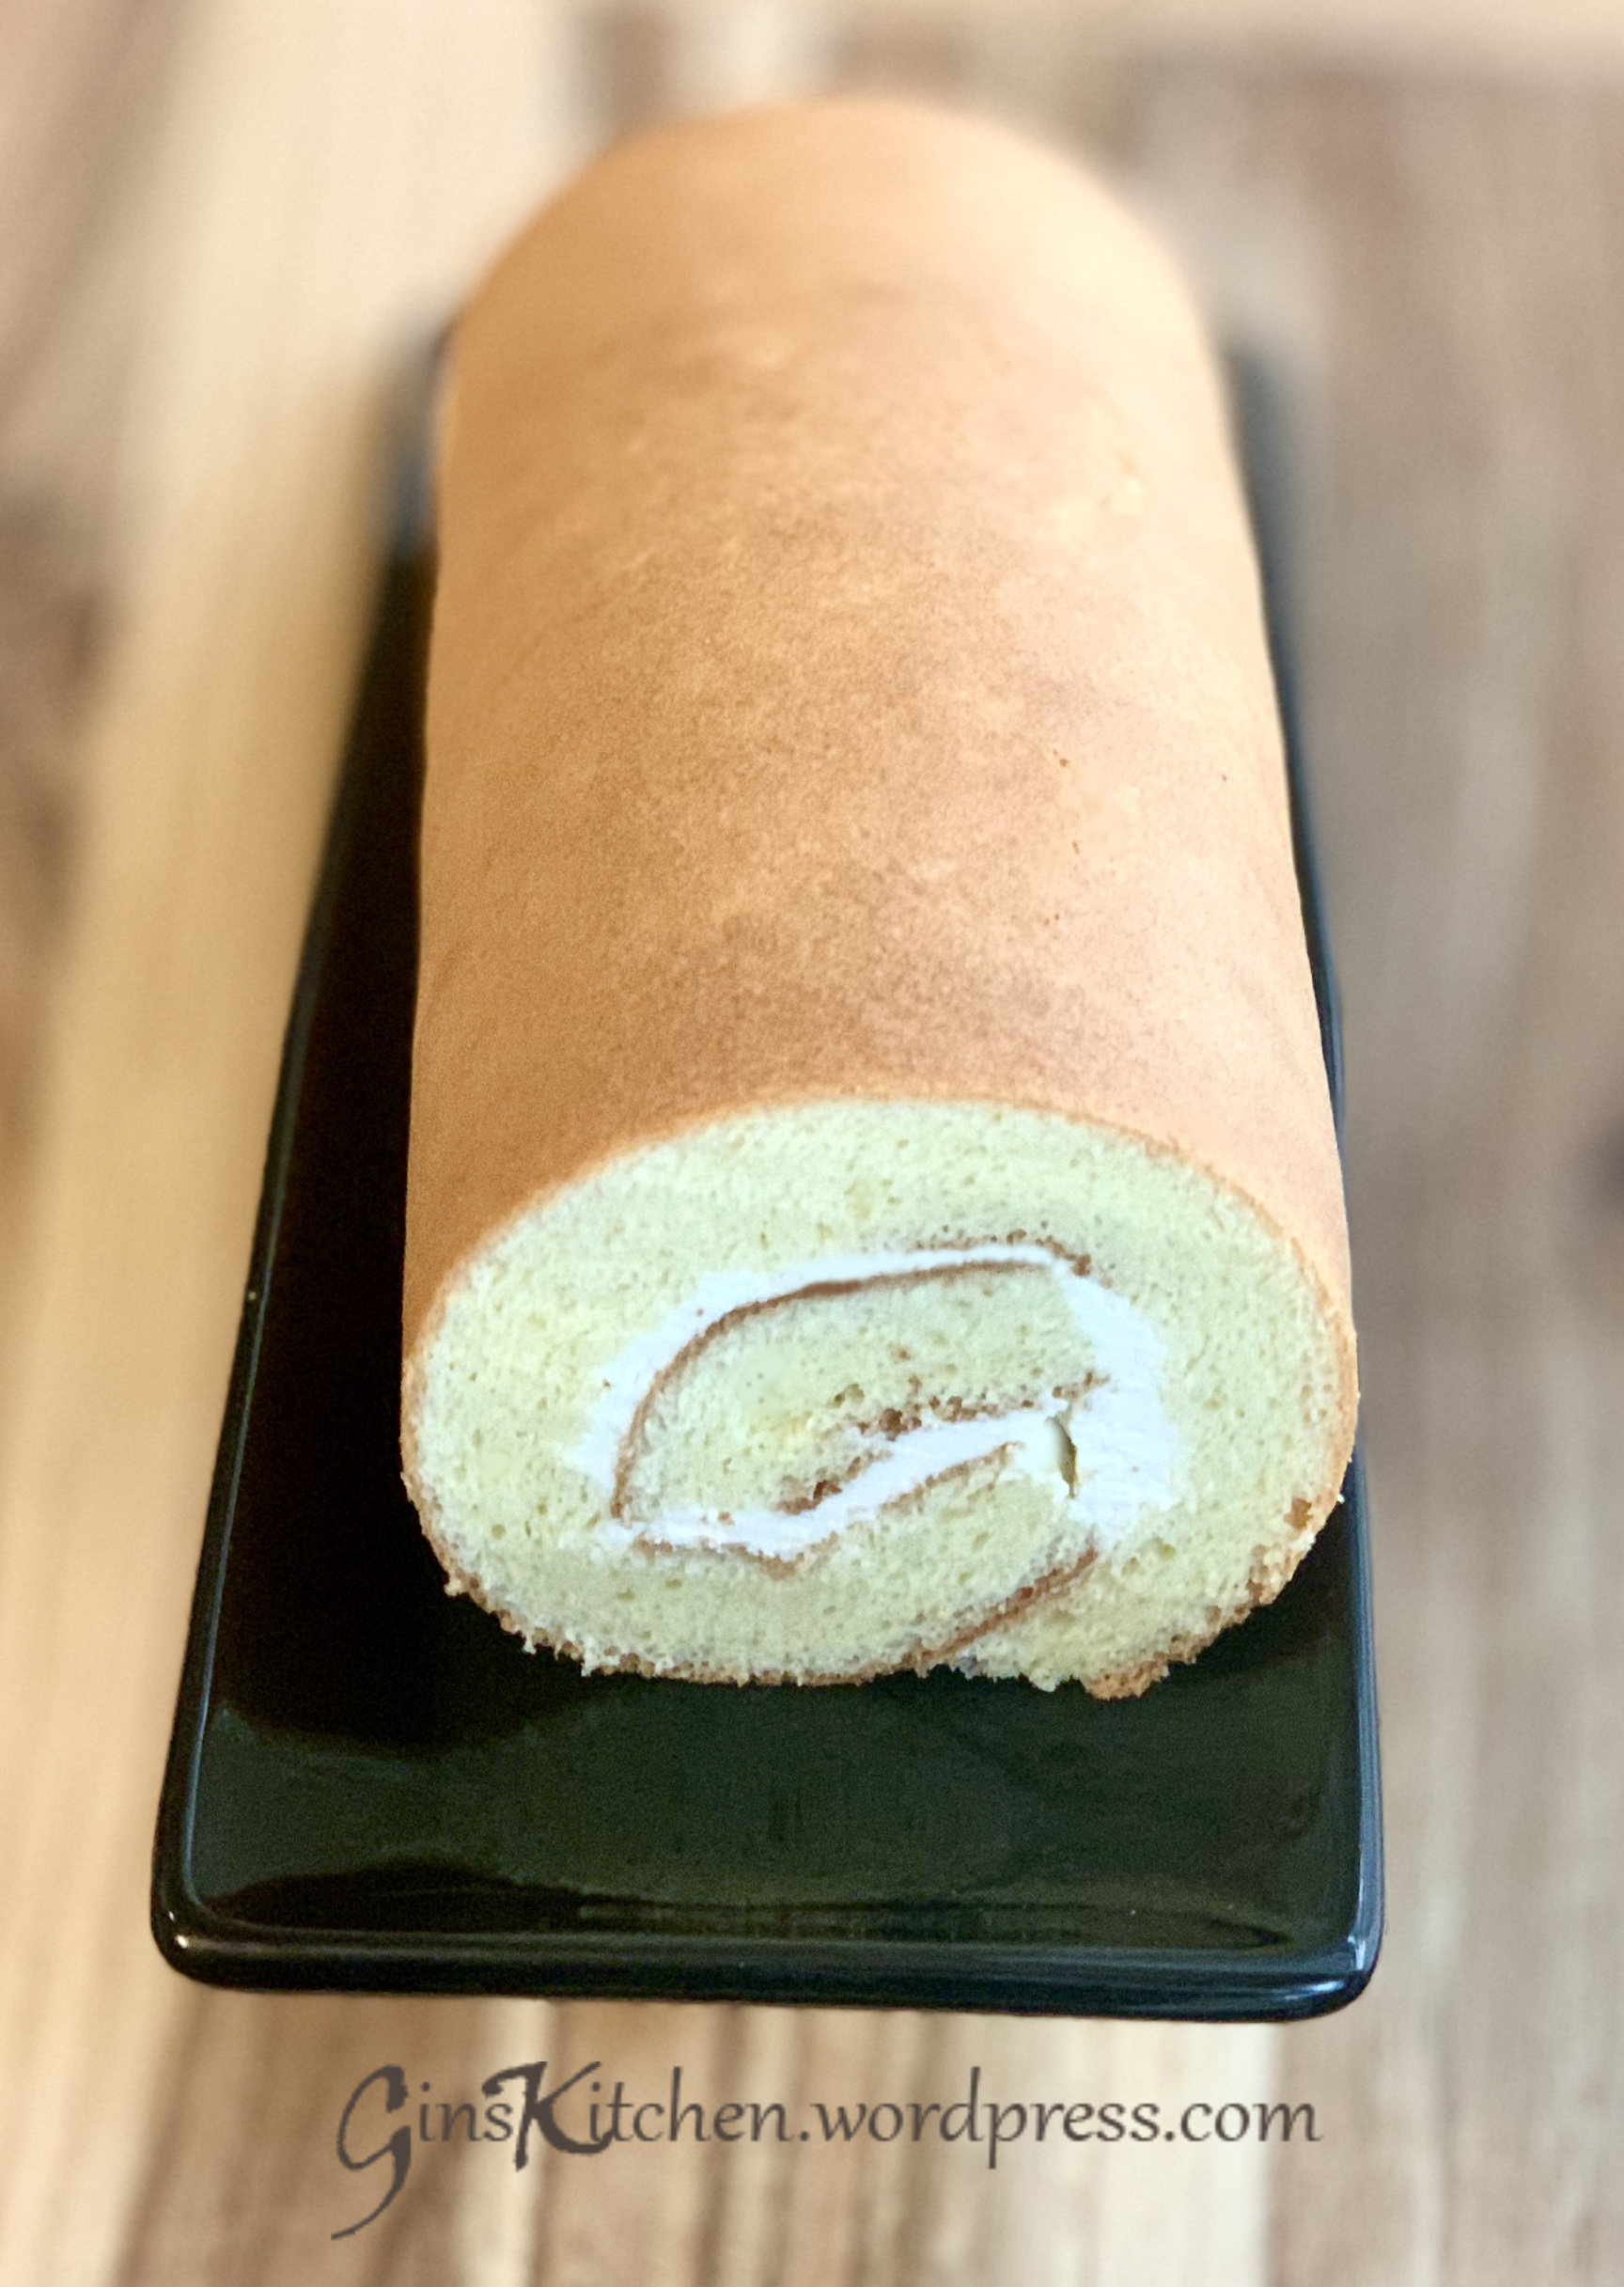
This fluffy and mildly sweet Swiss roll is my childhood favorite.  There weren’t too many choices back then, the most common ones were only chocolate, orange and plain.  The filling can be cream, butter cream, jam, red bean, etc. (you basically can put in anything you want), but I found that the whipped cream makes the best combination.  Besides this regular Swiss roll, I like the mocha, as well as the Matcha flavor (Matcha Swiss Roll recipe here).

I made this roll a few times, the first being a disaster.  The cake turned out really good; however, cracks were all over when I rolled it.  That cake was still tasty but it was just not presentable.  After making this cake a few times, I got a few tips — (i) do not over bake the cake, baking time between 10-13 minutes is the best; (ii) when whipping the egg whites, beat until soft peaks form (not stiff peaks form); (iii) cake pan cannot be too small, it’s harder to roll it up if it’s too thick; and (iv) pre-roll the cake while it’s still warm and flexible before applying the filling.  The size of my pan is 9″ x 13″, a slight bigger pan still will work but the cake will be thinner.

Ingredients A 
80gEgg yolk
1gSalt
35gSugar
Ingredients B 
72gCake flour
Ingredients C 
120gEgg white
55gSugar
Ingredients D 
45gOil
40gMilk

Cream filling:

1 CupHeavy whipping cream
1 TbspPowdered sugar
1 TbspVanilla instant pudding

Directions:

  1. Preheat oven to 338°F (170°C). Line bottom of a 9×13-inch pan with parchment paper.
  2. Separate the egg yolks and egg whites into two bowls.
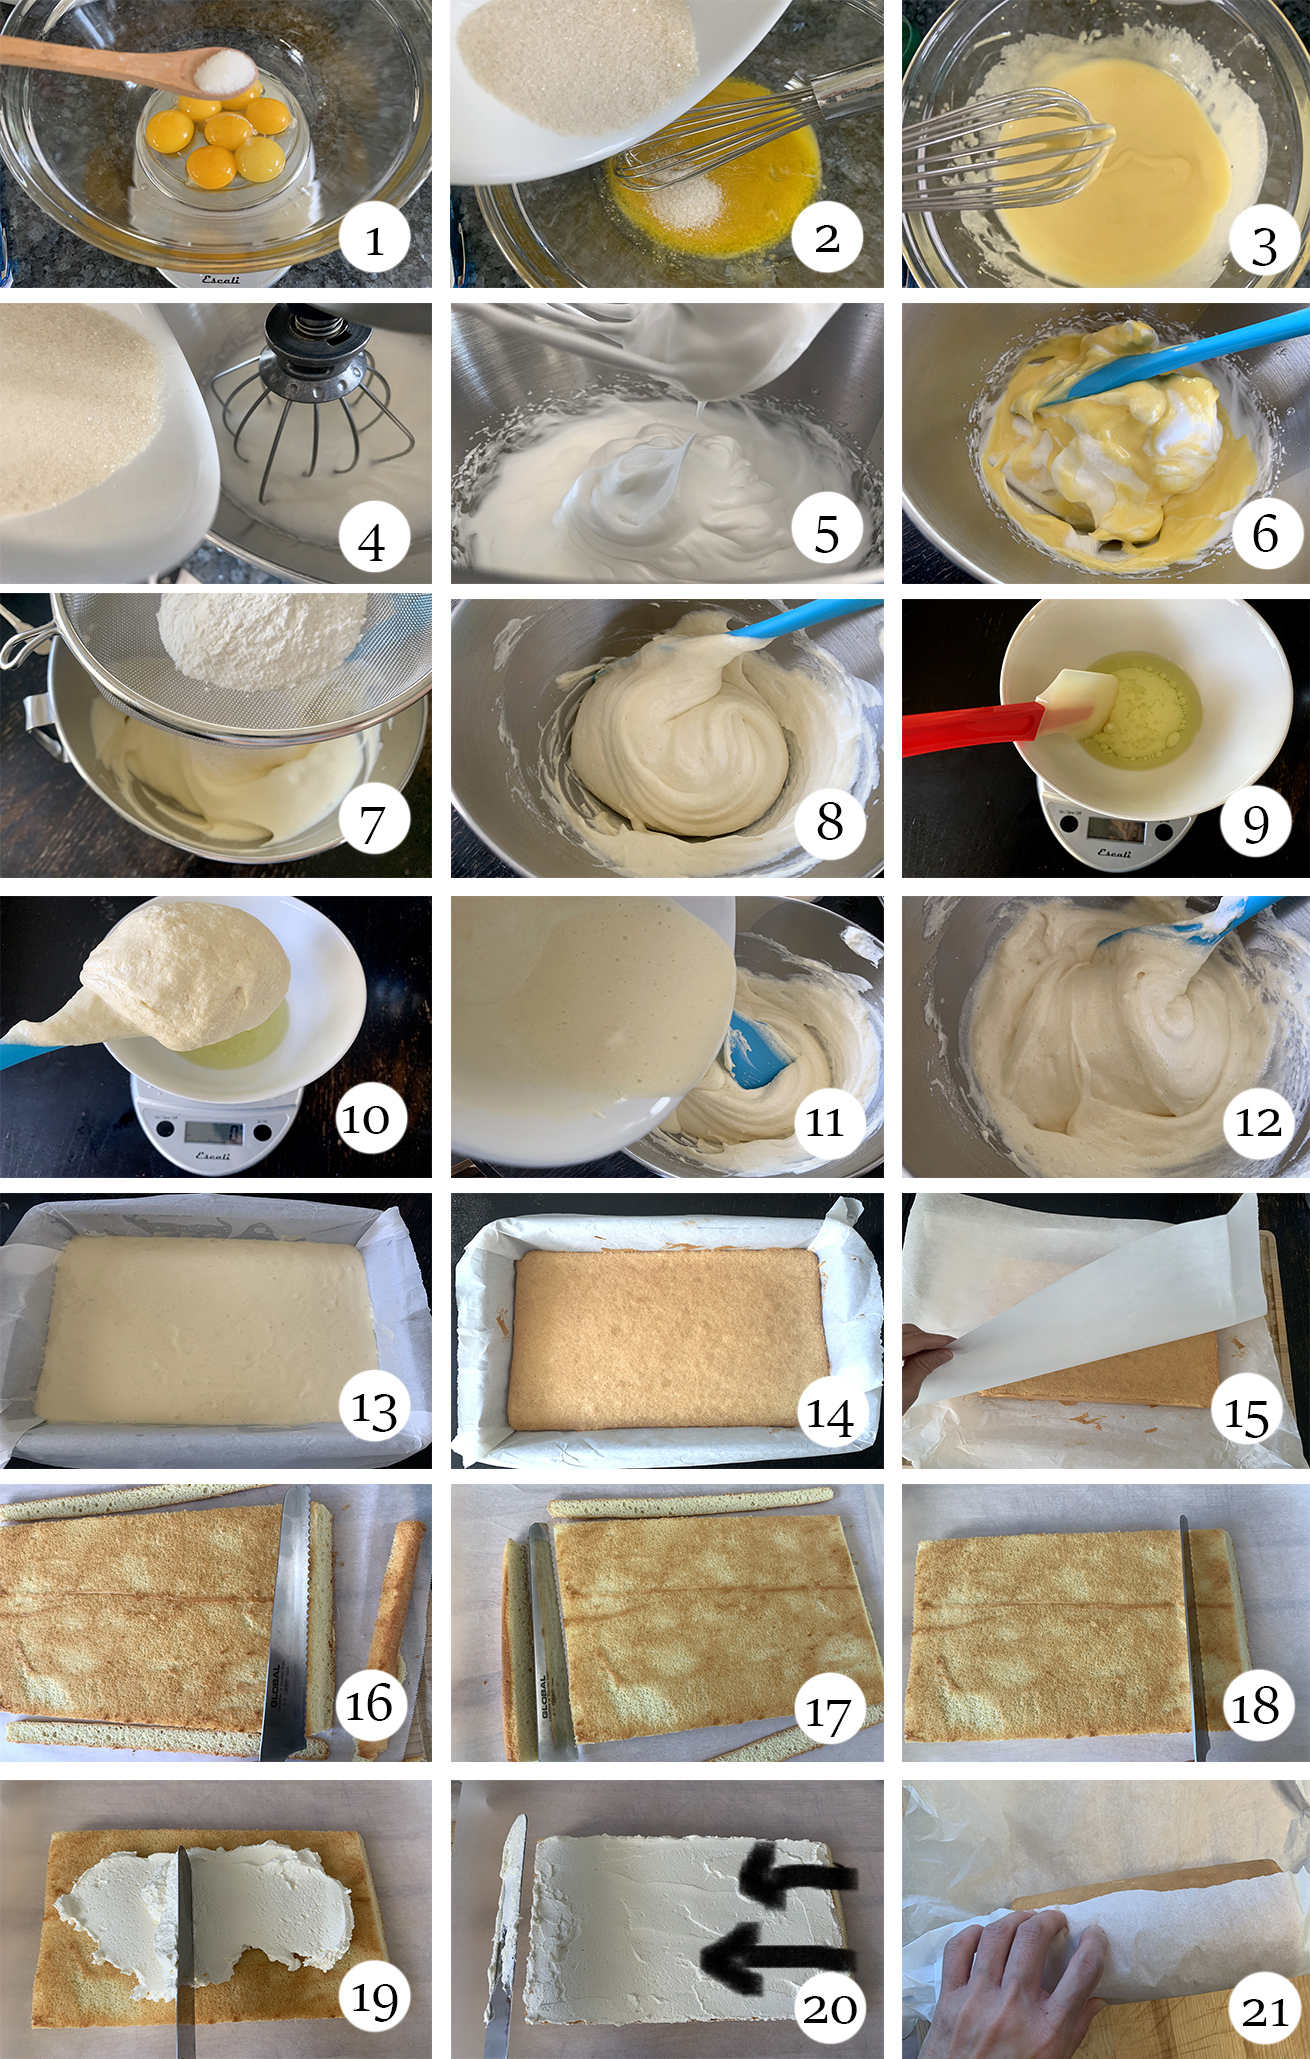
  3. In a large bowl, add salt to egg yolks and mix well.  Add in 35g of sugar, beat until thick and lemon colored.  (Pictures 1-3)
  4. In a mixing bowl, beat egg whites until foamy, gradually add sugar and beat until soft peaks form.  (Pictures 4 and 5)
  5. Pour the egg yolk mixture into the egg whites and gently fold to combine with a spatula.  (Picture 6)
  6. Sift the flour into the egg mixture and gently fold to combine.  (Pictures 7 and 8)
  7. Combine oil and milk in a bowl.  Measure out 80g of the egg batter and add it into the oil and milk container, mix until combined.  (Pictures 9 and 10)
  8. Pour the oil mixture into the egg batter, gently fold to combine.  (Picture 12)
  9. Pour the batter into the prepared pan.  Spread the batter evenly and tap the pan several times.  This will remove air bubbles inside the batter.  (Picture 13)
  10. Bake for about 13 minutes, remove the cake from the pan as soon as it is ready.  Allow it to cool for about 10 mins.  (Picture 14)
  11. Put a piece of parchment paper on top of the cake (you may want to lightly spray the parchment paper with oil to prevent the skin from sticking), and flip the pan over (now the bottom is on top). Peel away the original parchment paper from the bottom of the cake. (Picture 15)
  12. Trim the top and bottom edges.  Also hold the knife at a 30 degree angle and trim the right and left edges. (Pictures 16 and 17)
  13. Using a knife to score 2 lines along the cake from the right edge, careful not to cut all the way into the cake.  (Picture 18) Note:  optional – you can pre-roll the cake on the parchment paper now and let it cool completely, about 20 mins.
  14. Spread an even layer of whipped cream over the cake.  (Picture 19)
  15. Tightly roll the cake from the right side toward the left side (see arrows from picture 20 below).
  16. Secure the roll by putting a tape on or twisting the parchment paper at both ends.  Refrigerate for 1 hour before serving.  (Picture 21)
collage

How to make the filling:

  1. Prepare the filling by whisking the cold whipping cream, add in 1 Tbsp of powdered sugar and whip until the cream starts to get thicker.  (Picture A)
  2. Add 1 Tbsp of vanilla instant pudding.  (Picture B)
  3. Whip until stiff peaks form.  (Picture C)
cream collage

The outside of the cake can be decorated with a layer of ganache or sprinkled powdered sugar on top.  The Chinese version is usually light and less sweet, as it tastes good without any toppings.   Perhaps when there are cracks all over the cake, a layer of ganache can hide them.
Swiss Roll
Swiss Roll slices
Swiss Roll 2

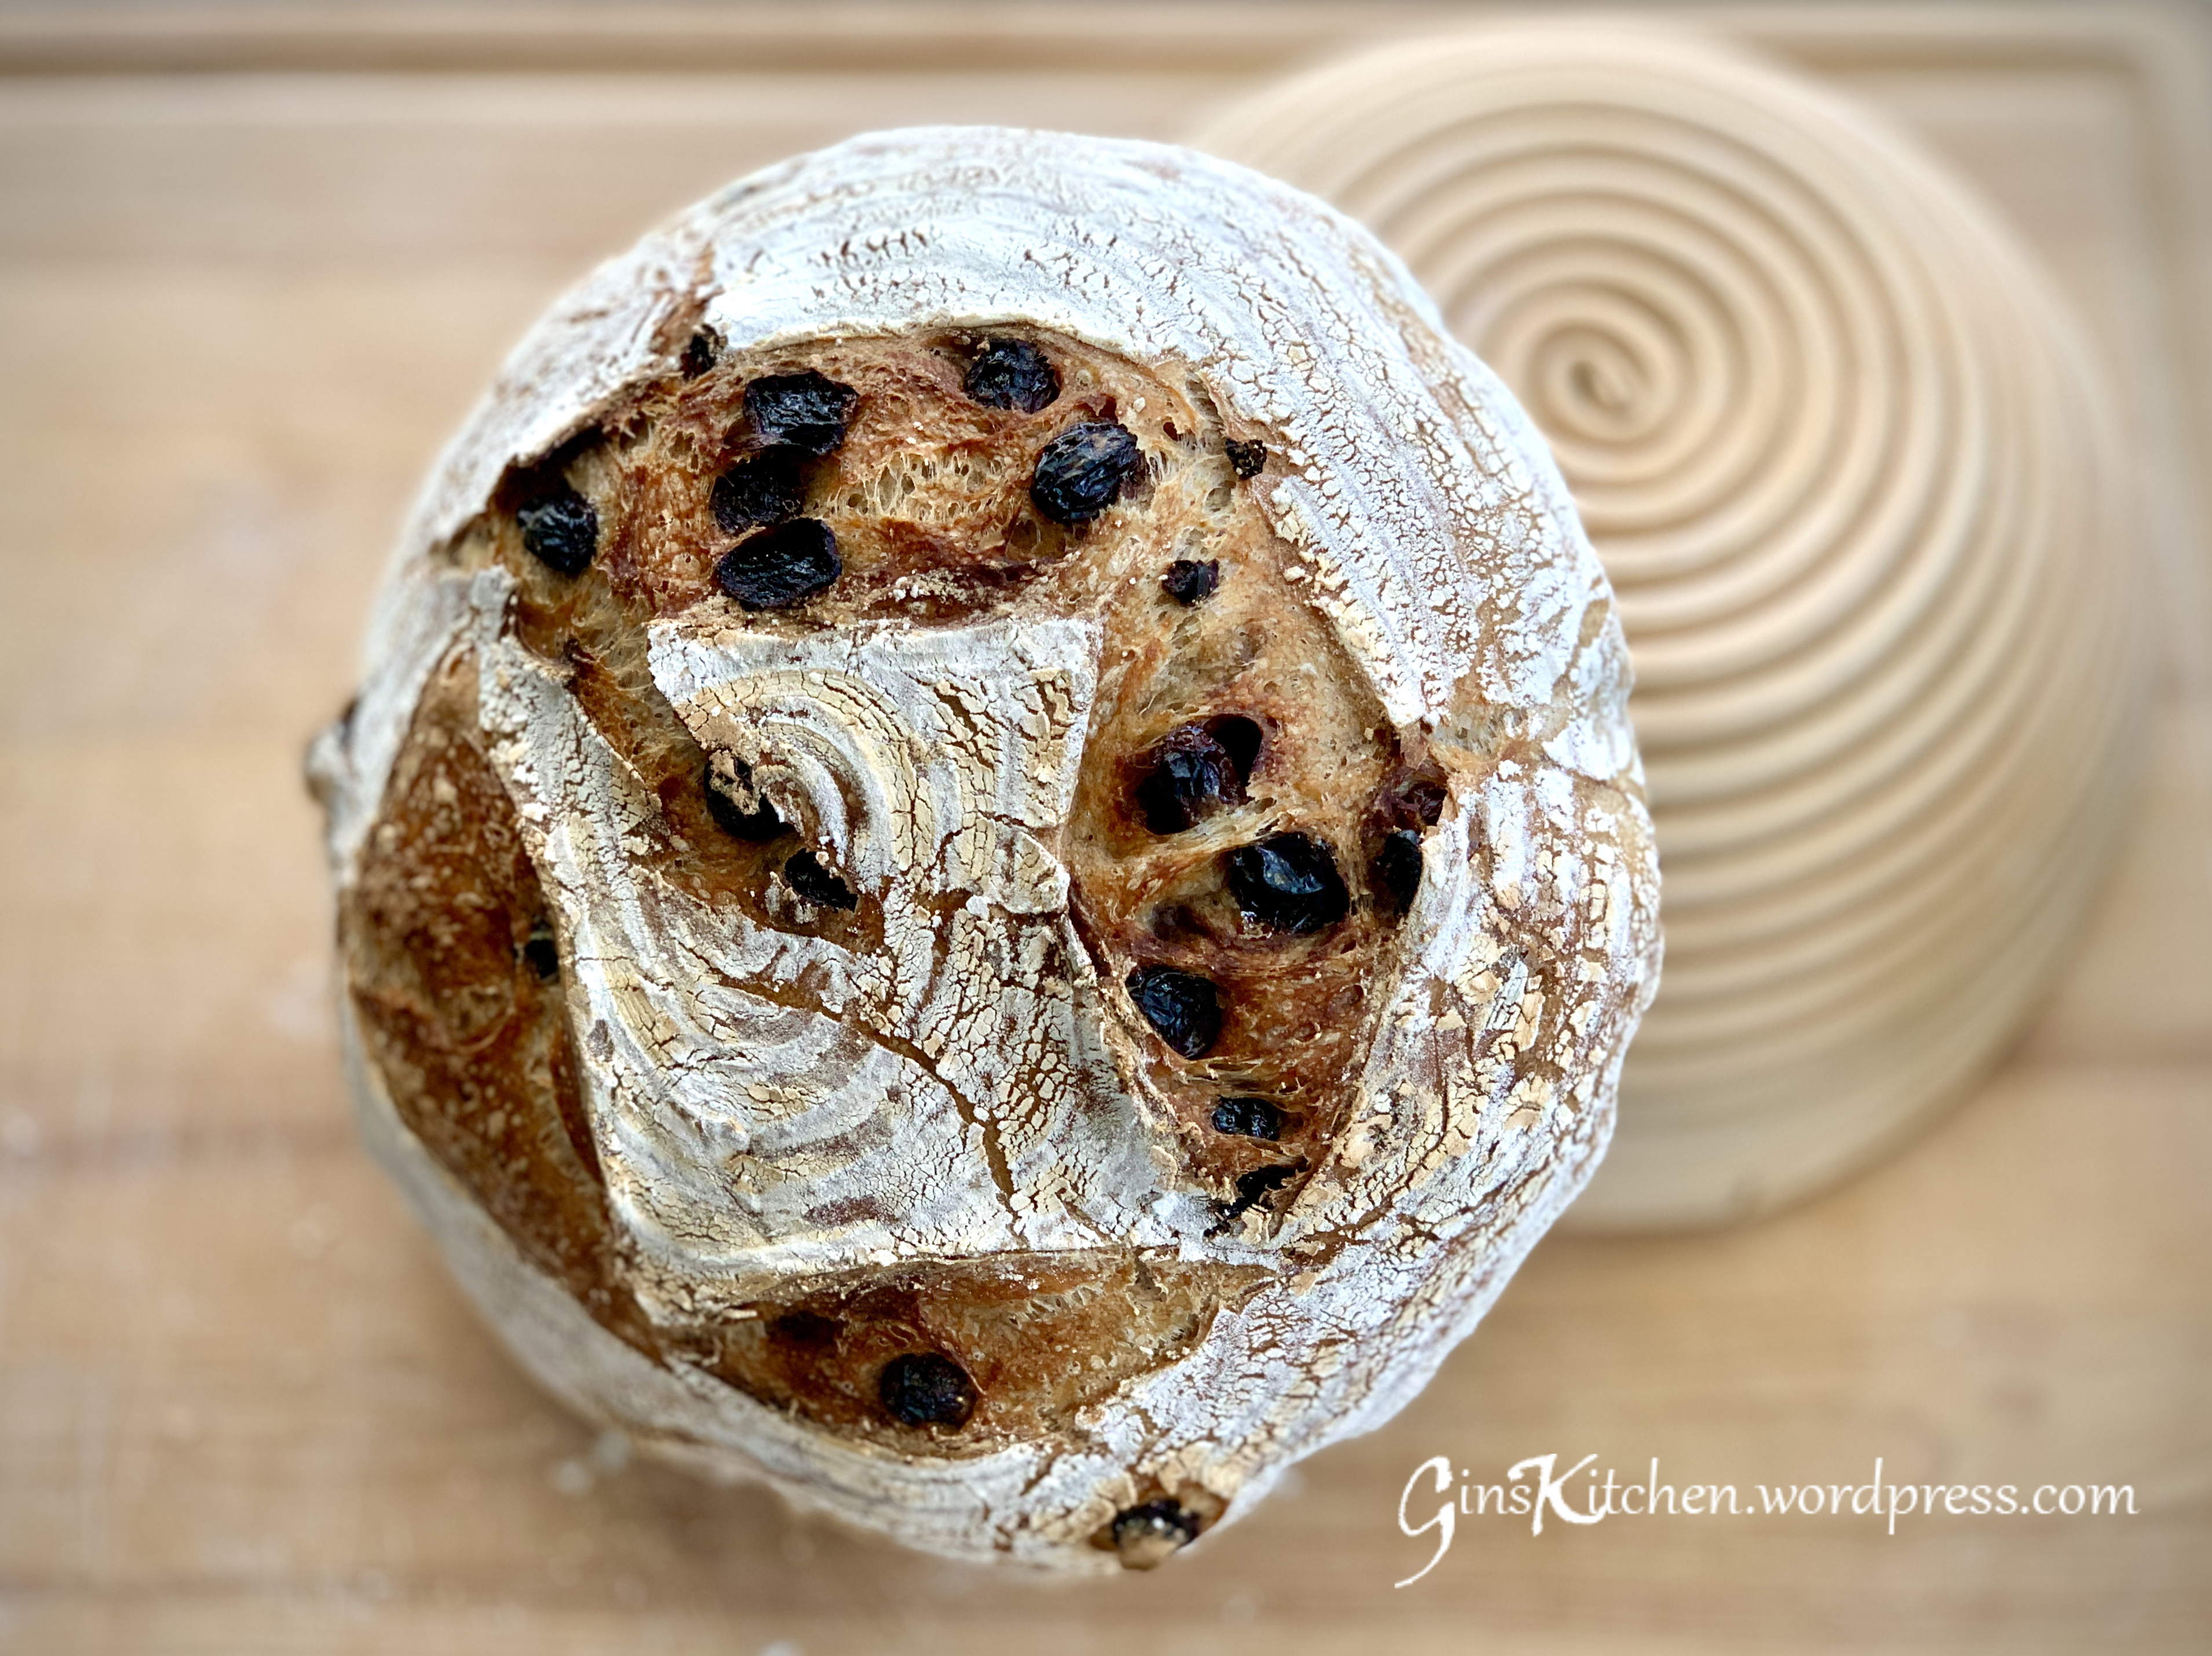
Raisin Cinnamon Sourdough Bread


Cinnamon Raisin Sourdough
Raisin sourdough

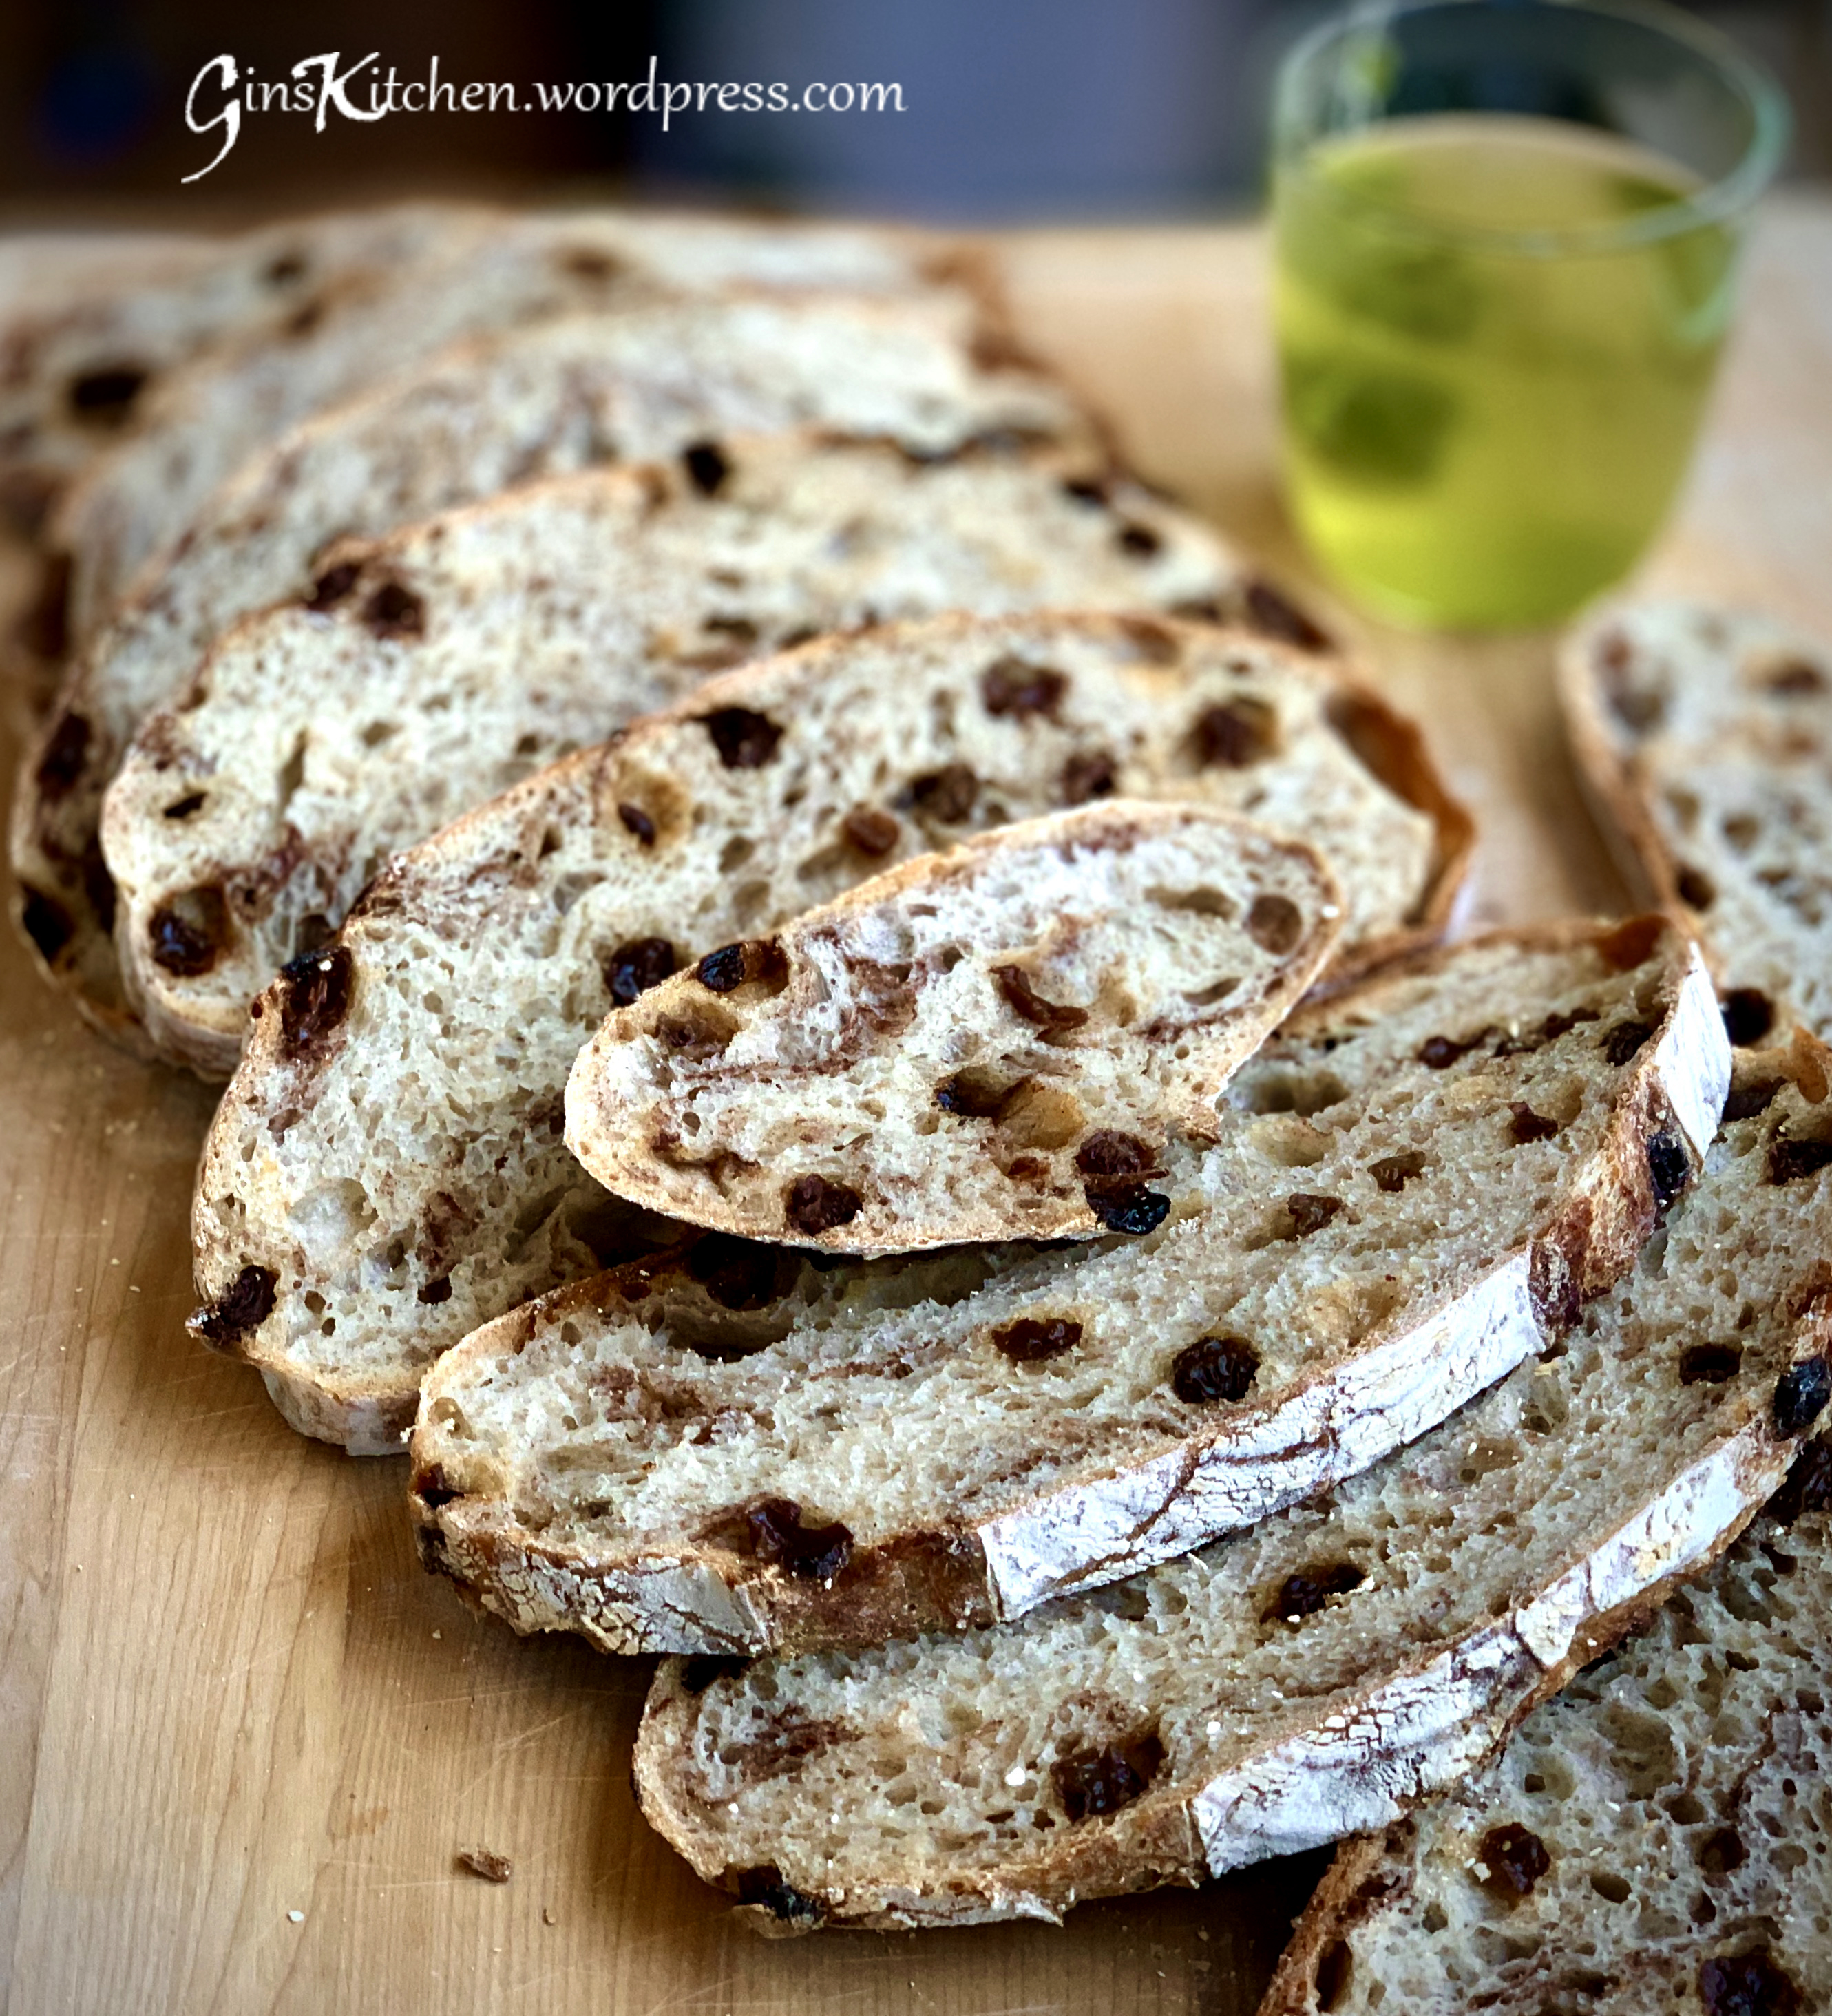
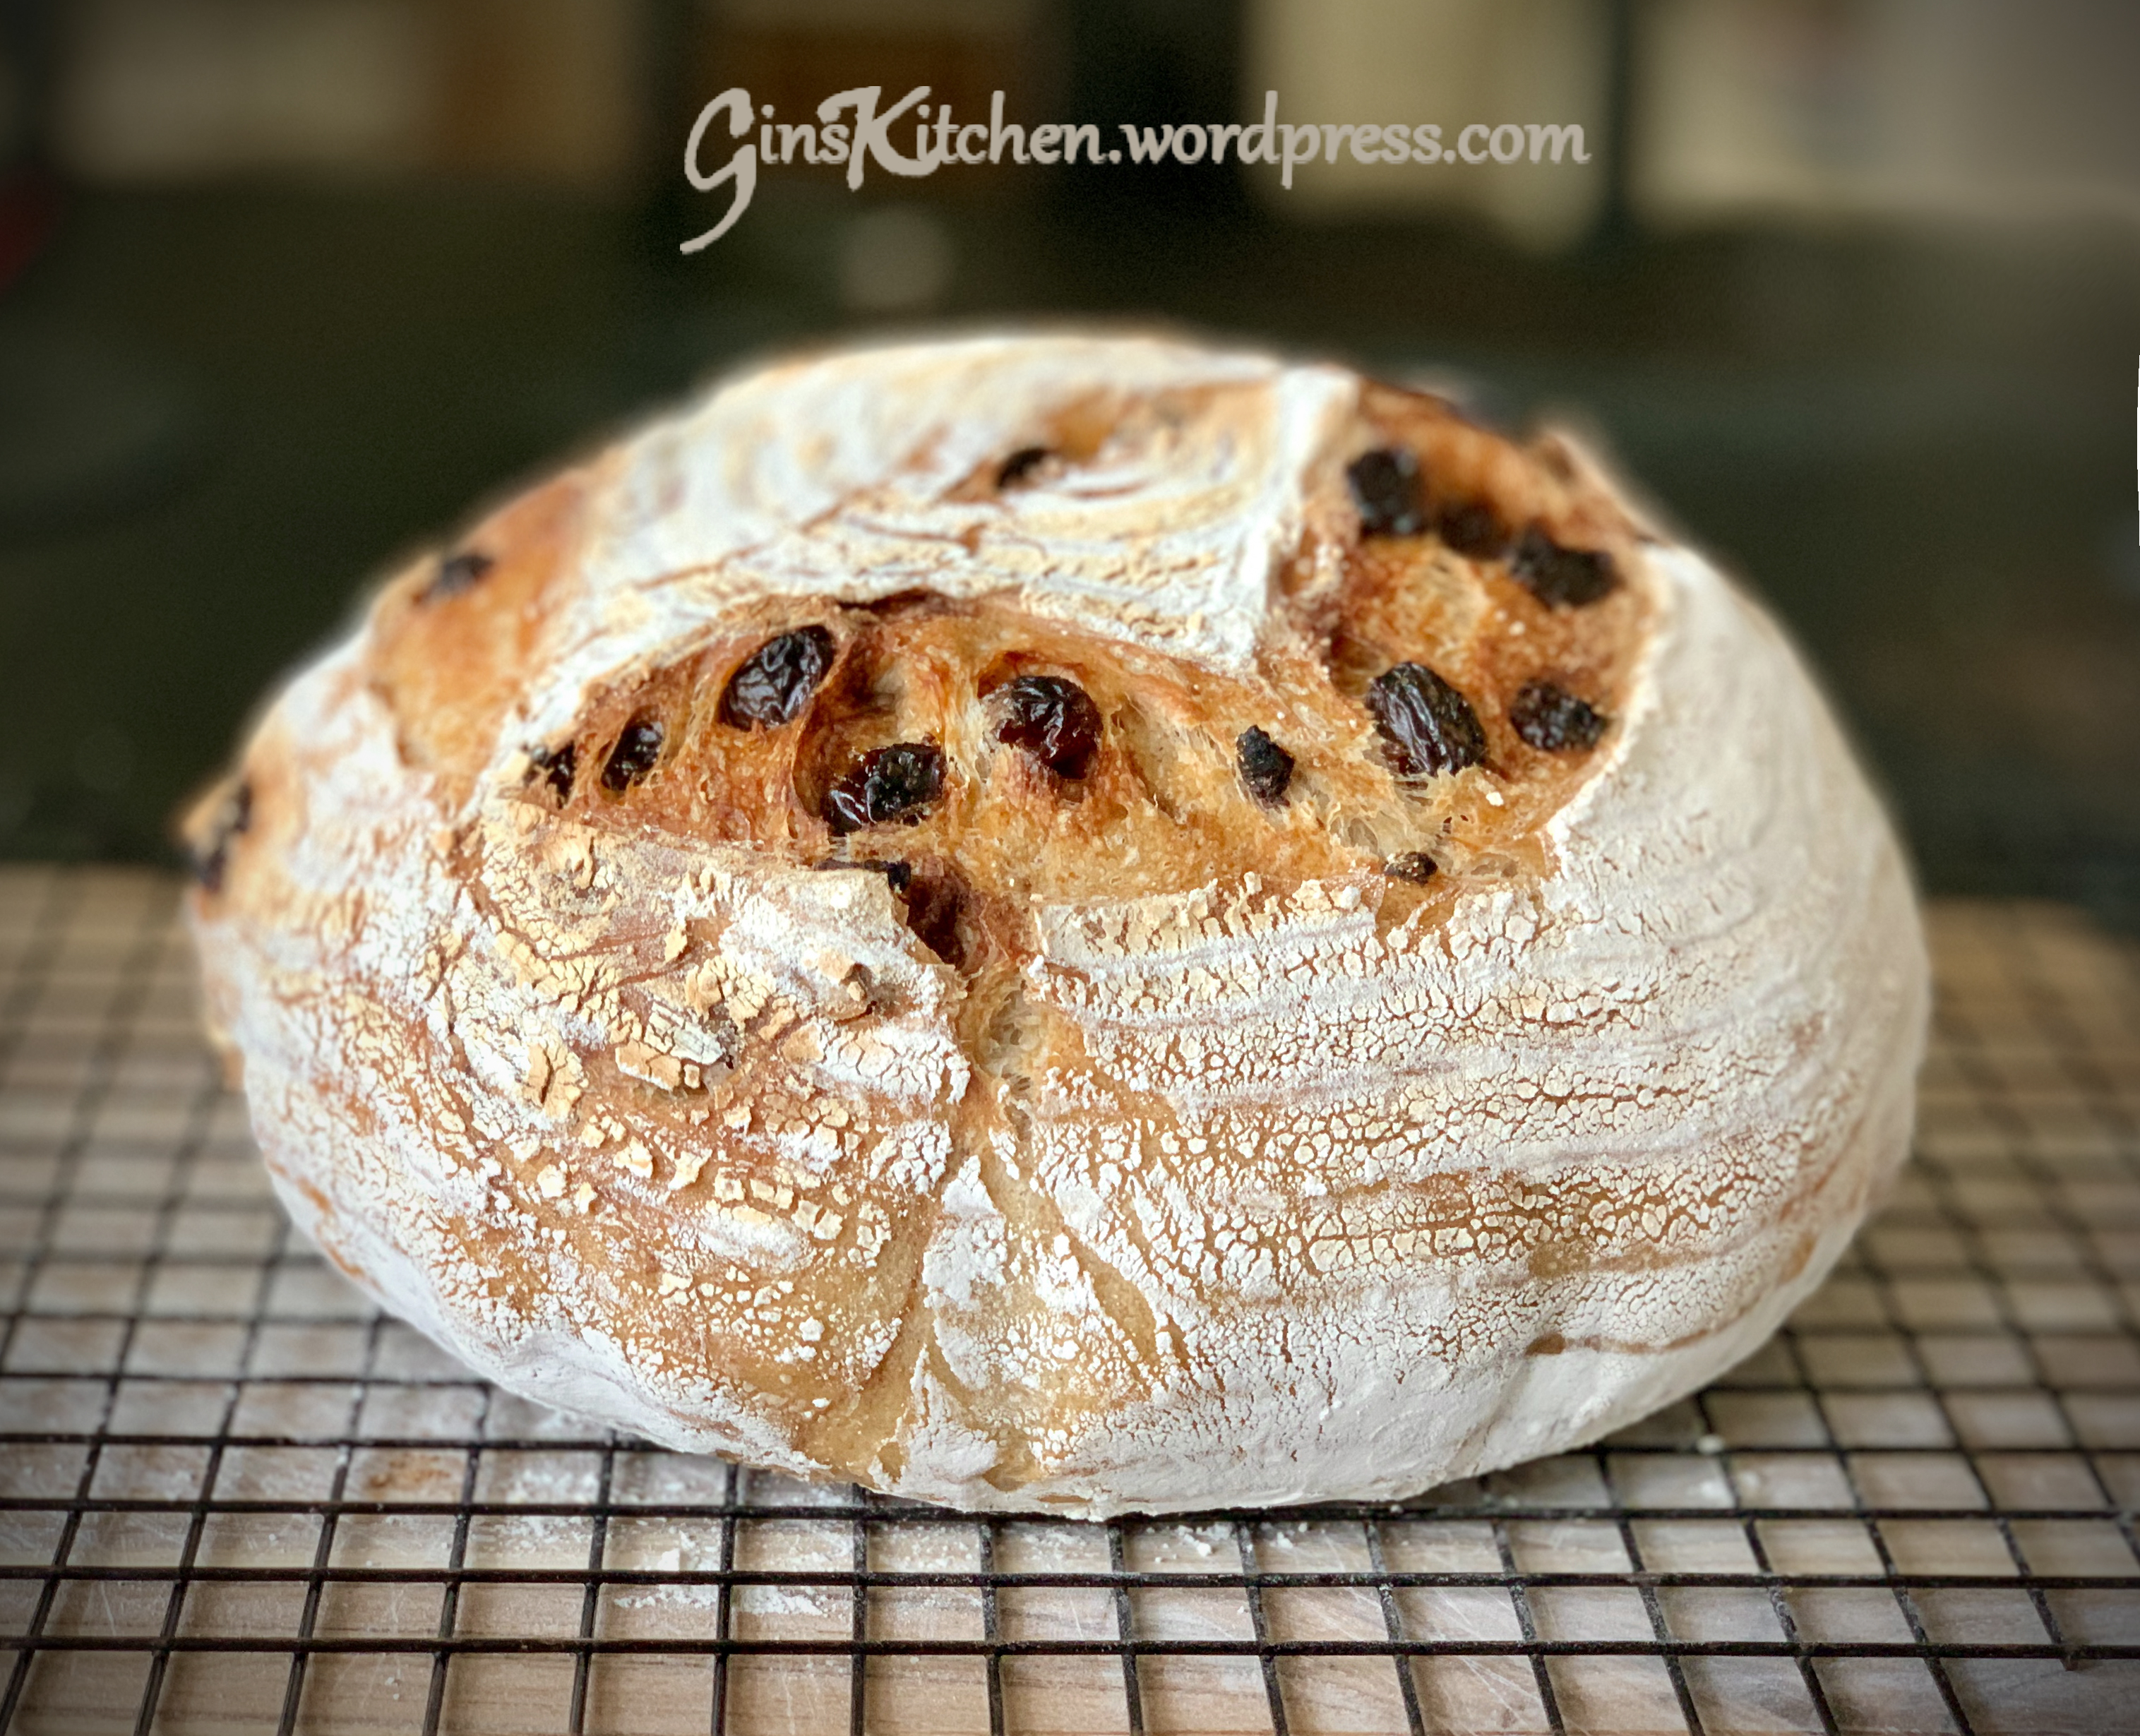
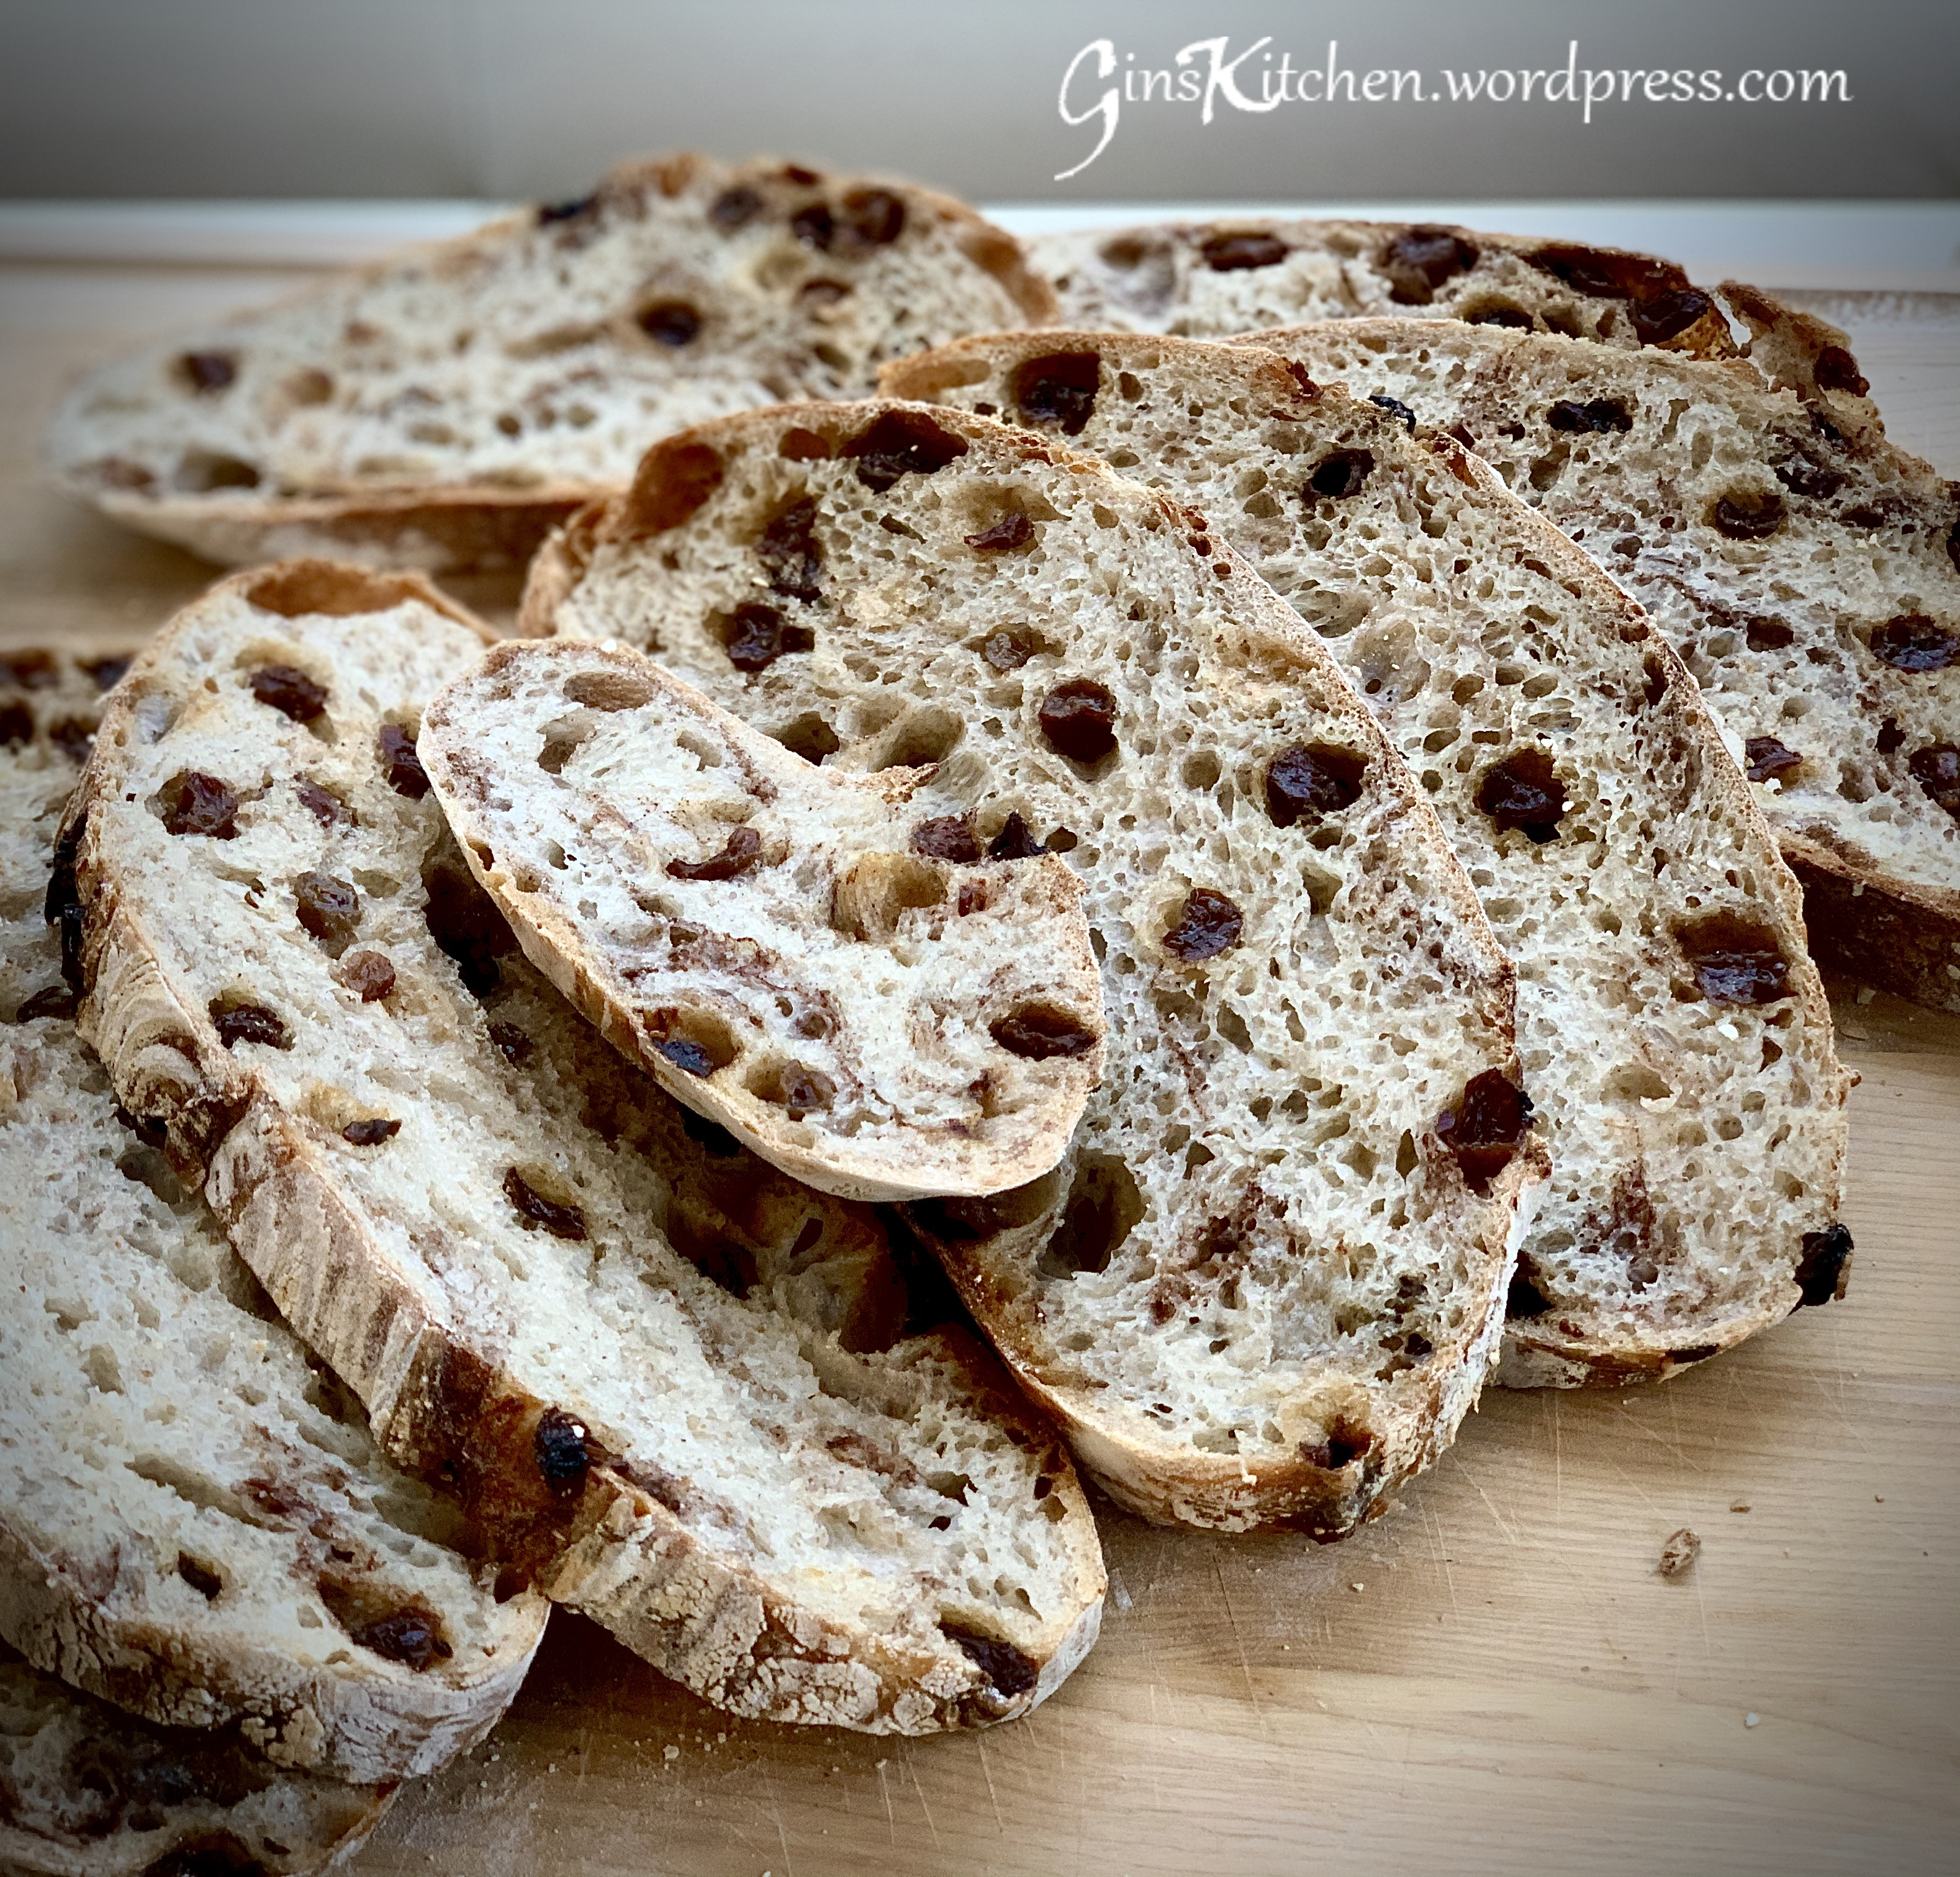
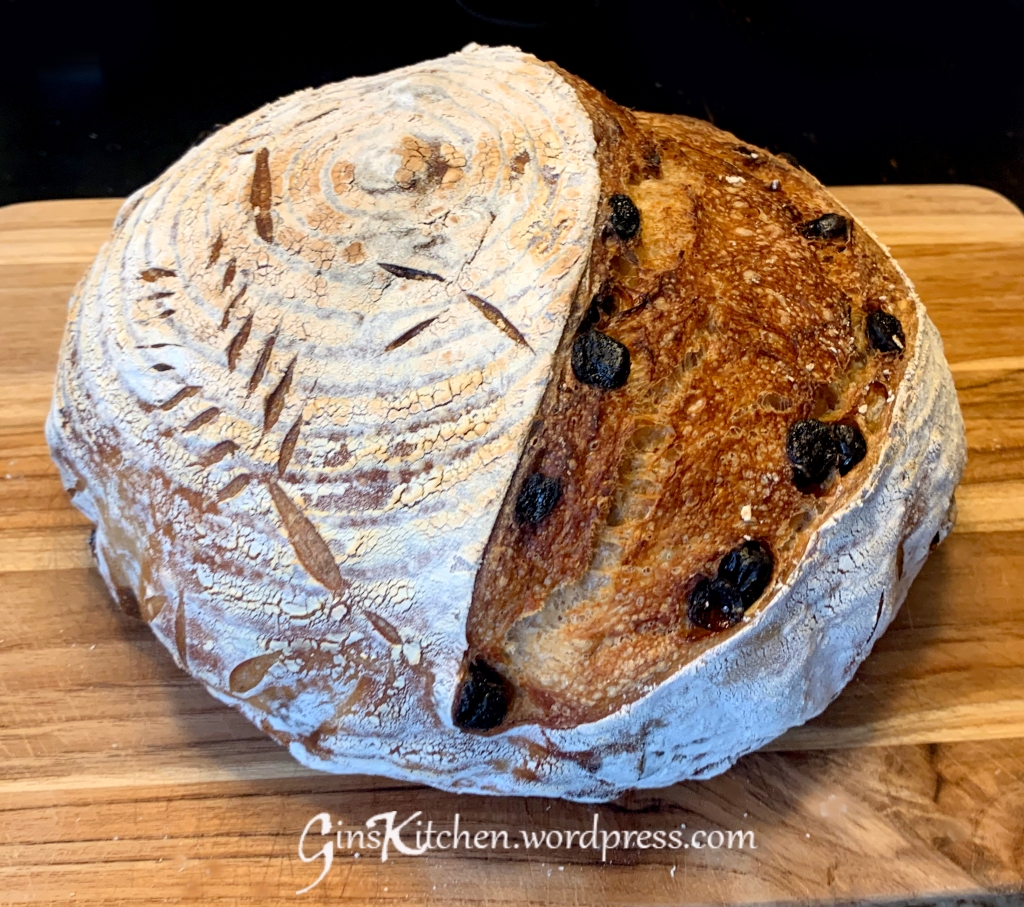
Lately, I feel like I’m hooked to sourdough baking.  Not only is the texture and the taste of the bread addictive, but the whole bread making process is addictive as well.  I just can’t describe the excitement I had when I took one successfully baked loaf out of my oven.  My friend is an amazing baker whose Instagram is yhsourdough; you can follow her to see all the amazing sourdough bread she bakes.  Although I didn’t get this Raisin Cinnamon Sourdough recipe from her, I learned from her that cinnamon breaks down gluten, and I should incorporate it to the dough towards the end of the bulk fermentation.  I still have a lot to learn, but this raisin cinnamon bread surely has a good texture and taste.

Ingredients (Hydration is about 72%):

Step 1 – Mix and rest for 1 hour

400gBread Flour
35gDark Rye Flour
15gSpelt Flour
320gWater

Step 2 – Mix and rest for 30  mins

10gSalt
90gStarter
3gGround Cinnamon

Step 3 – Soak the Raisins

120gRaisin
¼ tspVanilla extract
½ cupWater

If you already have your own sourdough starter, get it ready.  To make it from scratch, plan at least 7 days ahead of time (it may take up to 2 weeks if the weather is cold), please follow King Arthur’s sourdough starter recipe here.

2
Levain float test

Directions:

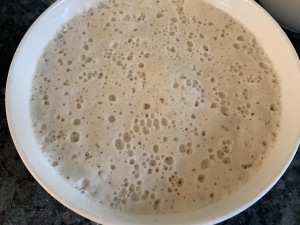
  1. Feed your starter with equal amount of water, flour and starter until it is active and ready to use (you will see a lot of bubbles, or you can run the float test if a levain is ready to use.  A small amount of levain is scooped out and dropped into a glass of room temperature water, and if it floats, it’s ready).  (Pictures above)
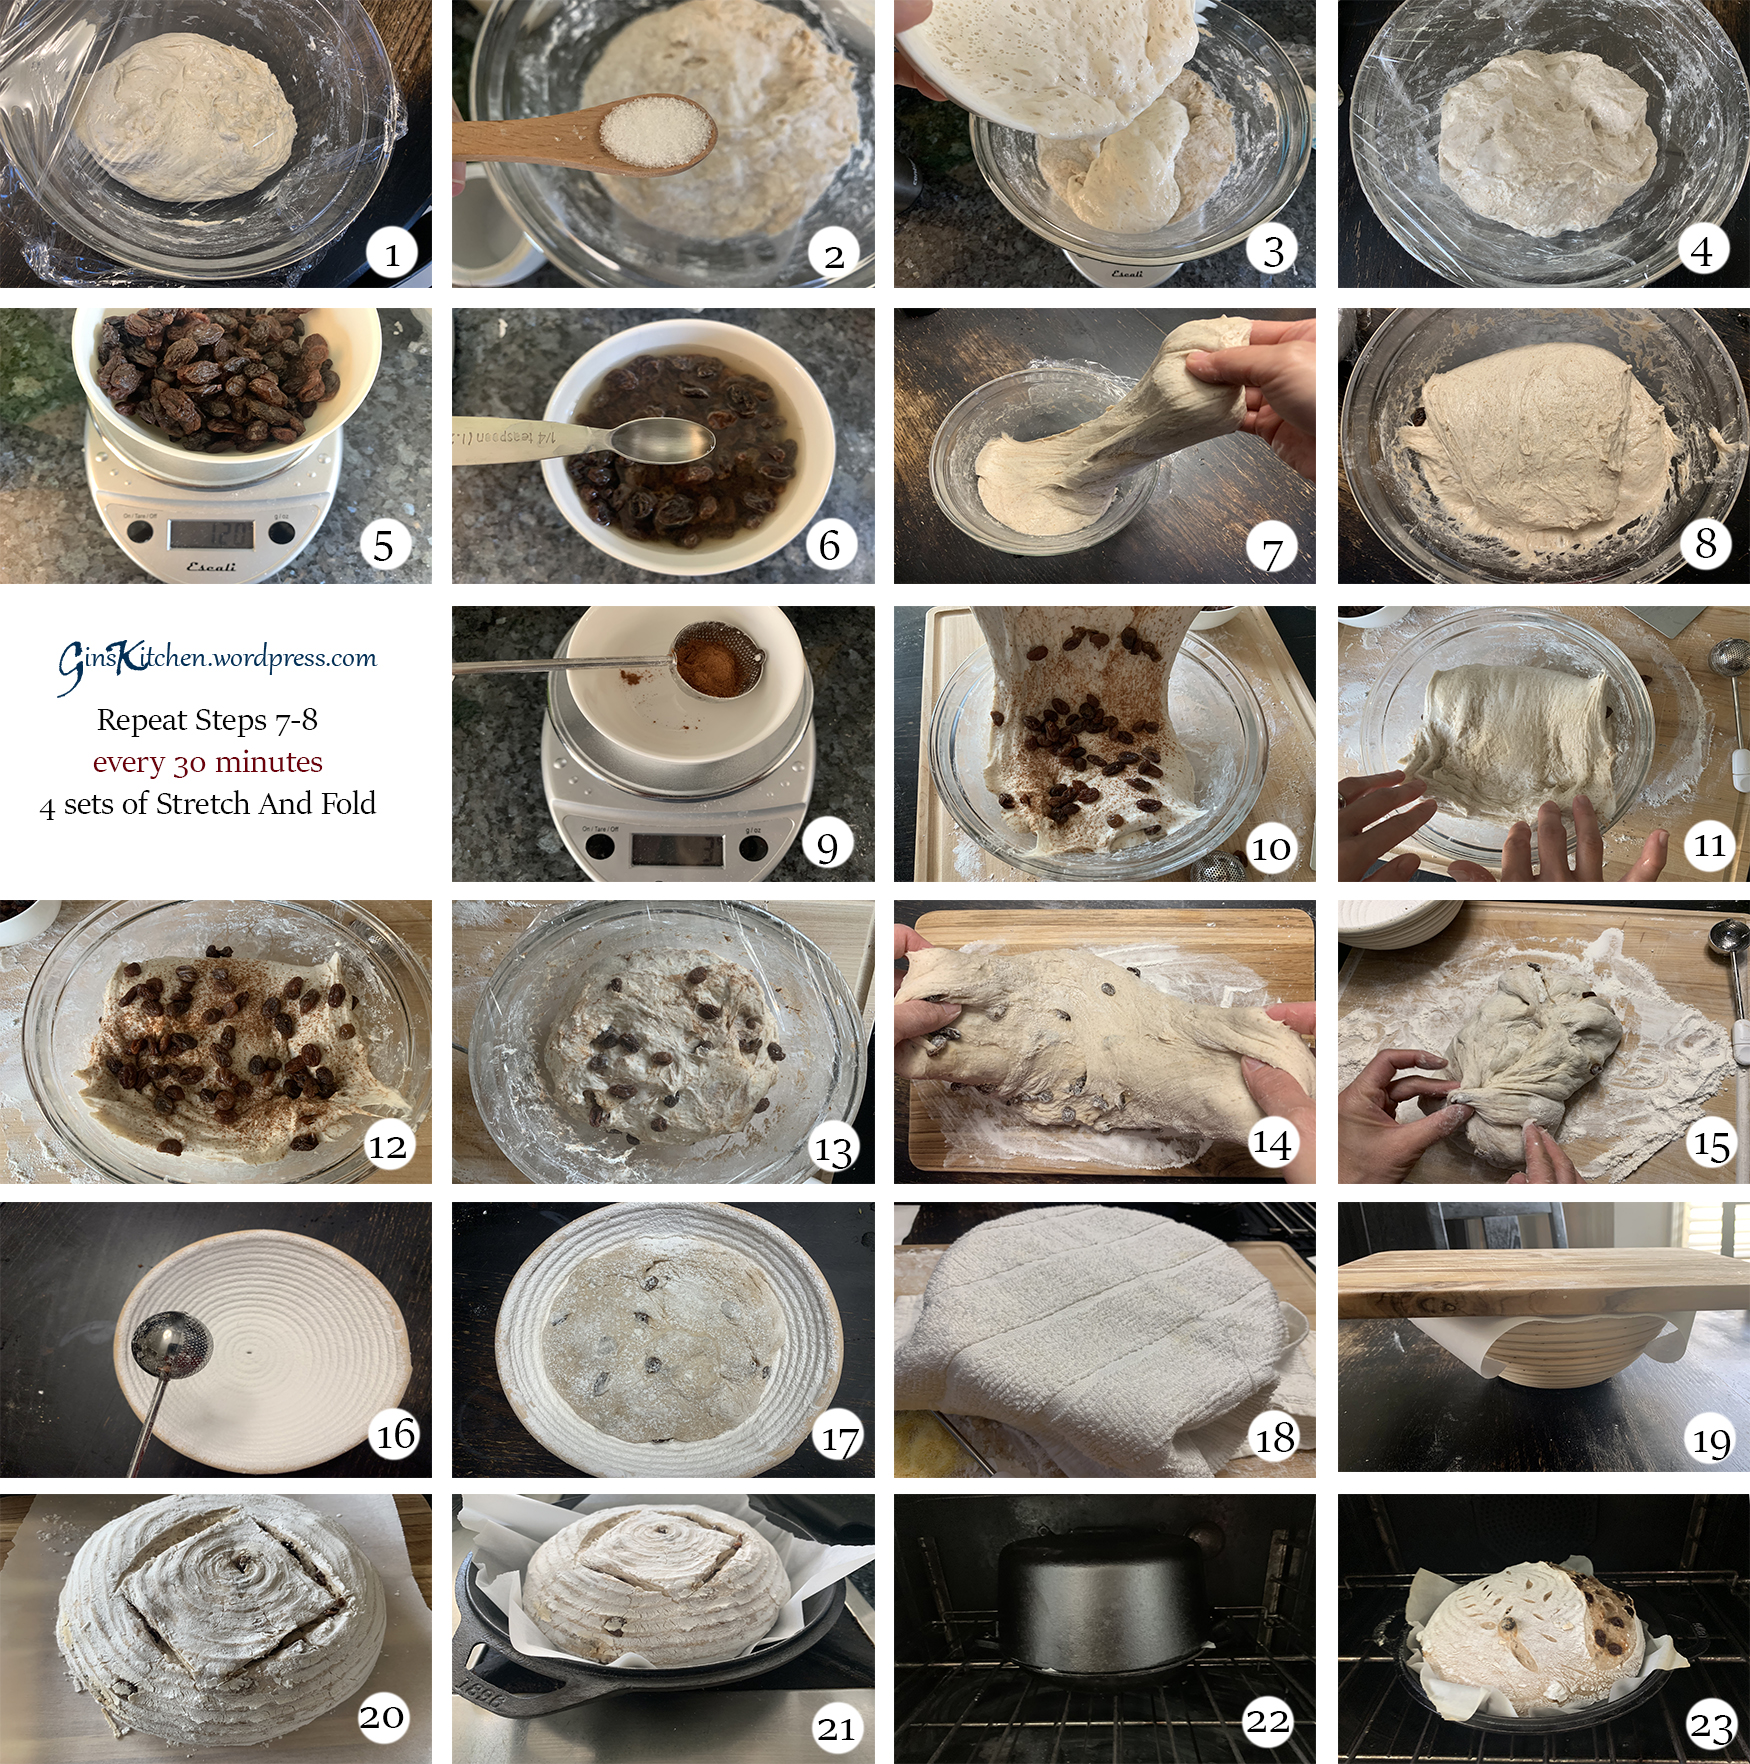
  2. In a mixing bowl, combine all flour and water.  Cover with a towel or plastic wrap and let it rest in room temperature for 1 hour.  (Pictures 1)
  3. After 1 hour, add 90g of starter, 10g of salt.  Use your hand to pinch and fold the dough over and over to get it nice and mixed.  The dough is much more wet and sloppy than it was during the first mix.  Cover the dough and set the timer for 30 minutes.  (Pictures 2 & 4)
  4. Soak 120g raisins with 1/2 cup of water (water should be enough to cover the raisins).  Add 1/4 teaspoon of vanilla extract, mix well.  (Pictures 5 & 6)
  5. Now we are going to stretch and fold the dough – Lift one side of the dough straight up until you meet resistance and fold it across the center.  Turn the bowl 90 degree and perform the stretch-and-folds (the dough is probably very relaxed in the beginning).  Once you have finished all the way around the bowl back to where you started, you have completed one set.  Cover the dough with plastic wrap and set the timer for 30 minutes.  (Pictures 7 & 8)
  6. Repeat Step 4 above three more times.
  7. After the last set of stretch-and fold, stretch the dough and sprinkle cinnamon and raisins.  Fold the dough down and sprinkle another layer of  cinnamon and raisins to the dough.  Repeat this step until you finish all the cinnamon and raisins.  (Pictures 9-12)
  8. Cover the dough with plastic wrap and let it rest for 1-2 hours.  (Picture 13)
  9. Dust your work surface with flour, fold the dough a couple of times and shape the dough to a ball.  (Pictures 14-15)
  10. Dust the banneton basket with rice flour, carefully transfer the dough to the basket. Cover with a towel and put it in the refrigerator for 5-10 hours/overnight.  (Pictures 16-18)
collages

Baking the bread:

  1. During the dough’s last 45 minutes of final proof, preheat the oven and the cast iron pan at 500F (preheating the pan for at least 45 minutes).
  2. Remove the basket from the fridge.  Put a piece of parchment paper on top of the banneton basket and put a chopping board on top of the parchment paper. (Picture 19)
  3. Now hold the basket and chopping board tight and flip over the banneton basket.  You can score the dough now.  (Picture 20)
  4. Remove the cast iron pan from the oven and slide the dough to the pan.  (Picture 21)
  5. Cover the cast iron pan and turn the oven temperature down to 450F and set the timer to bake for 20 minutes.  (Picture 22)
  6. After 20 minutes, uncover the pan and continue to bake for another 20 minutes.** (Picture 23)
  7. Let the bread cool down completely on a cooling rack before slicing it.

Note:  Each oven is different, you may need to adjust the cooking time for longer.

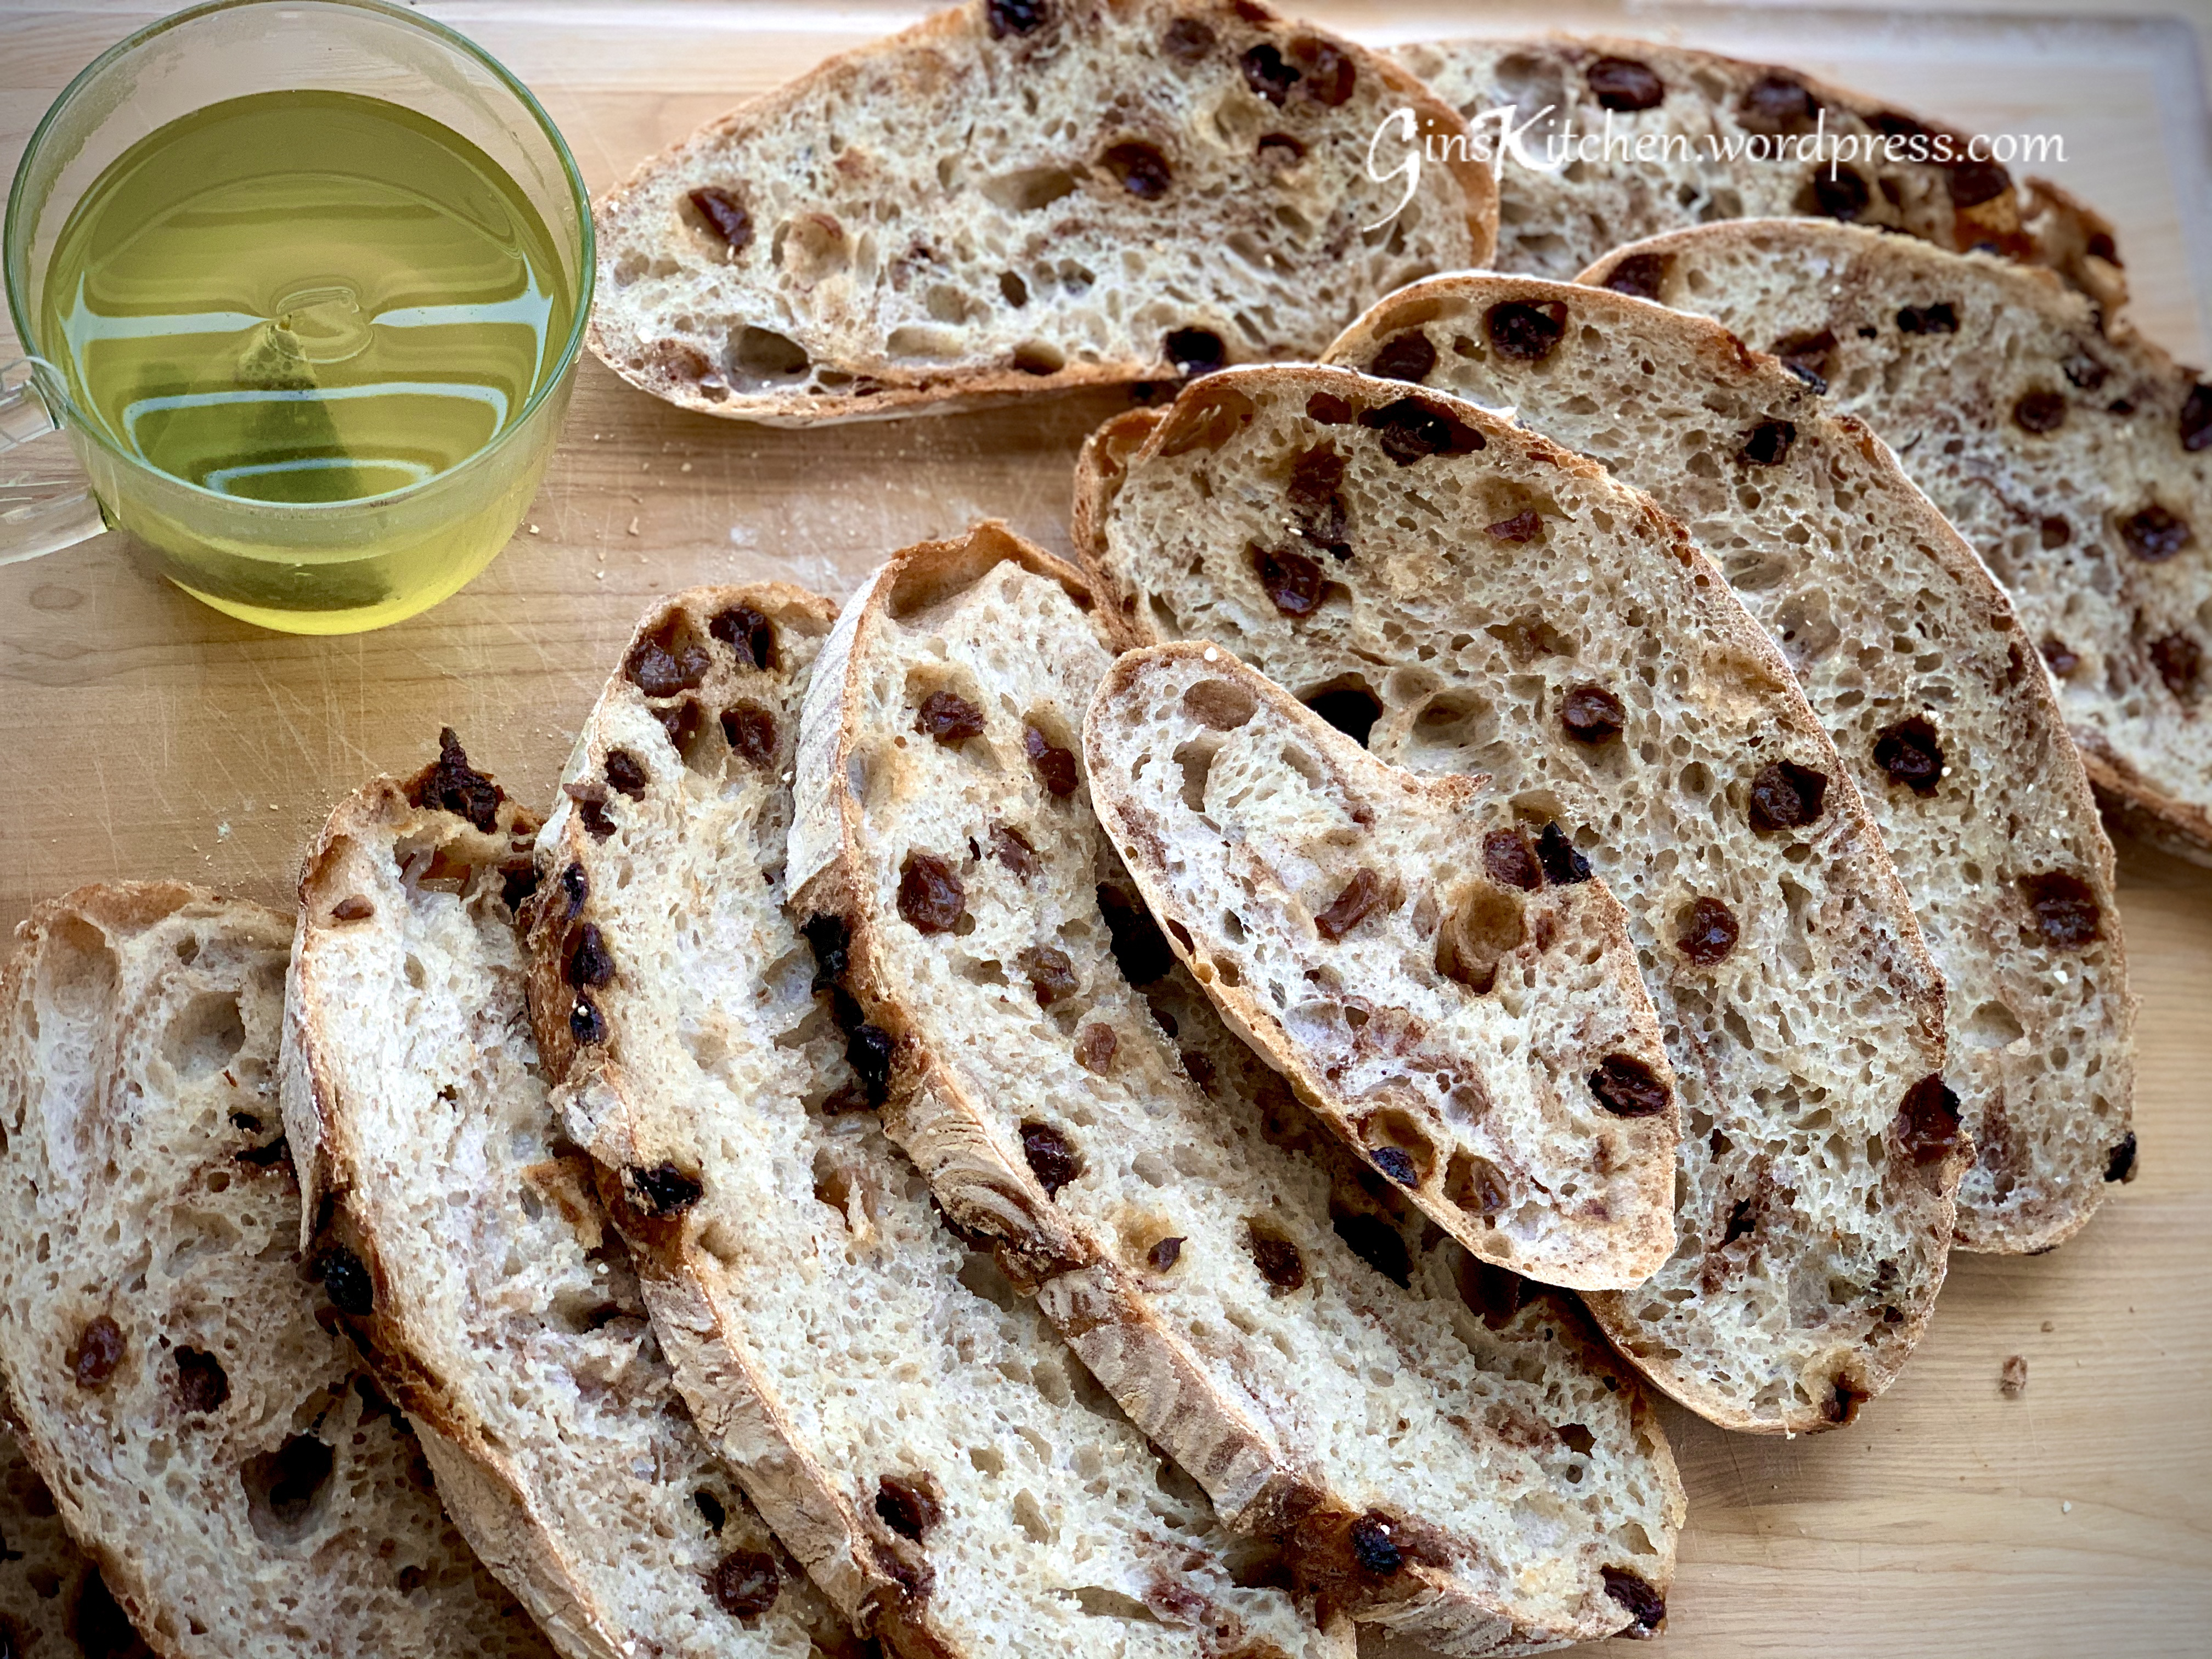
Raisin sourdough slices closeup
whole cinnamon raisin sourdough 2
Raisin sourdough slices

Chicken Drumsticks with Seasoned Rub


spice blend chicken
Seasoned Rub Chicken Drumsticks

I adapted this recipe from That Low Carb Life.  The spice blend is packed full of flavor and is good for chicken thighs and drumsticks.  The meat turned out juicy with crispy skin.  If you cannot eat spicy food, you can leave the peppers out, and the chicken will still be very flavorful.

Ingredients:

8 poundsChicken drumsticks
4 tspSmoked paprika
4 tspGarlic powder
4 tspOnion powder
3 tspSalt
2 tspCracked pepper
1 tspCayenne pepper

Directions:

  1. Preheat oven to 425 degrees.  Line a baking pan with aluminum foil.
  2. Put all ingredients to a bowl and mix well.  (Picture 1)
  3. Sprinkle the spice blend on each chicken drumstick.  (Picture 2)
  4. Arrange chicken drumsticks on the baking sheet and drizzle a little cooking oil (grape seed oil) on top.  (Picture 3)
  5. Put in the middle rack of the oven and bake for 35 minutes.  *My chicken drumsticks are pretty small; add 10 minutes of cooking time if chicken drumsticks are big. (Picture 4)
  6. Do not turn chicken, this will allow the drumsticks to have a crispy skin on the top.
  7. Serve chicken drumsticks immediately.
collage
drumsticks