
Black Cod, also known as Sablefish, is one of my favorite types of fish. It also has another name “Butterfish” because of its a soft, flaky texture and buttery rich flavor, similar to Chilean sea bass. Many people substitute Black Cod for Chilean sea bass due to its affordable price.
There are many ways to cook black cod—simply marinade with salt & pepper, garlic salt, soy sauce, lemon pepper, etc.—but the most popular and delicious marinade is miso. Whichever way you prepare the fish, the buttery flavor from the black cod just makes the flavor so unique.
Ingredients:
Step 1:
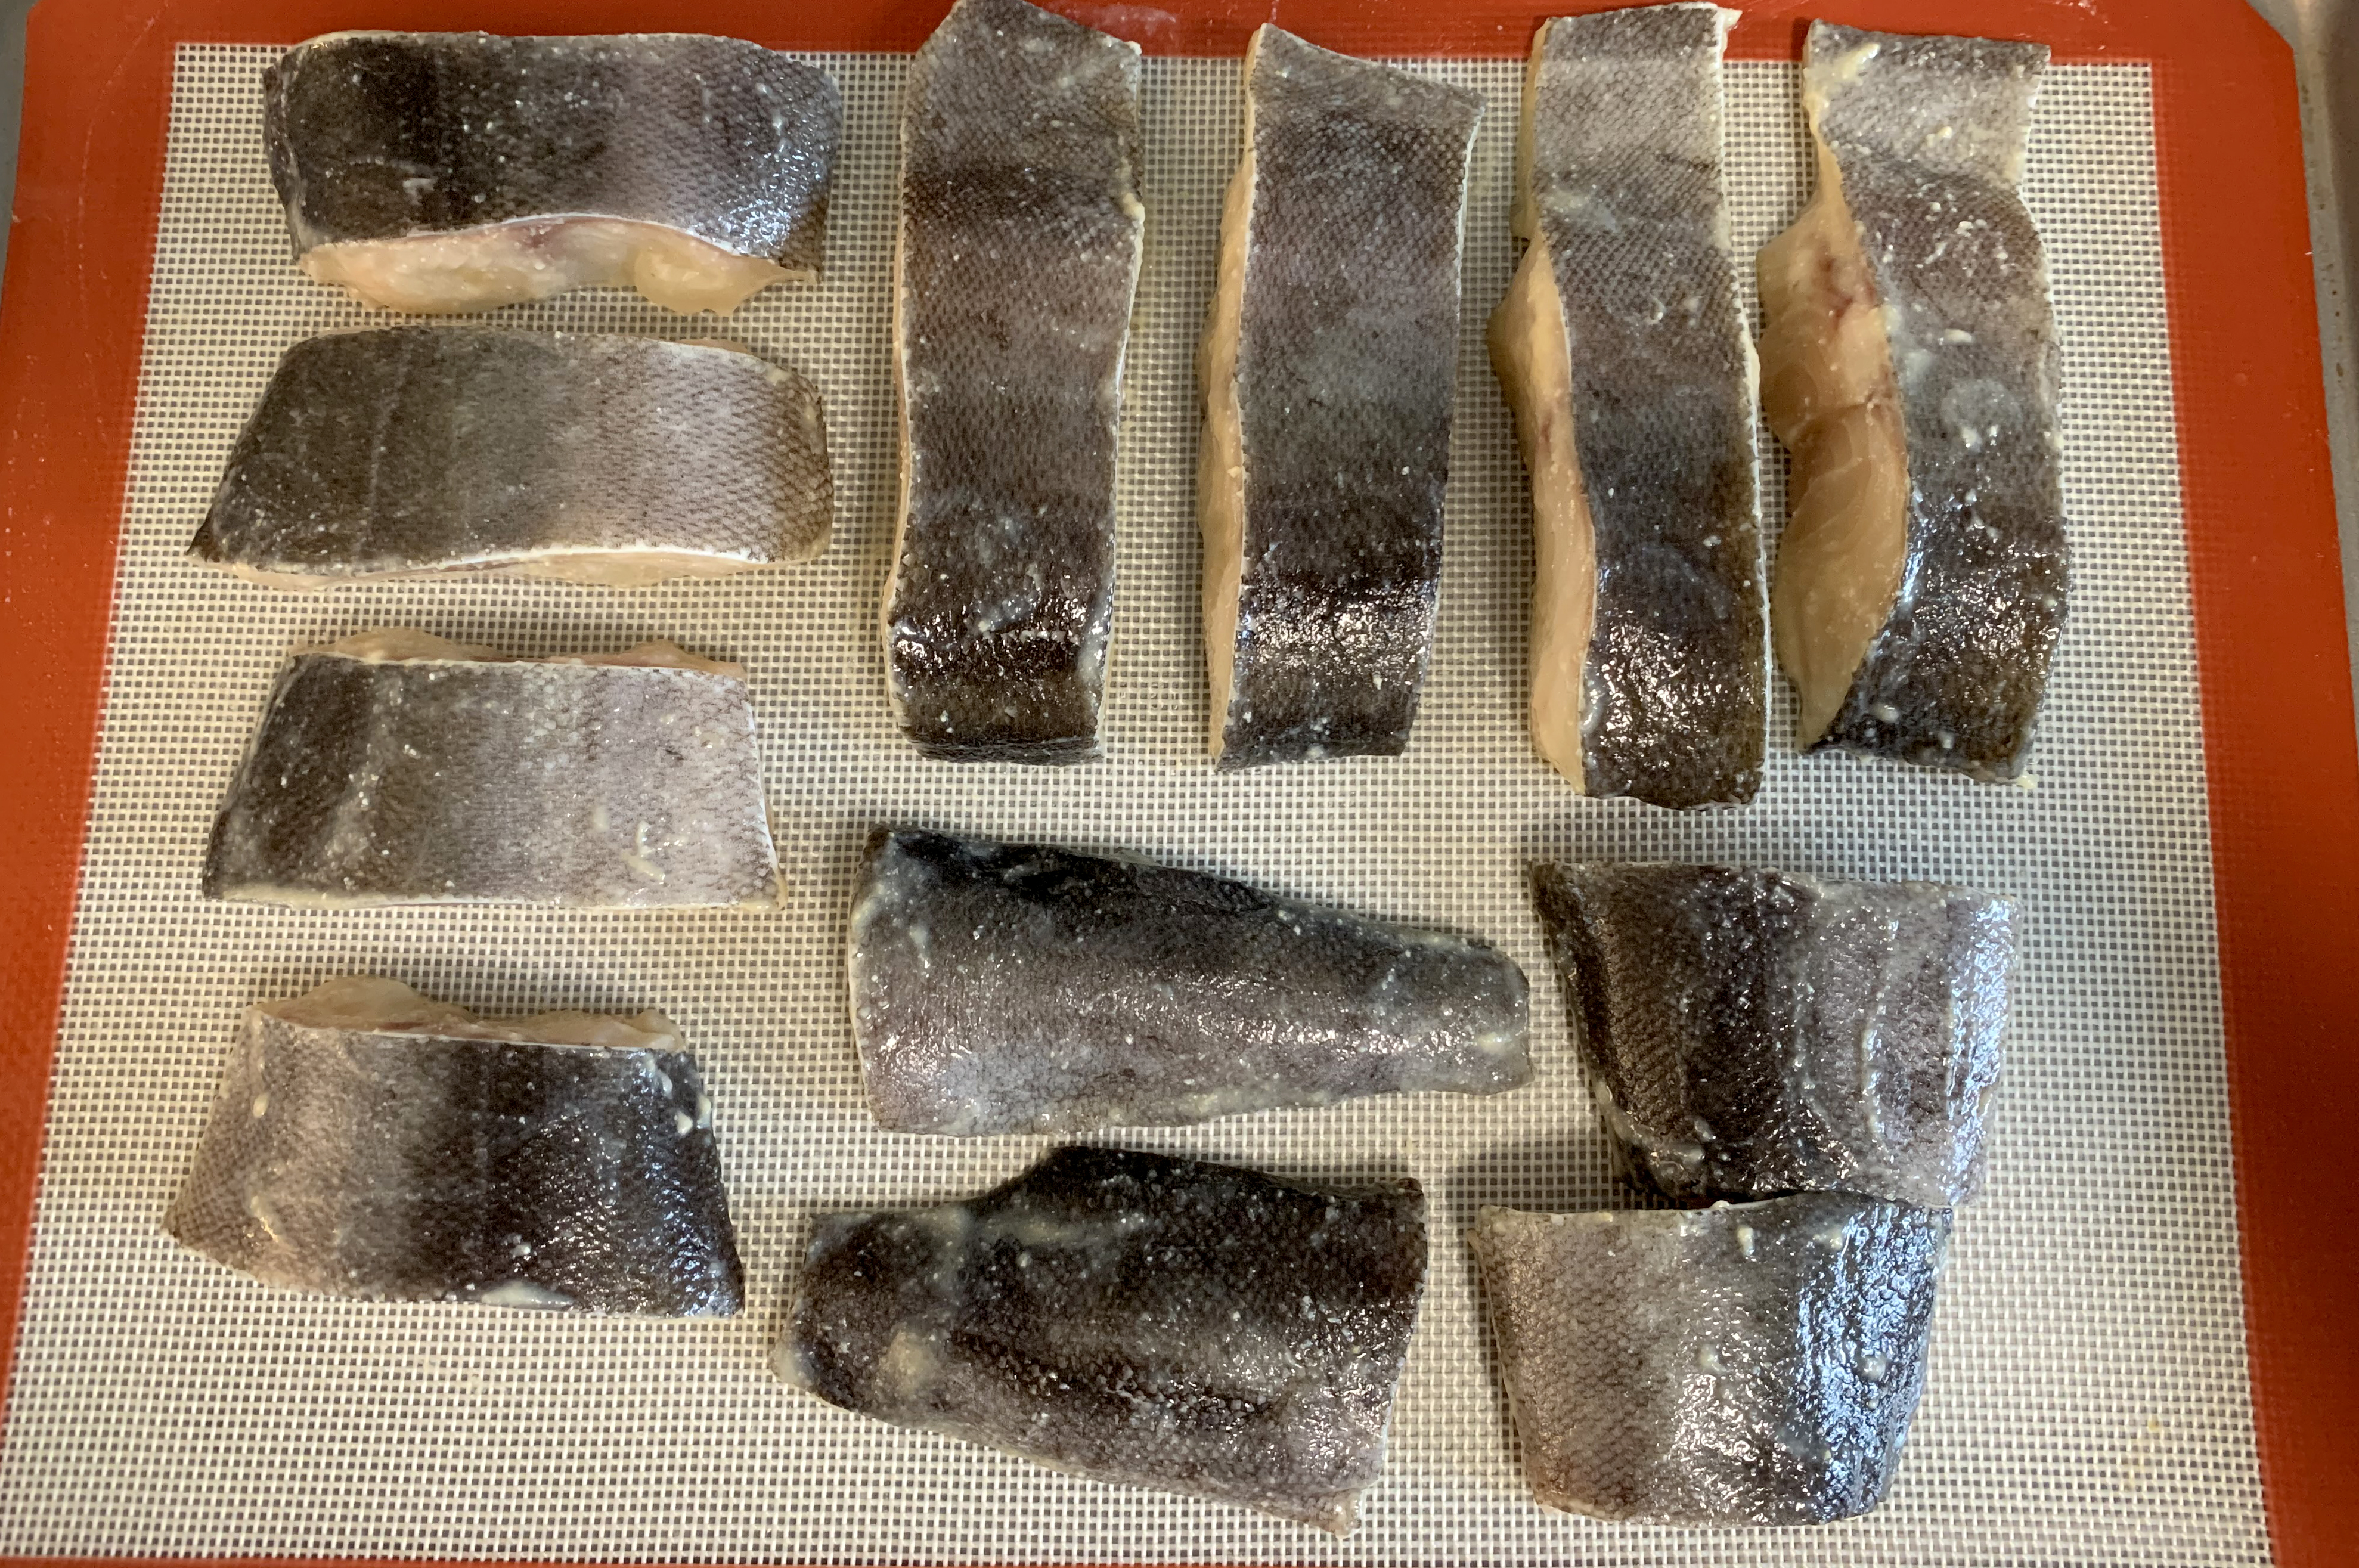
| 8 fillets (1.5″ wide) | Black Cod |
| 3 tsp | Sea salt |
| 4 Tbsp | Sake |
Step 2:
| 1/2 cup | White miso |
| 6 Tbsp | Mirin |
| 4 Tbsp | Sake |
Directions:
- This fish needs to be marinated for at least 2 days to get the best flavor.
- To get rid of the fishy smell, sprinkle salt over the fish and set aside for 30 minutes.
- Pour 4 Tbsp sake over fish to rinse off the salt and pat dry with paper towel. Rinsing under tap water is not recommended.
- In a container, combine white miso, mirin and sake and mix well.
- Put fish fillets into the bowl and get a nice coat of marinade.
- Place fish in a large glass container and pour excess marinade in. Cover the lid and refrigerate for 2 days.
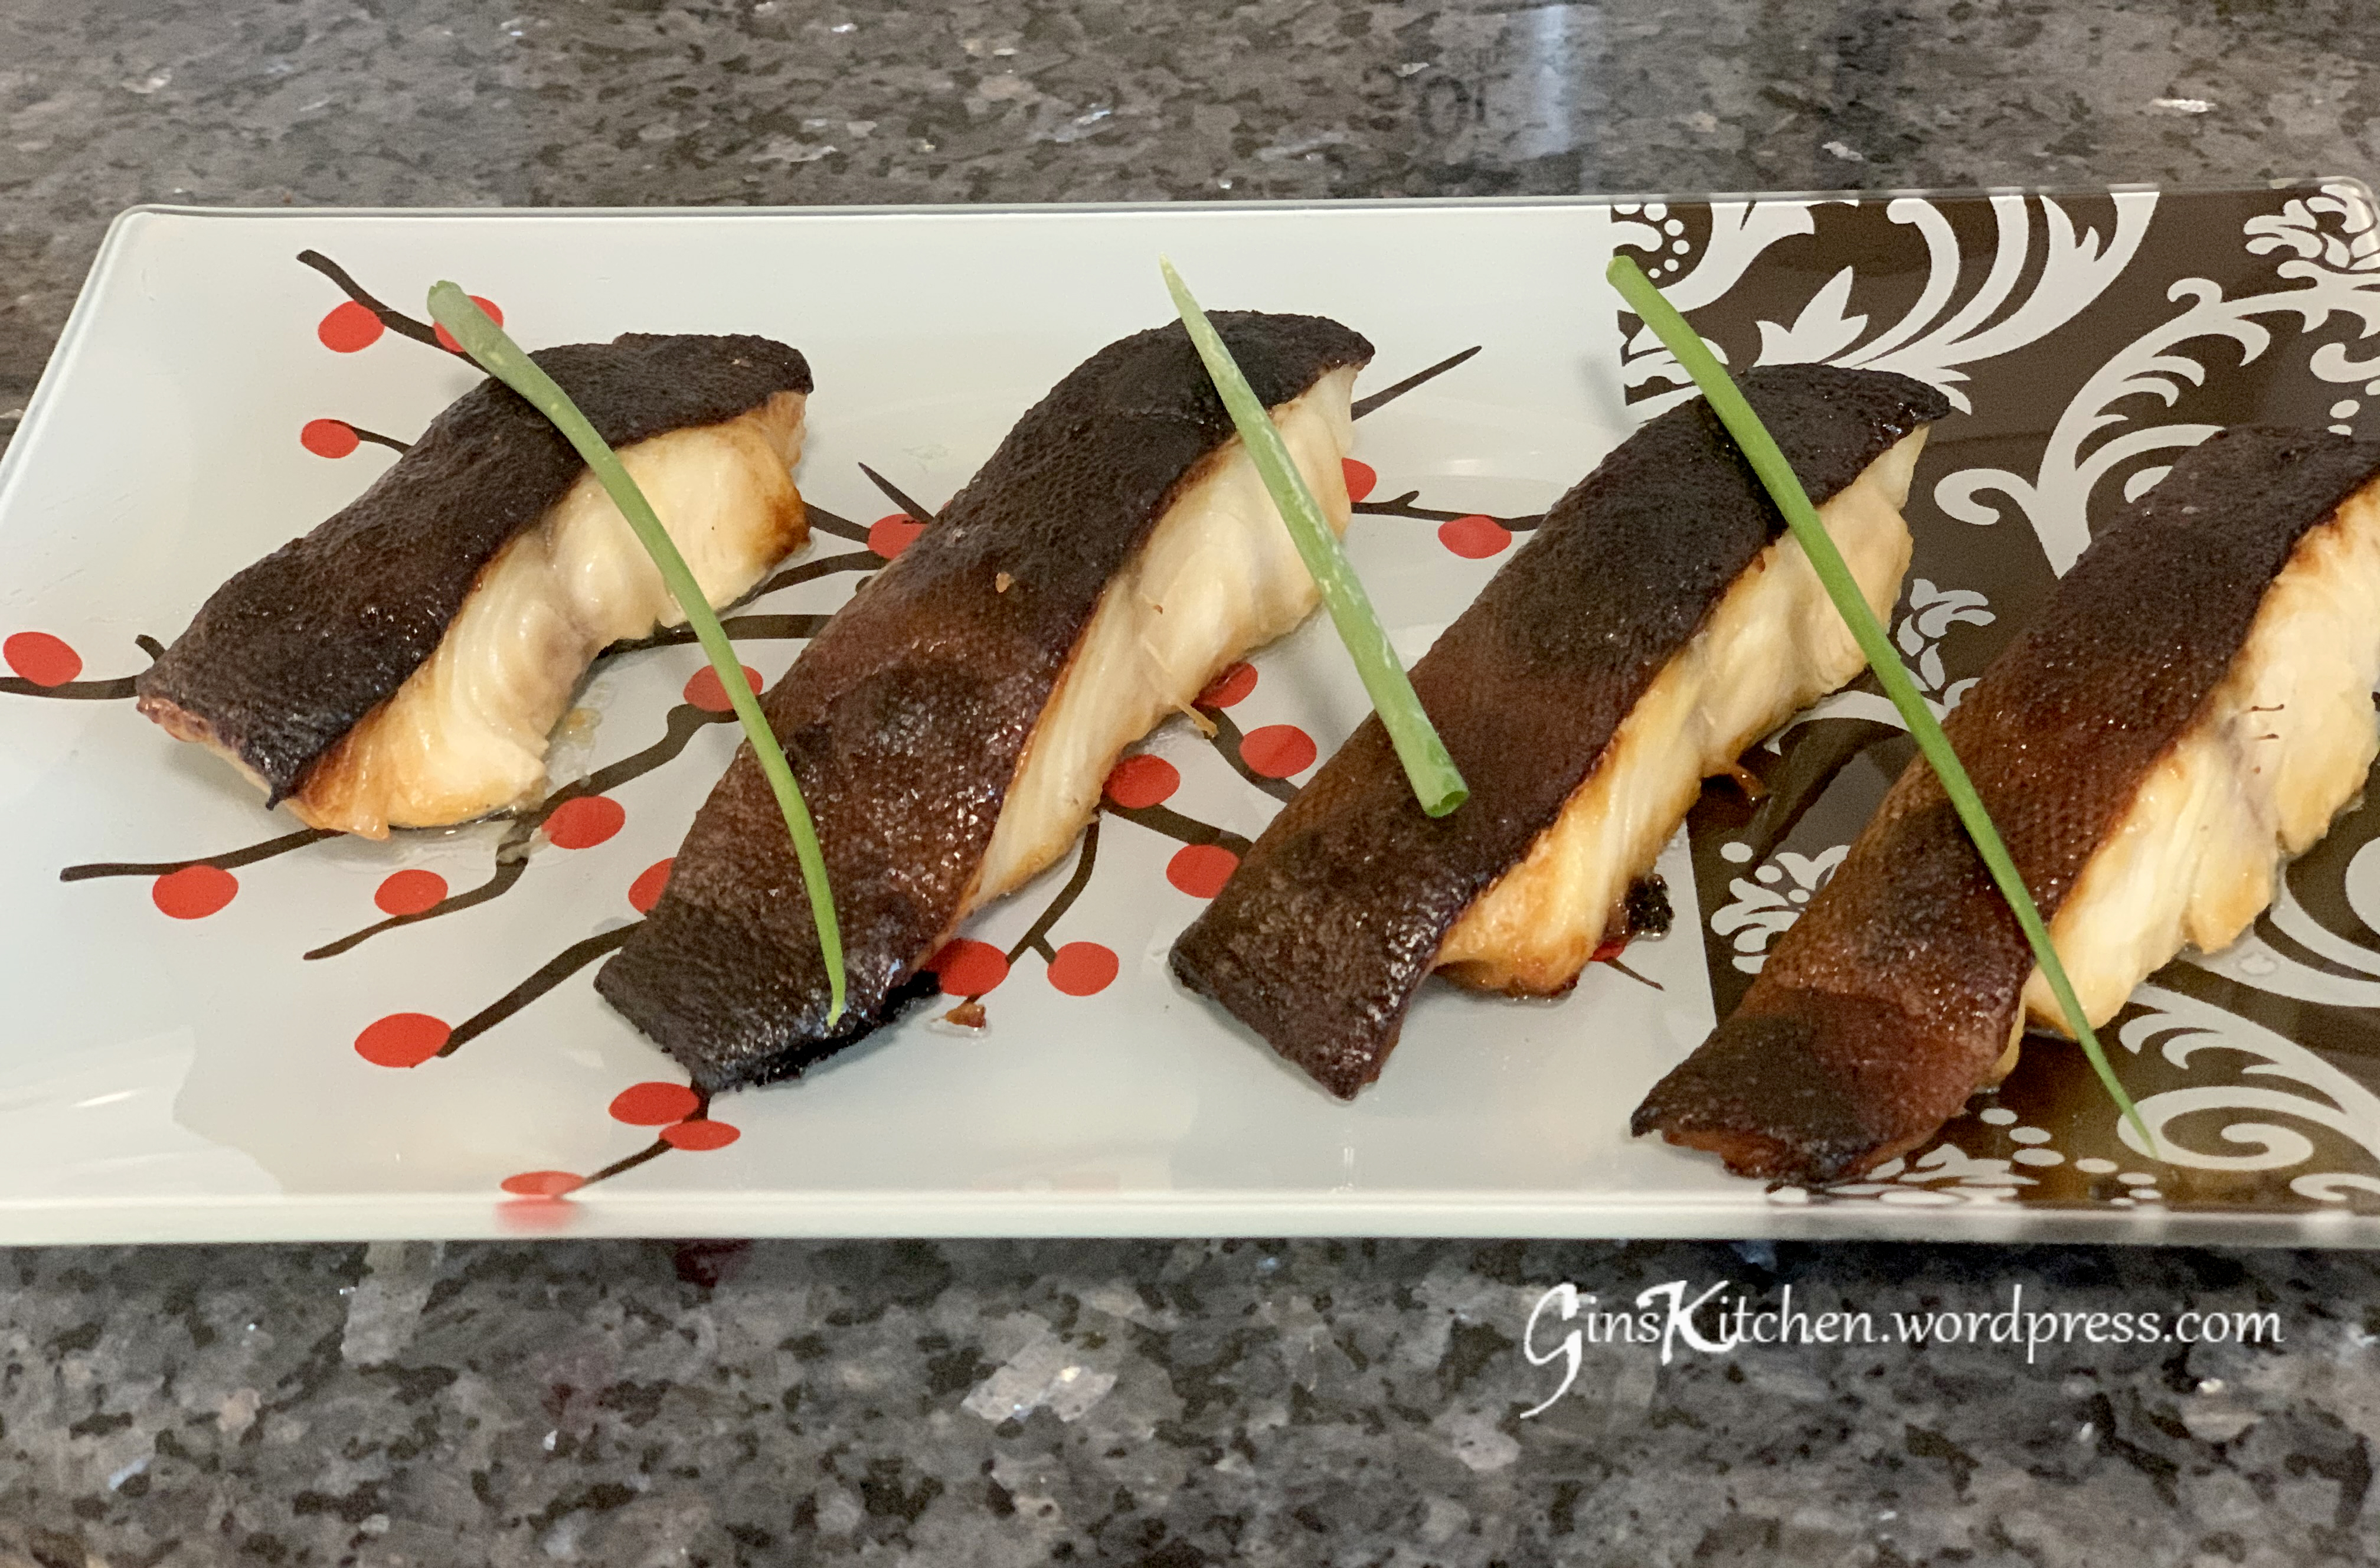
- Preheat oven to 400F. Remove the marinade off the fish with your fingers. Too much marinade will burn the fish easily.
- Line the baking sheet with parchment paper and place fish fillets skin side up.
- Bake the fish until the edges are browned (about 25 mins).