Besides adding the Matcha powder, all ingredients for this Matcha Swiss Roll and the regular Swiss Roll are the same (recipe for Swiss Roll, click here). A couple of differences when making the Matcha cake: (1) the bottom of the cake will be the exterior of the cake roll while the regular Swiss Roll is the opposite; (2) adding oil and milk in the beginning instead of combining them at a later step.
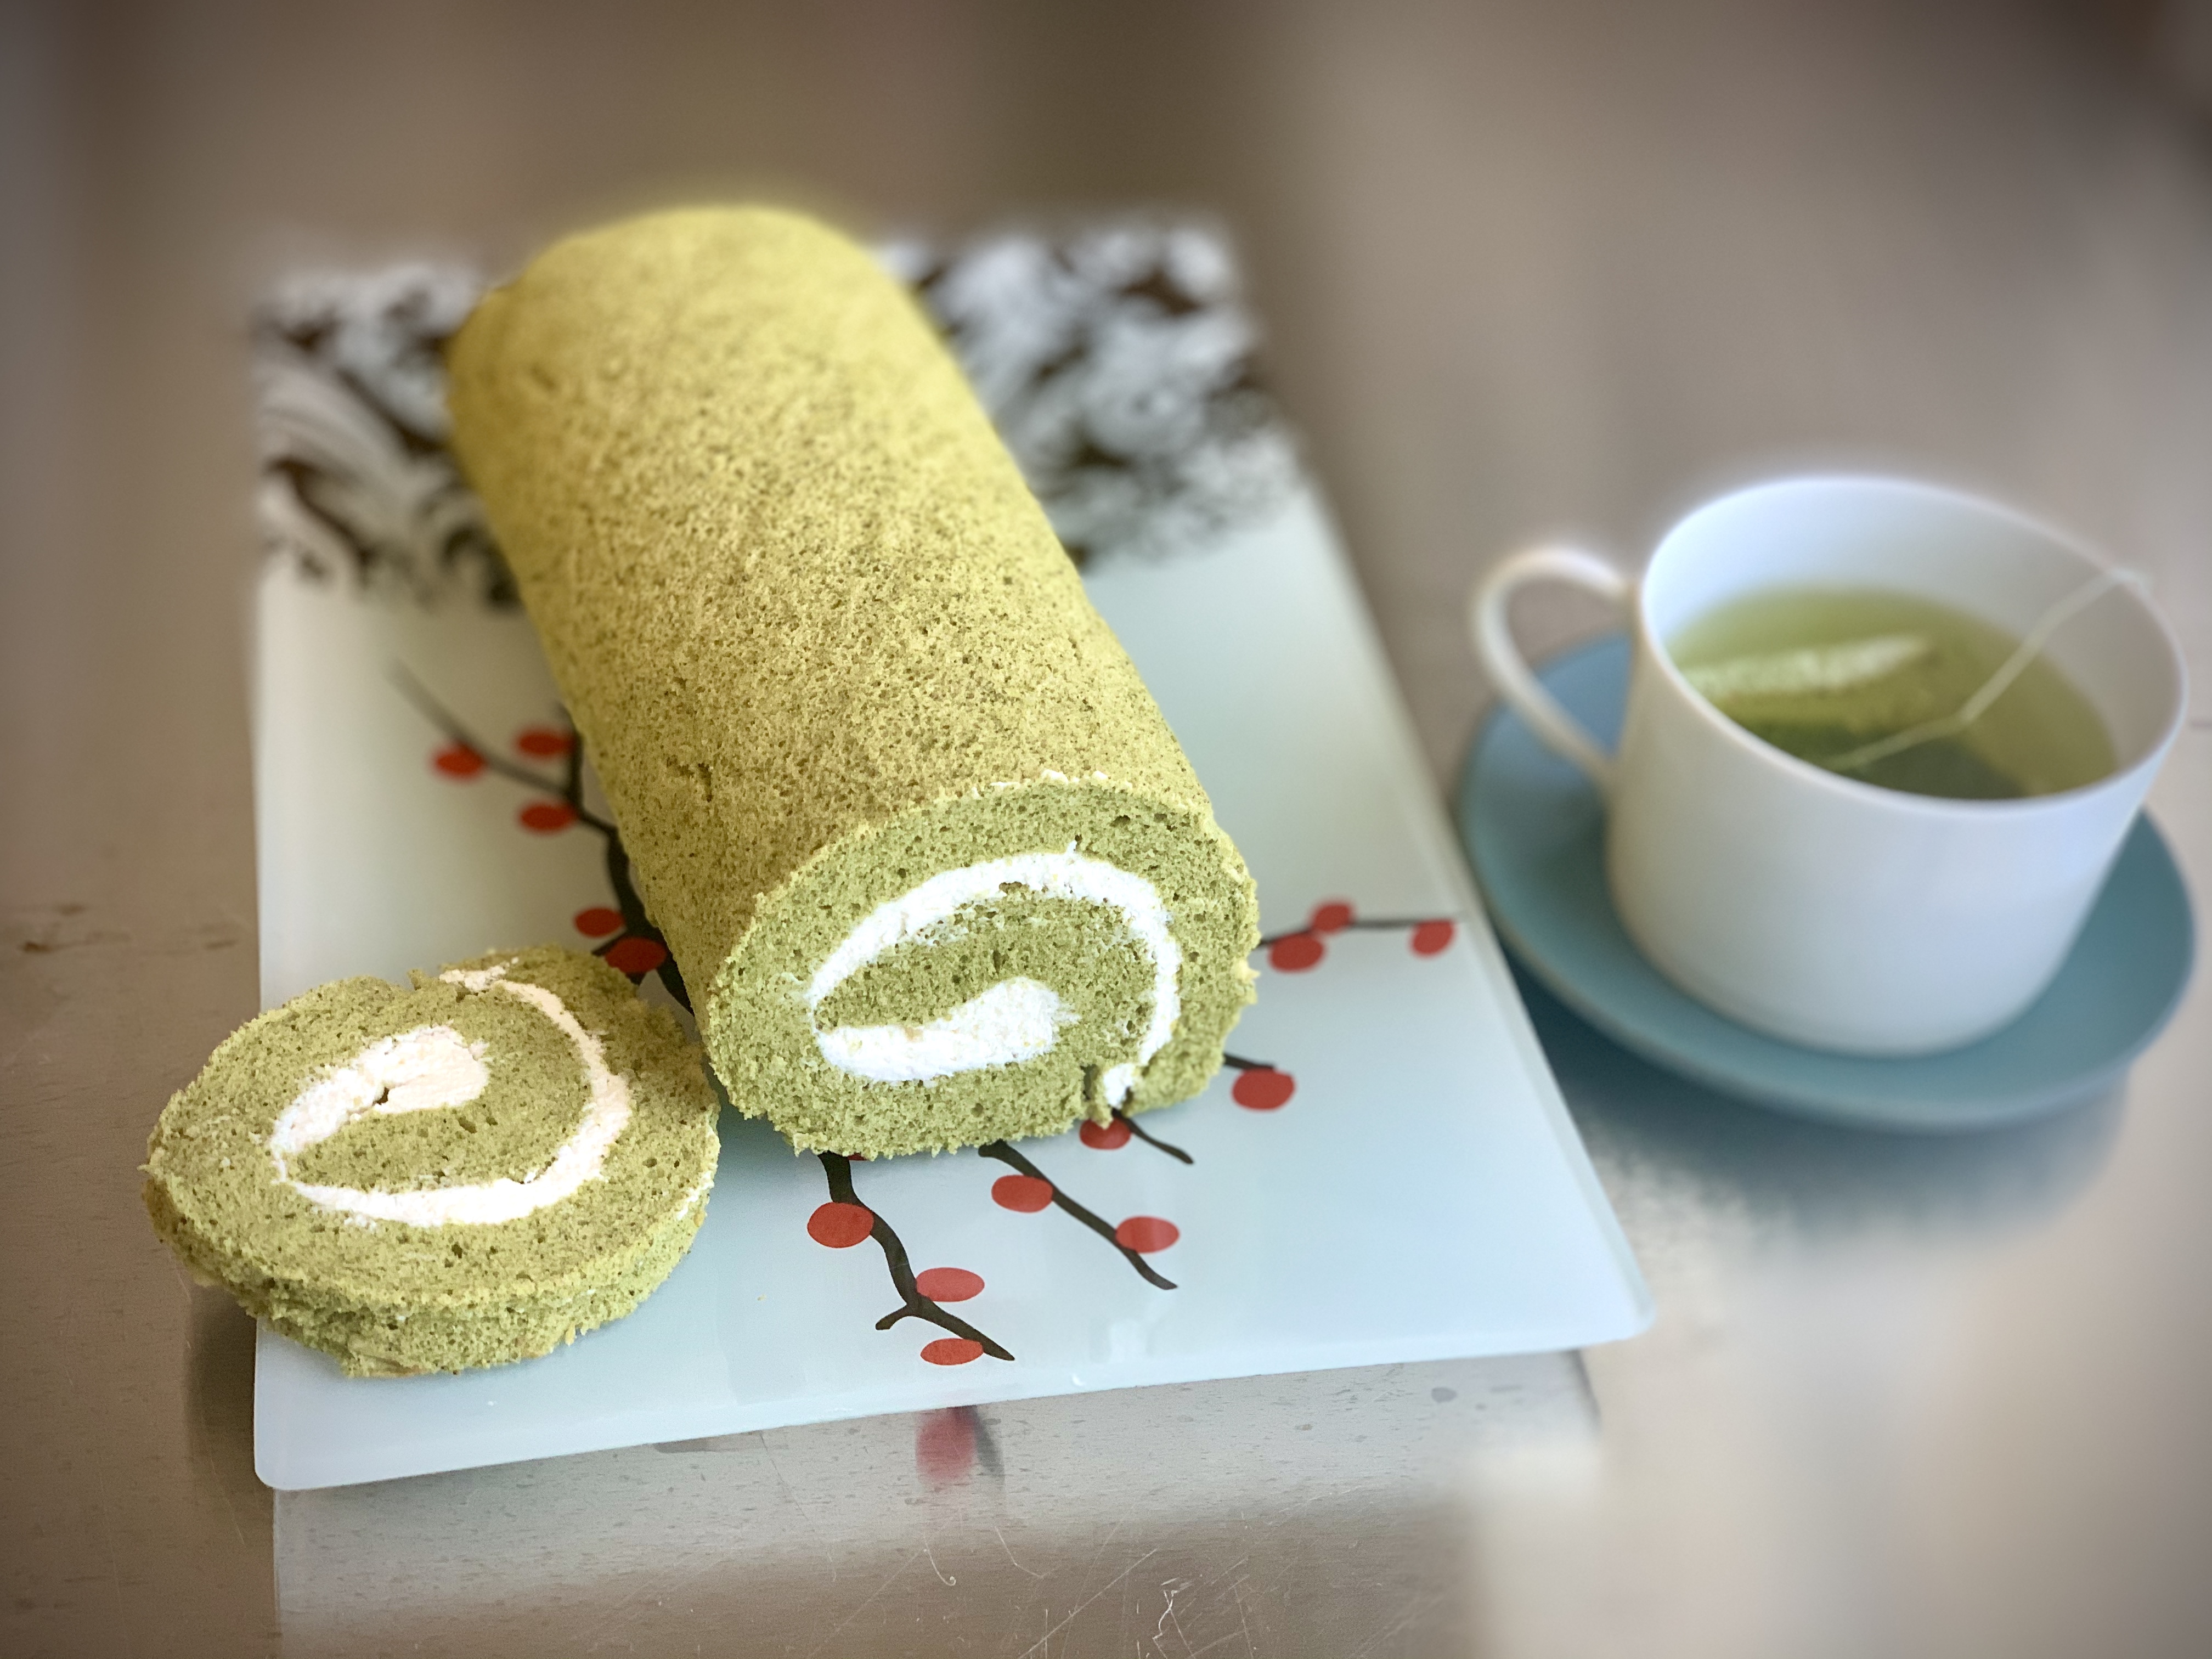
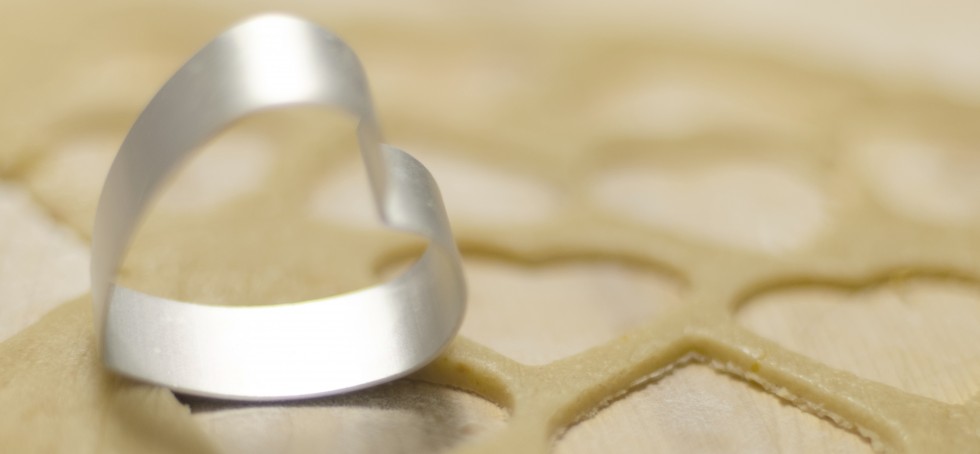
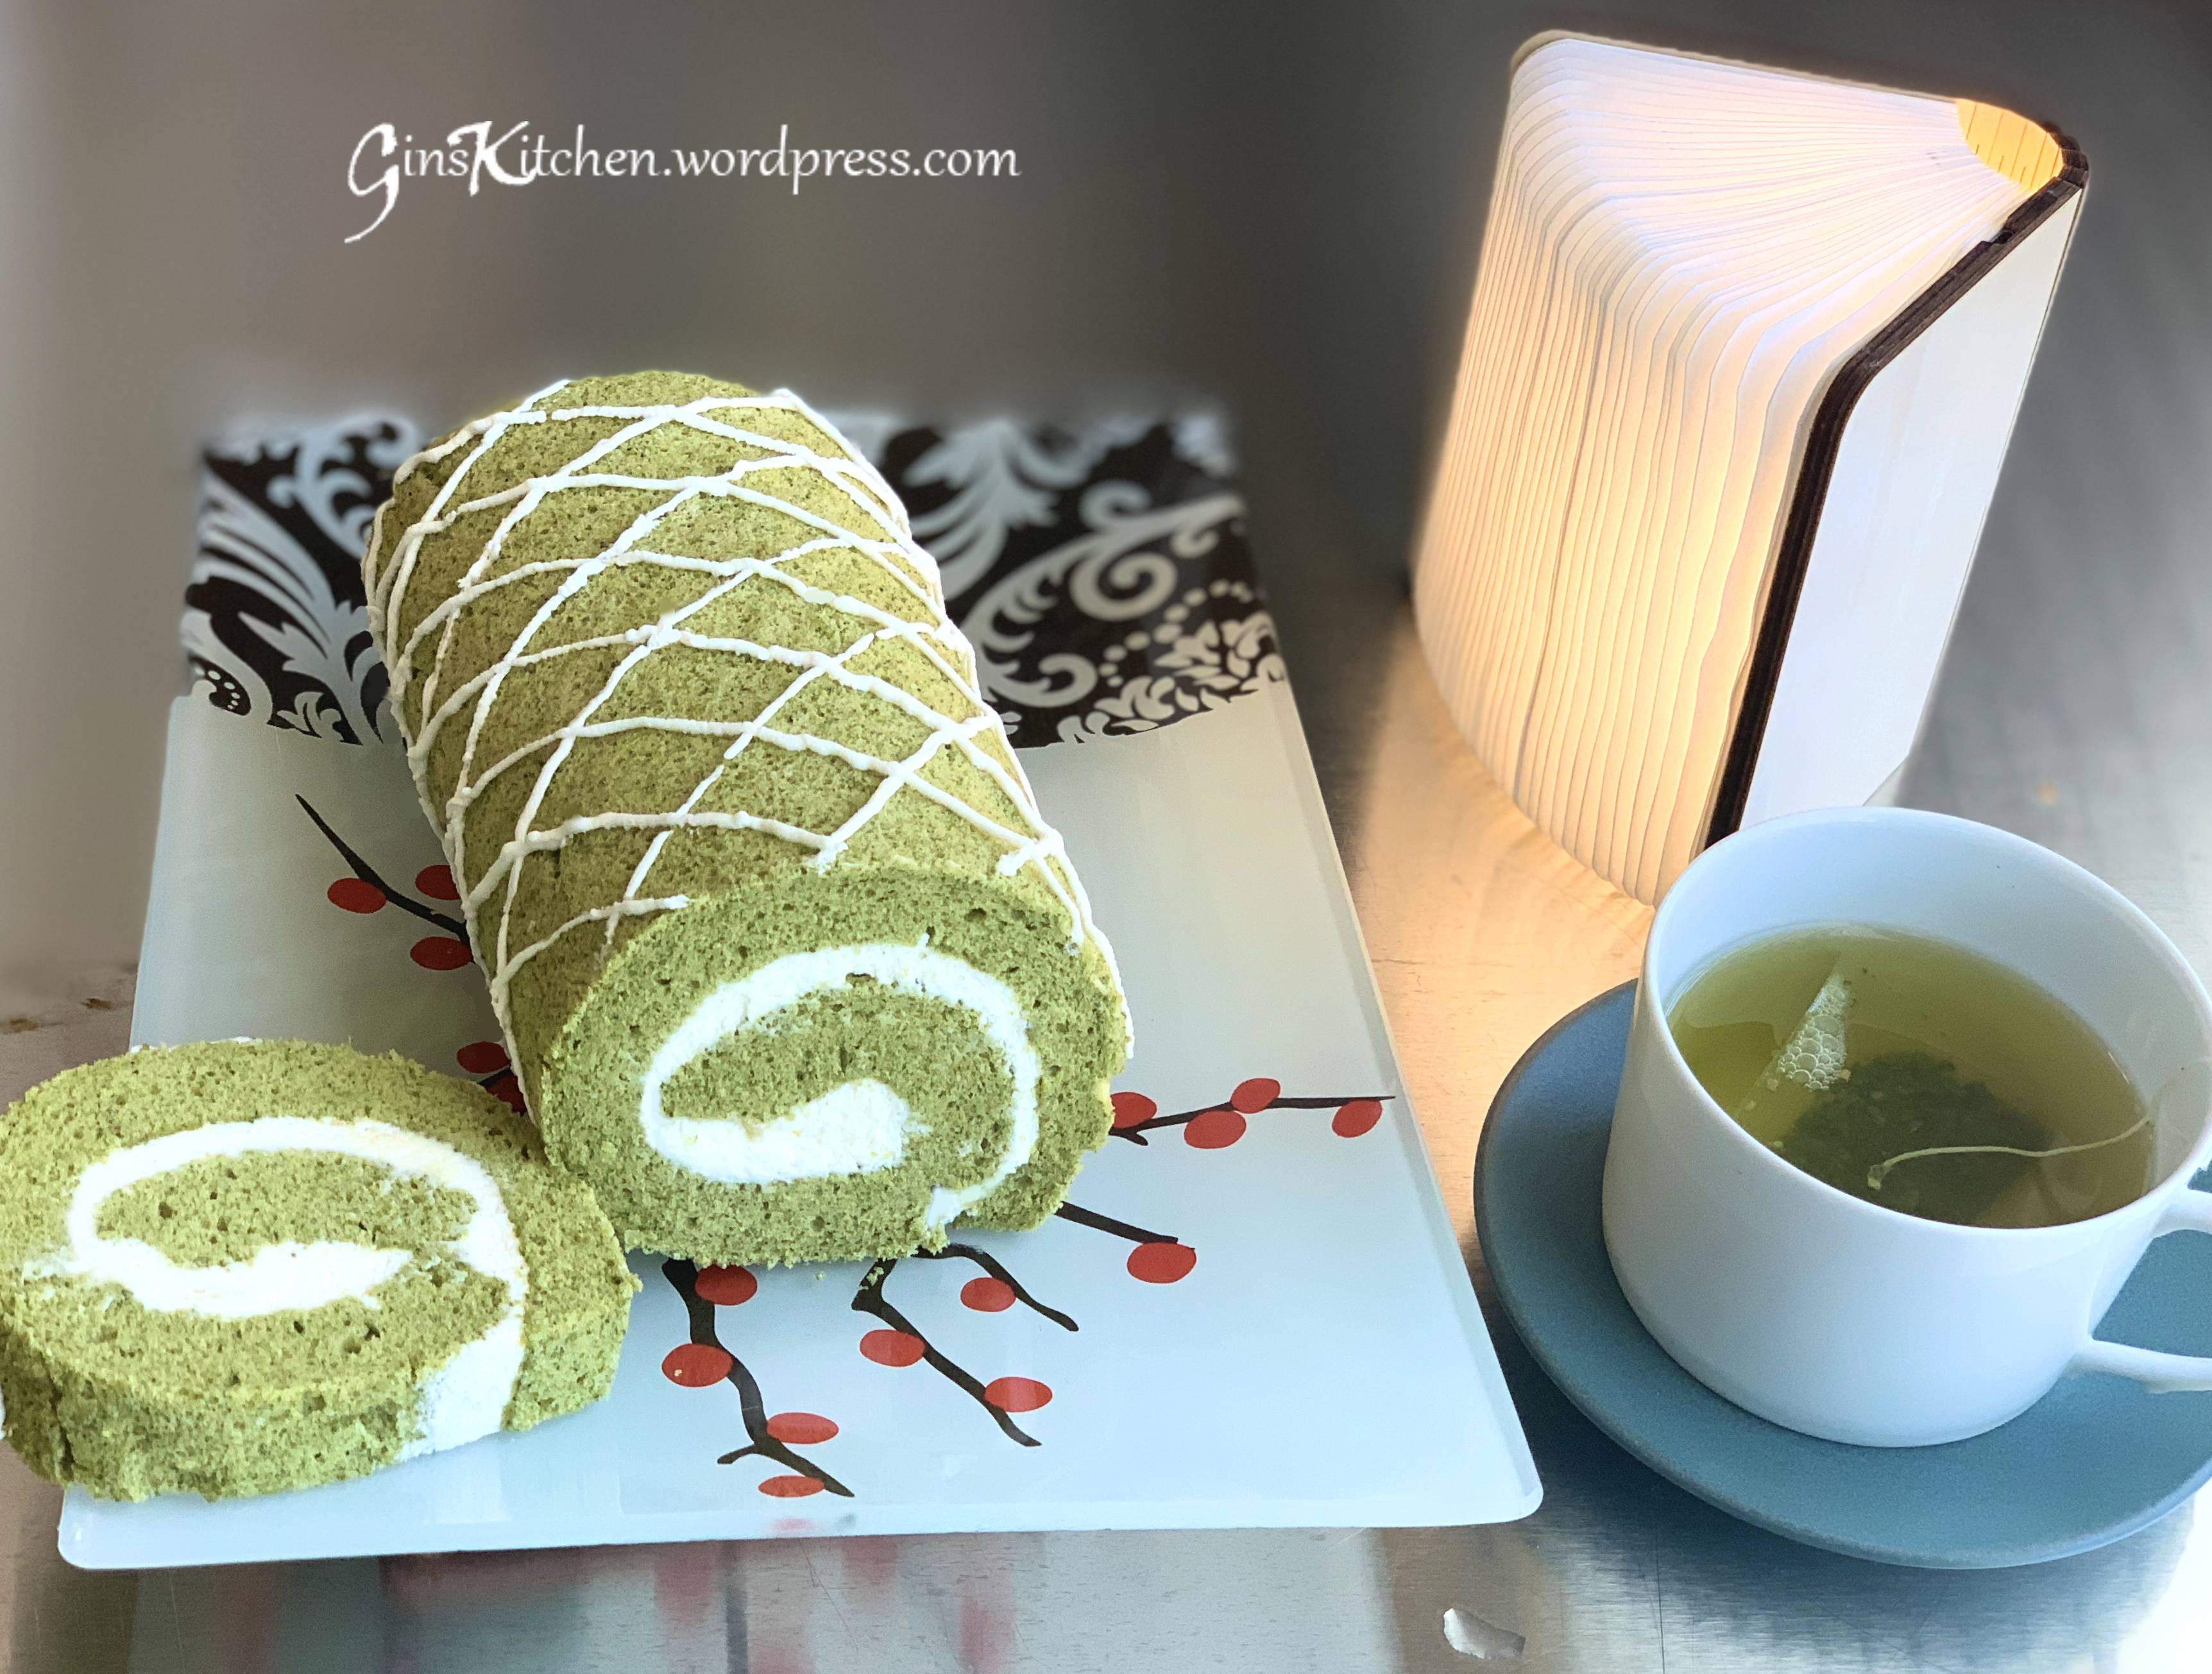
I believe you will be enjoying this recipe as my family is obsessed with both the Swiss Roll and the Matcha Swiss Roll. In my next post, I will share how to add patterns (such as heart shapes, polka dots, flowers, etc. to the cake roll).
| Ingredients A: | |
| 80g | Egg yolk |
| 1g | Salt |
| 35g | Sugar |
| 45g | Oil |
| 40g | Milk |
| Ingredients B: | |
| 72g | Cake flour |
| 2 Tbsp (or 10g) | Matcha powder |
| Ingredients C: | |
| 120g | Egg white |
| 55g | Sugar |
Cream filling:
| 1 Cup | Heavy whipping cream |
| 1 Tbsp | Powdered sugar |
| 1 Tbsp | Vanilla instant pudding |
Directions:
- Preheat oven to 338°F (170°C). Line bottom of a 9×13-inch pan with parchment paper.
- Separate the egg yolks and egg whites into two bowls.
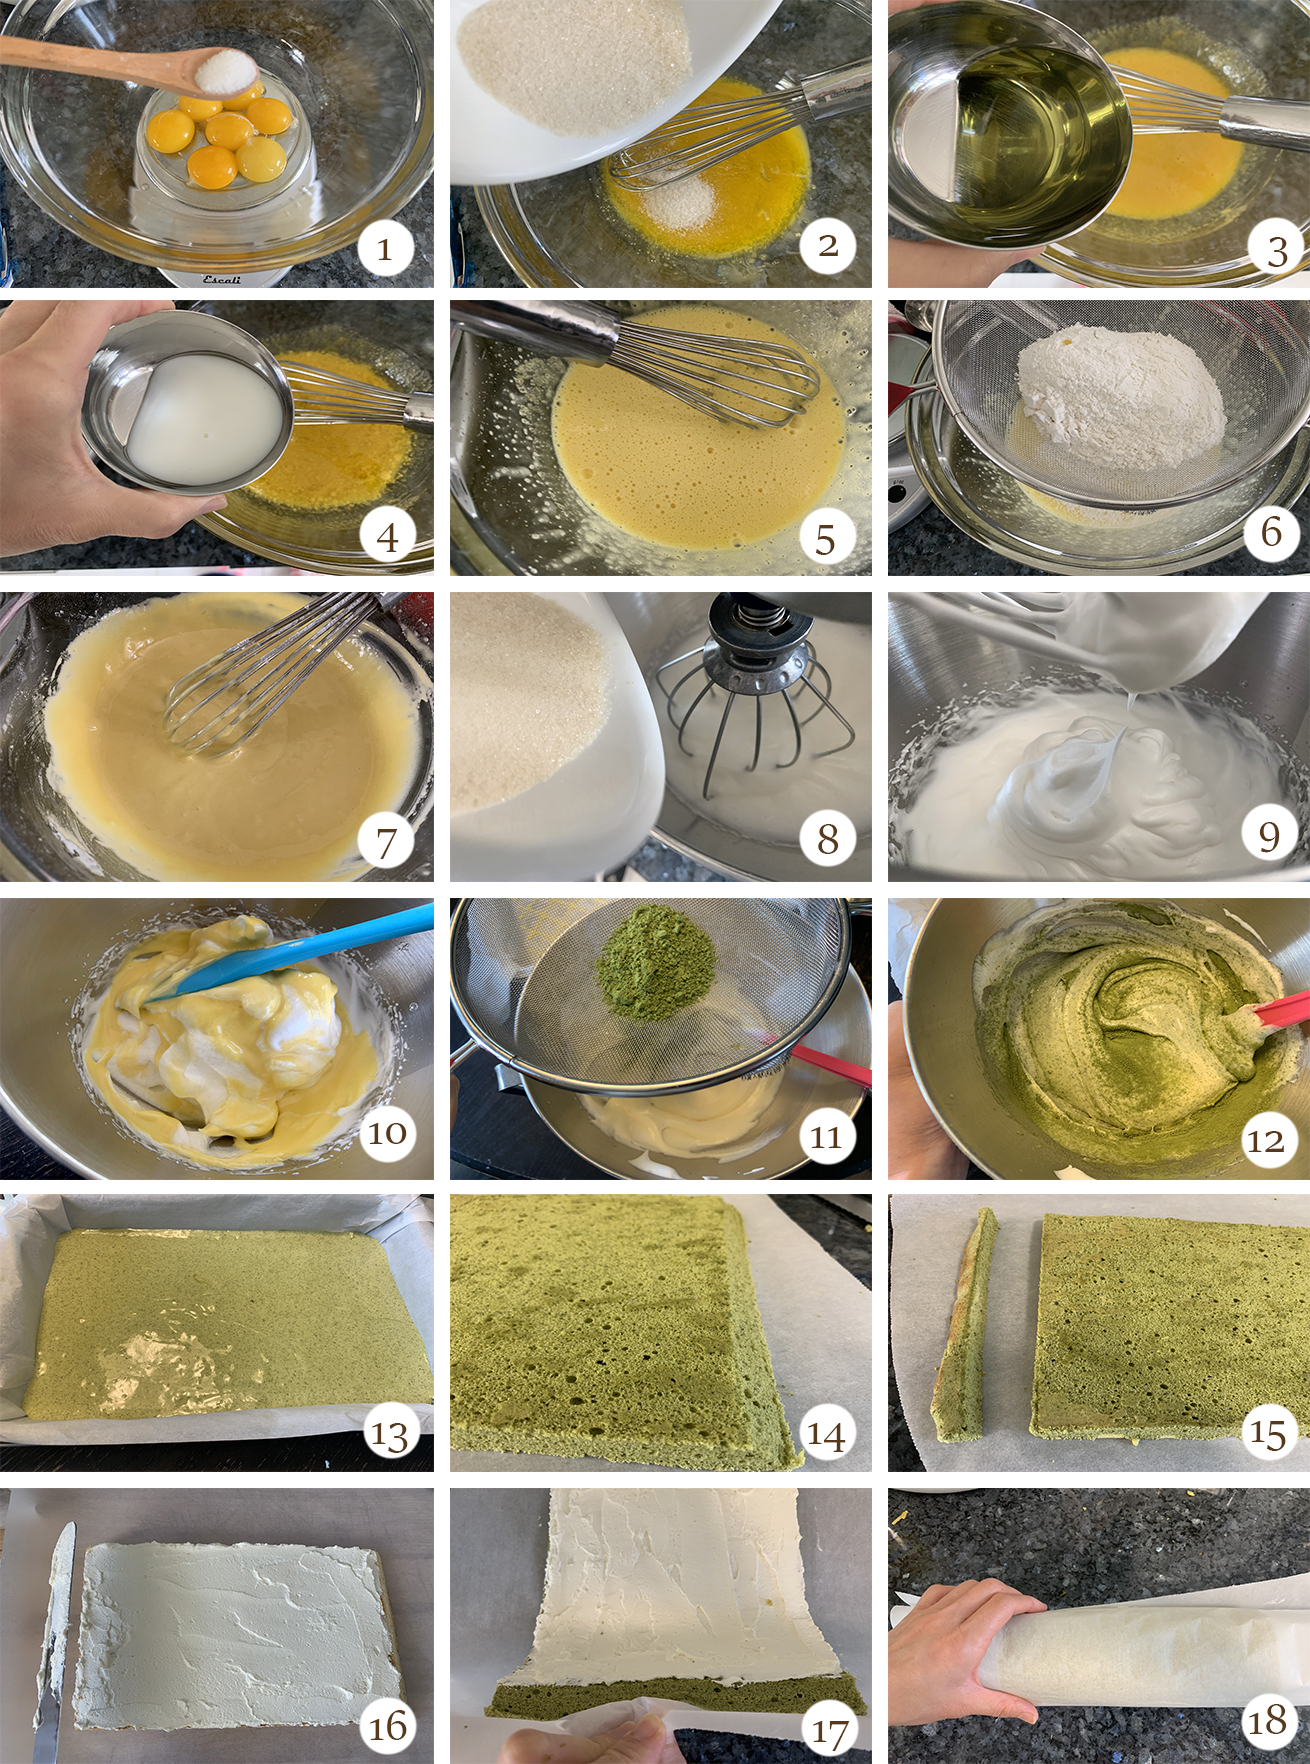
- In a large bowl, add salt to egg yolks and mix well. Add in 35g of sugar, beat until well combined. (Pictures 1 and 2)
- Add oil and milk to the egg yolks and beat until the mixture is pale. (Pictures 3-5)
- Sift the flour into the egg mixture and gently fold to combine. (Pictures 6 and 7)
- In a mixing bowl, beat egg whites until foamy, gradually add sugar and beat until soft peaks form. (Pictures 8 and 9)
- Pour the egg yolk mixture into the egg whites and gently fold to combine with a spatula. (Picture 10)
- Sift Matcha powder into the batter and gently fold to combine. (Pictures 11 and 12)
- Pour the batter into the prepared pan. Spread the batter evenly and tap the pan several times. This will remove air bubbles inside the batter. (Picture 13)
- Bake for about 13 minutes, remove the cake from the pan as soon as it is ready. Allow it to cool for about 10 mins. Put a piece of parchment paper on top of the cake (you may want to lightly spray the parchment paper with oil to prevent the outer layer from sticking), and flip the pan over (now the bottom is on top). Peel away the original parchment paper from the bottom of the cake. Trim the top and bottom edges. Also hold the knife at a 30 degree angle and trim the right and left edges. (Pictures 14 and 15)
- Using a knife to score 2 vertical lines along the cake from the right edge, careful not to cut all the way into the cake (pictures can be viewed from my Swiss Roll recipe here). Note: optional – you can pre-roll the cake on the parchment paper now and let it cool completely, about 20 mins.
- Spread an even layer of whipped cream over the cake. (Picture 16)
- Tightly roll the cake from the right side toward the left side. (Picture 17)
- Secure the roll by putting a tape on or twisting the parchment paper at both ends. Refrigerate for 1 hour before serving. (Picture 18)
How to make the filling:
- Prepare the filling by whisking the cold whipping cream, add in 1 Tbsp of powdered sugar and whip until the cream starts to get thicker. (Picture A)
- Add 1 Tbsp of vanilla instant pudding. (Picture B)
- Whip until stiff peaks form. (Picture C)

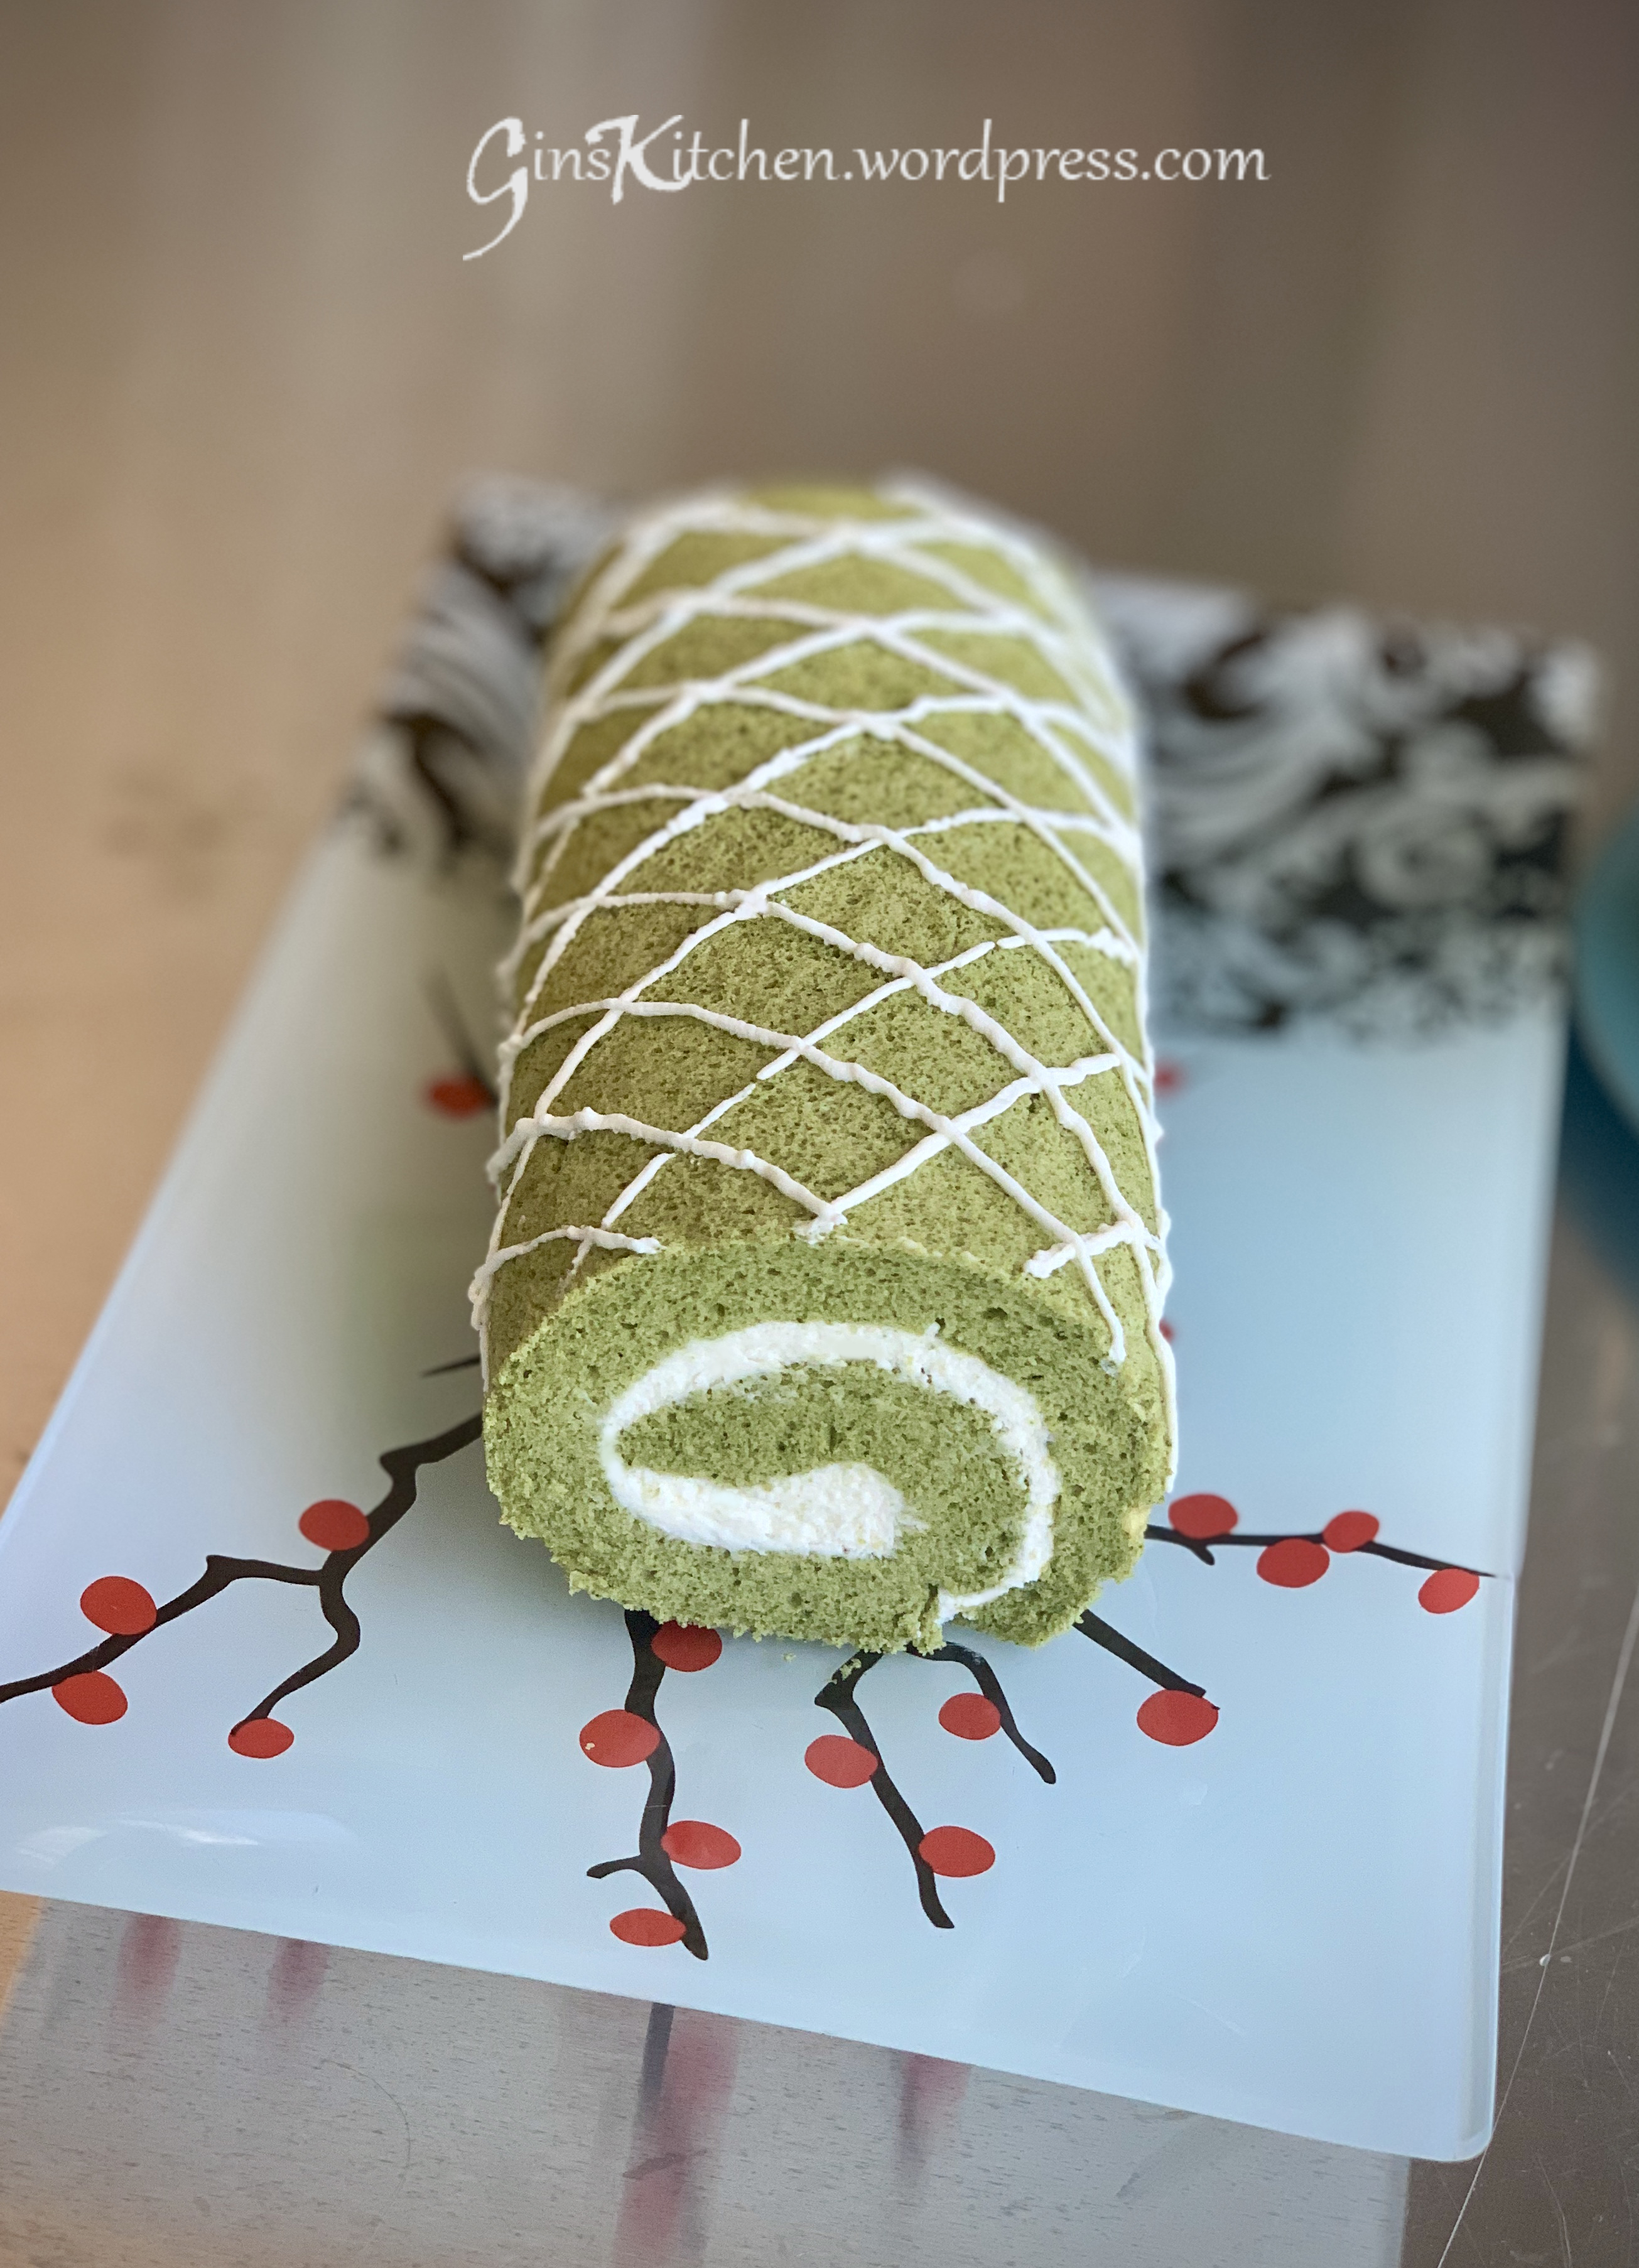
The outside of the cake can be decorated with a layer of ganache or sprinkled powdered sugar on top. The Chinese version is usually light and less sweet, as it tastes good without any toppings. Perhaps if there are cracks all over the cake, a layer of ganache can hide them.